Getting Started
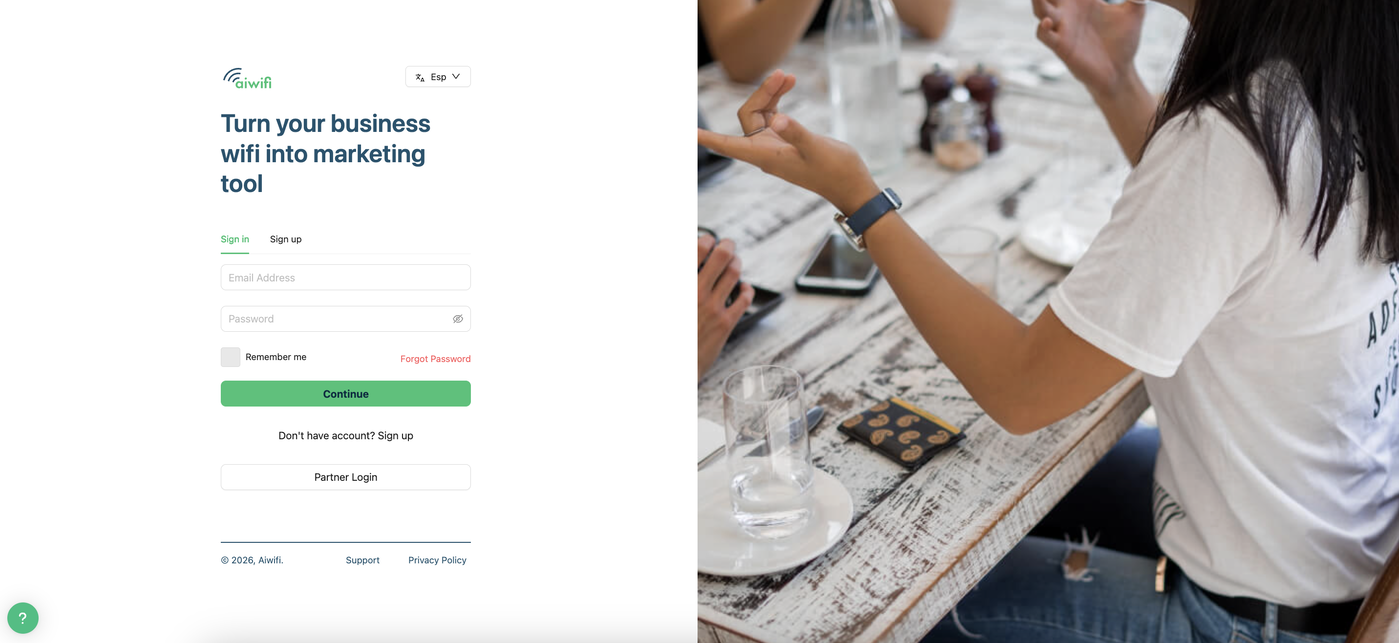
With Aiwifi, setting up your WiFi captive portal is easier than any other platform. To get started enter your e mail and password and click on “Continue”.
Here are the steps.
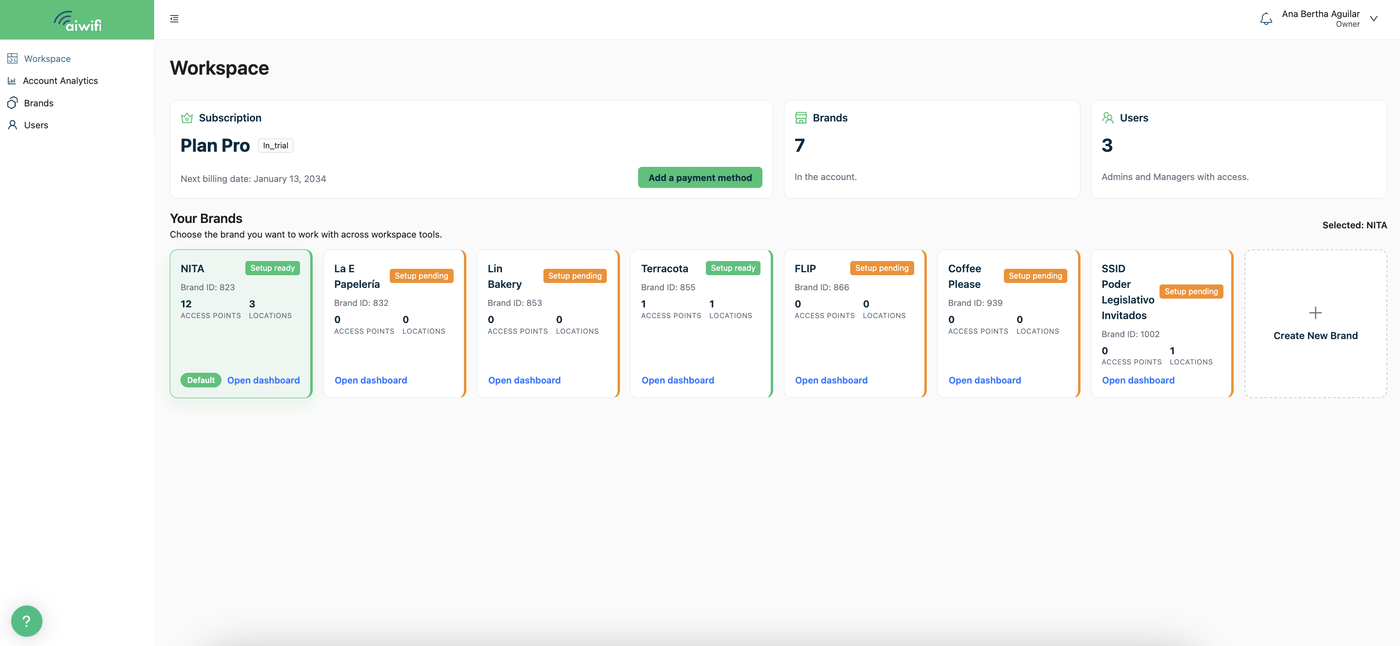
1.- Workspace Dashboard
Once you have created your account (Email and password) you will see on your screen the Workspace.
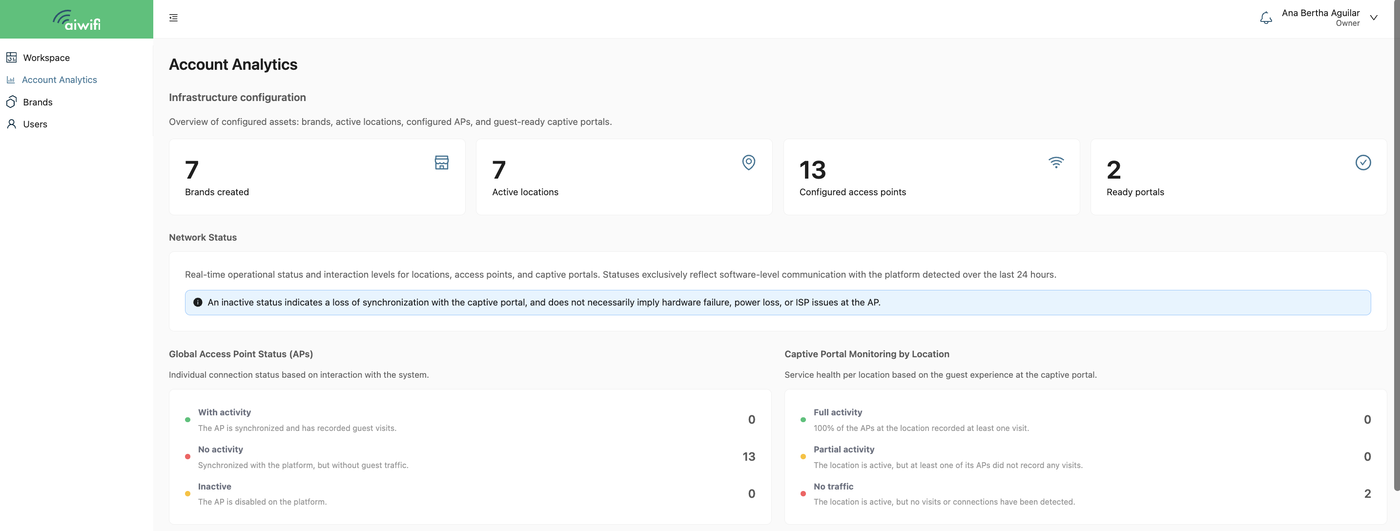
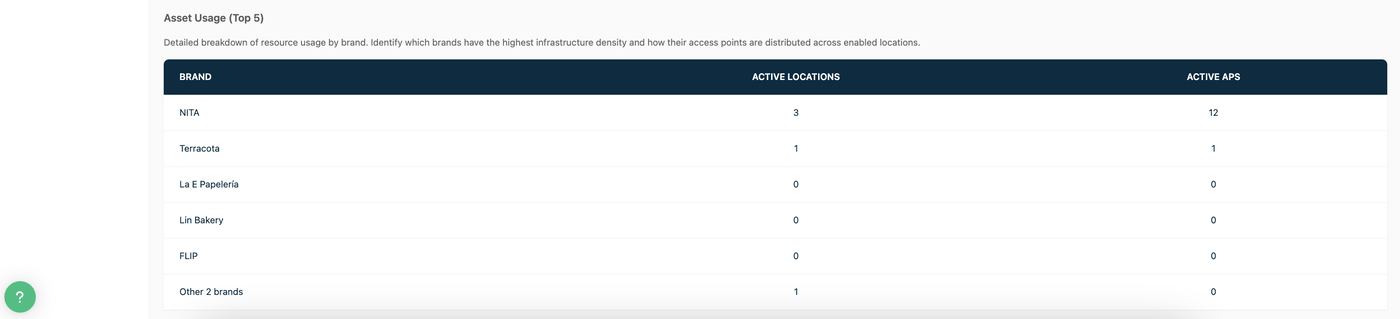
2.- Account Analytics Dashboard
Here you can see your infrastucture configuration. It is the Overview of configured assets: brands, active locations, configured APs, and guest-ready captive portals.
Aiwifi works with a Account - Brand - Location - Access Point hierarchy. This means that once you have your account, the first thing to do is to create your Brand.
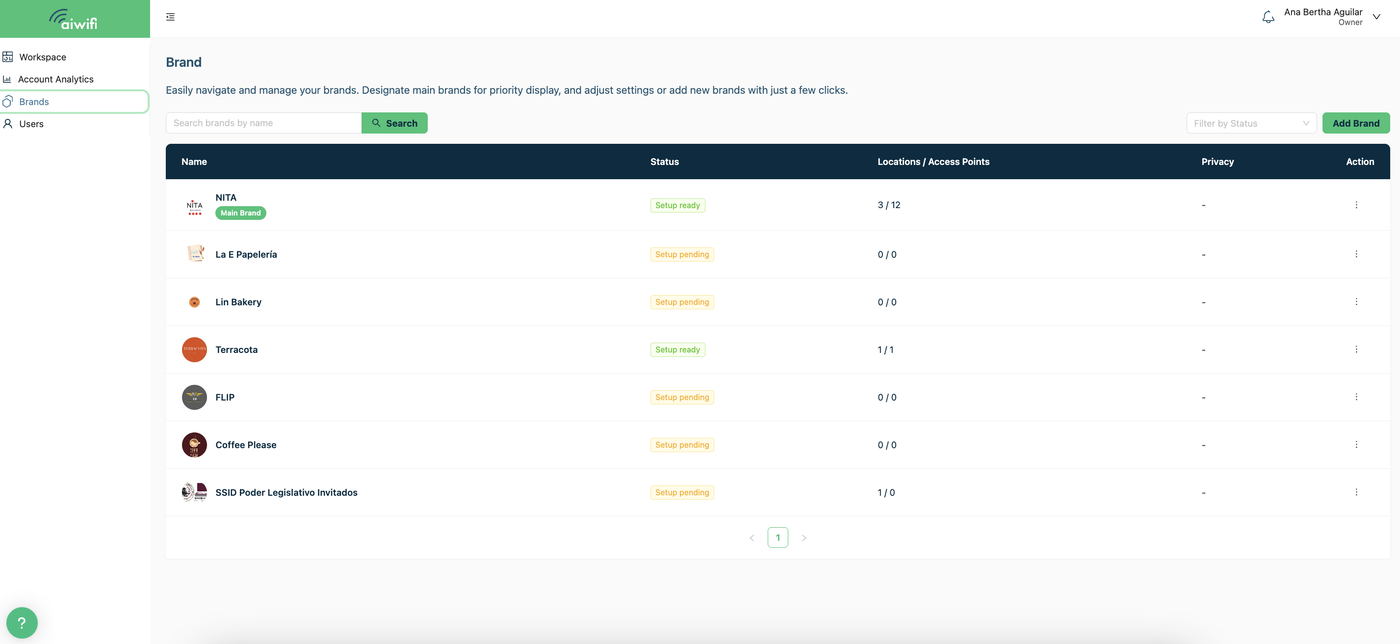
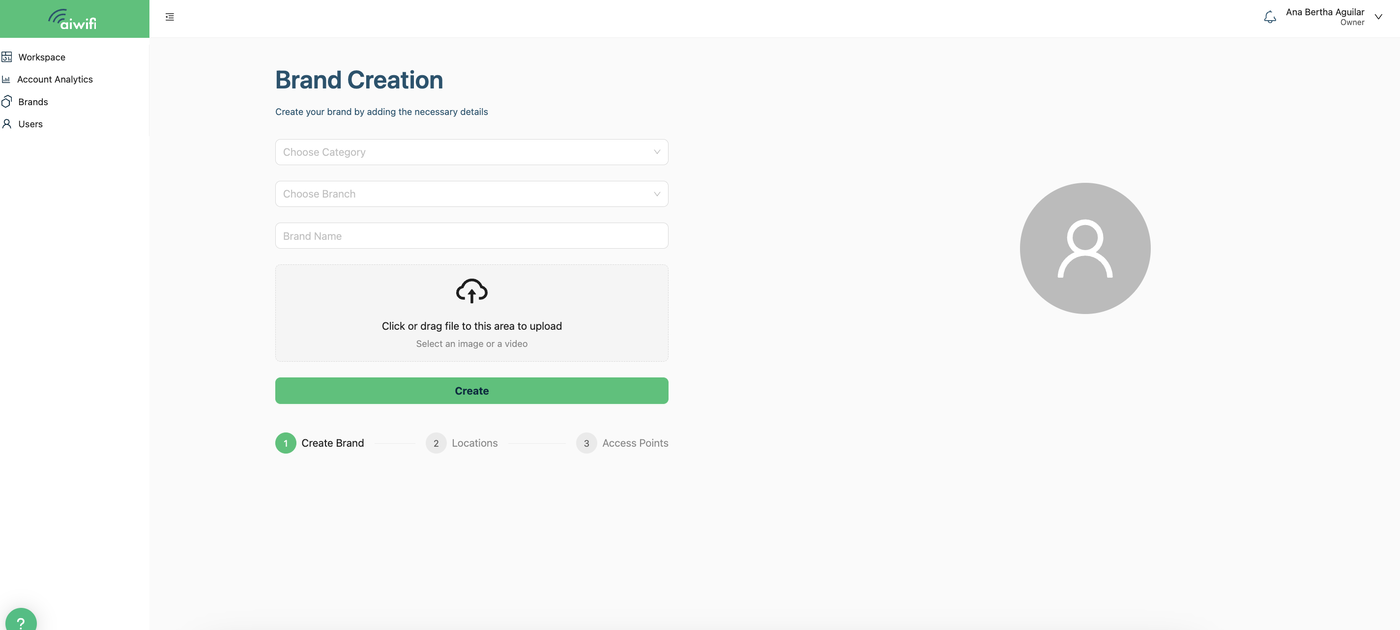
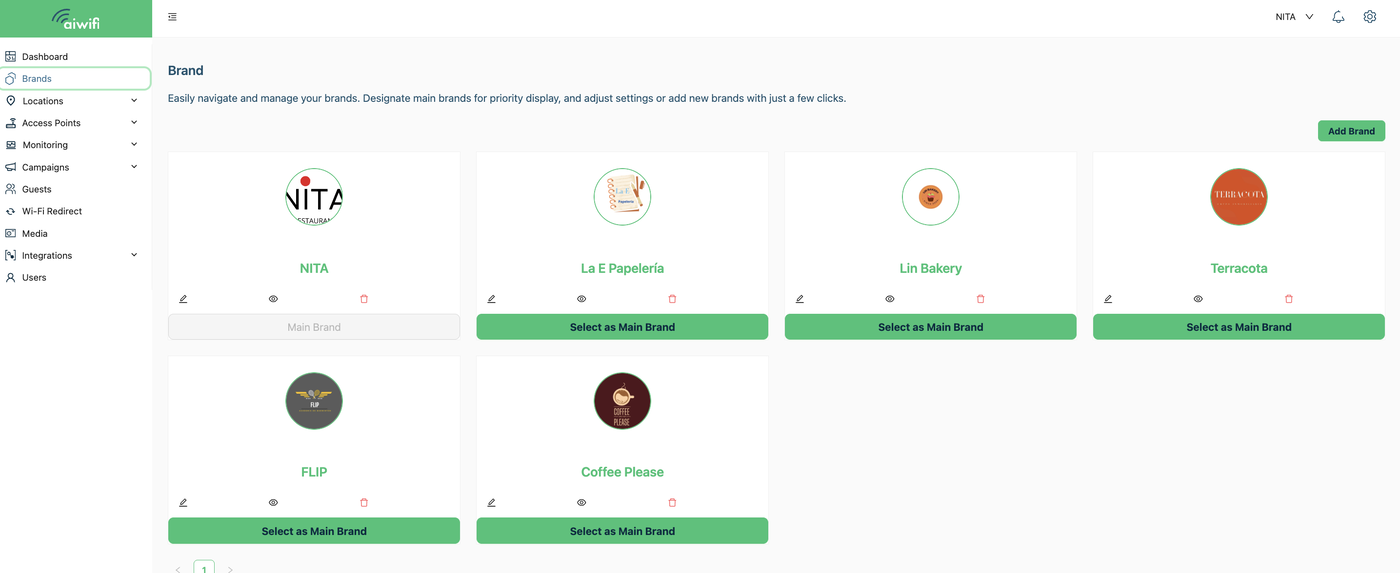
Add your Brand
The Brand holds everything, from locations and access points, to the Logo, privacy notice, guests, users, captive portals and analytics. This will allow you to manage multiple businesses with your account in a secure and independent manner, making sure businesses are managed separately.
You can create your brand by:
When you first login, the brand creation Wizard will trigger automatically.
Go to the Brands menu on the left toolbar, once logged in to your account and click on the Create Brand button.
Go to the Brand name at the top right corner of your dashboard, click on the Add new Brand button.
To add or update your Privacy Policy click on the three dots on the right side of the brand and select “Edit”.
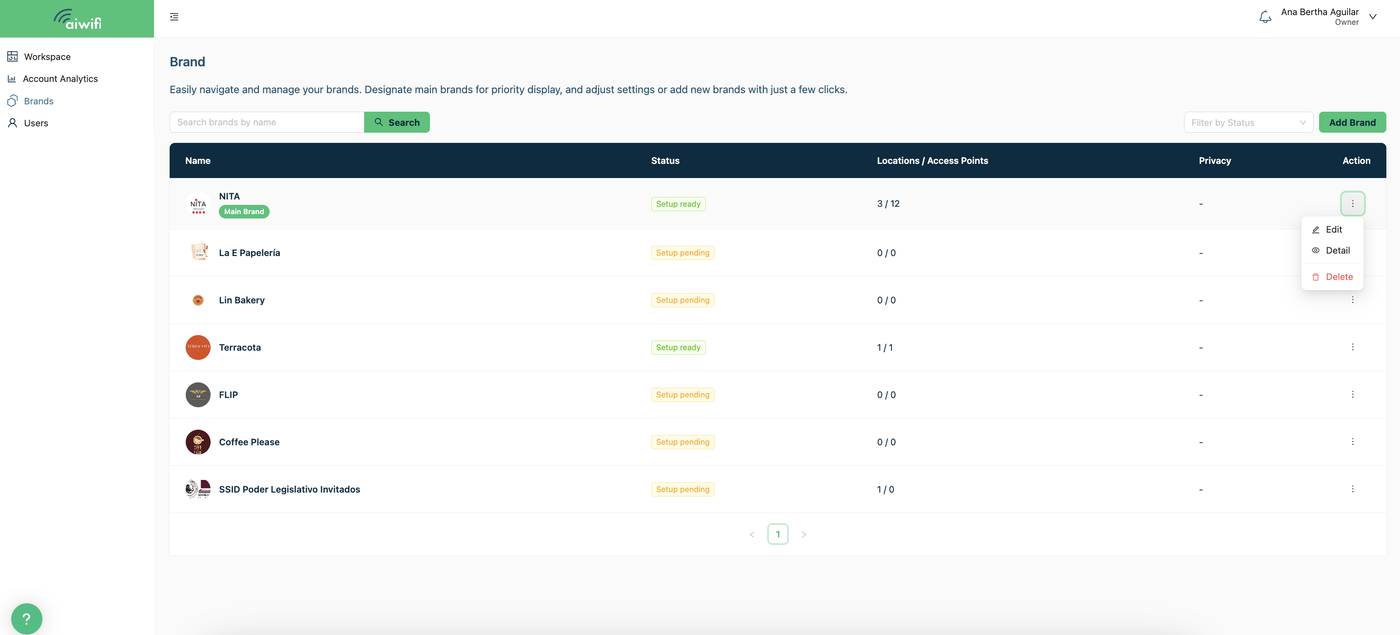
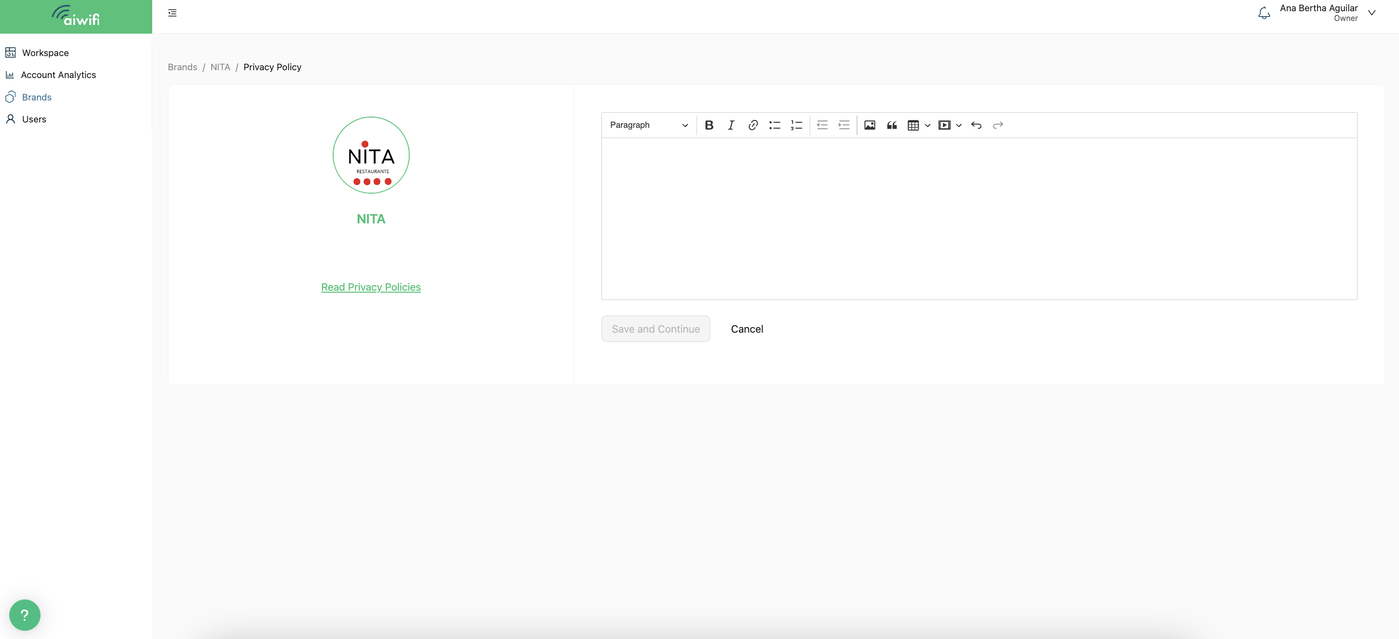
Select the title “ Create or Read Privacy Policy”
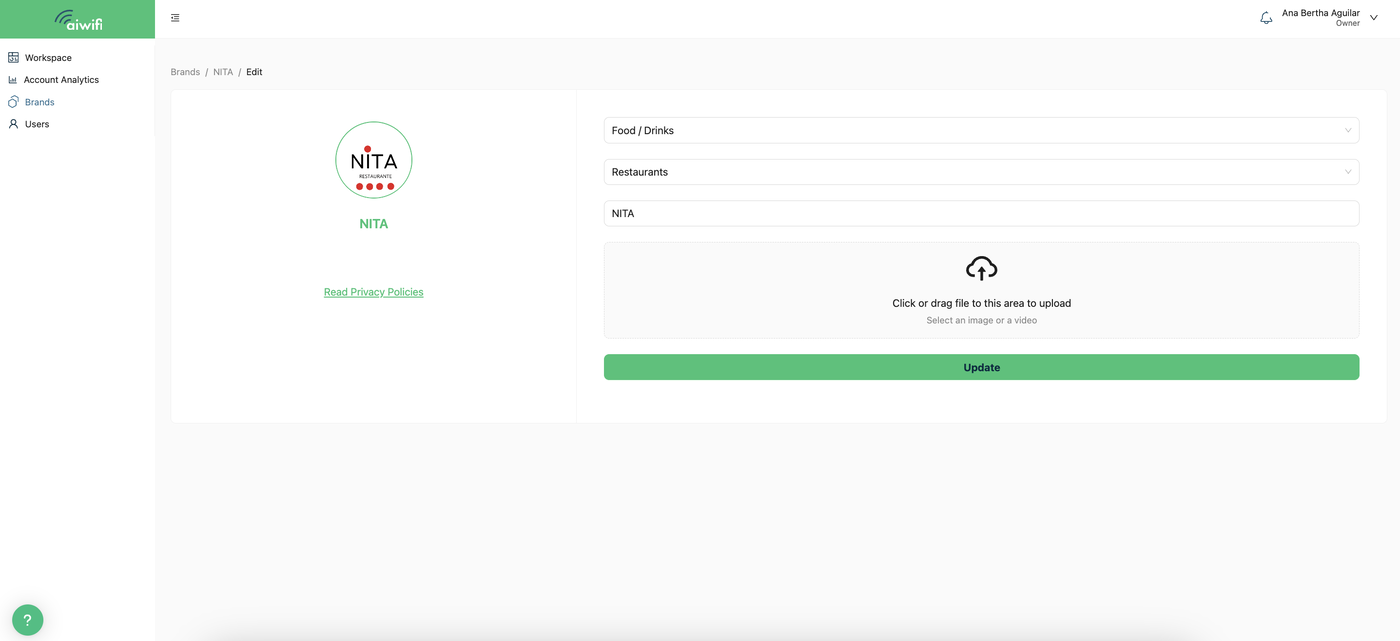
Add in the blank space your Privacy Policy.
Add your first Location
The location is a venue or group where access points are located. These are a few examples:
Zones or areas within a Shopping Mall.
A cafeteria or restaurant branch.
Zones or areas within a City.
A bus or public transportation car.
You can create your location by:
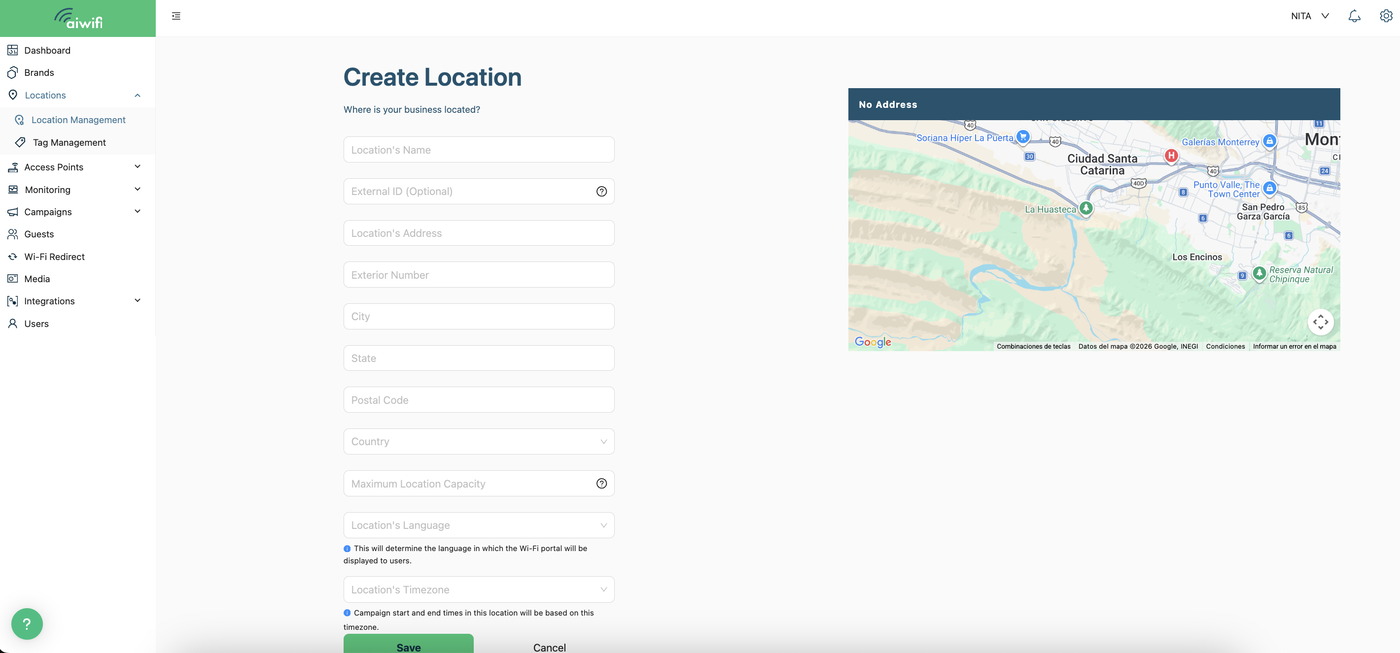
Navigating to the Locations menu on the left toolbar. Click on the Add Location button:
2.- On your screen you will see the section: “Create Location”. Fill in the blanks the information concerning your location and click on “Save”.
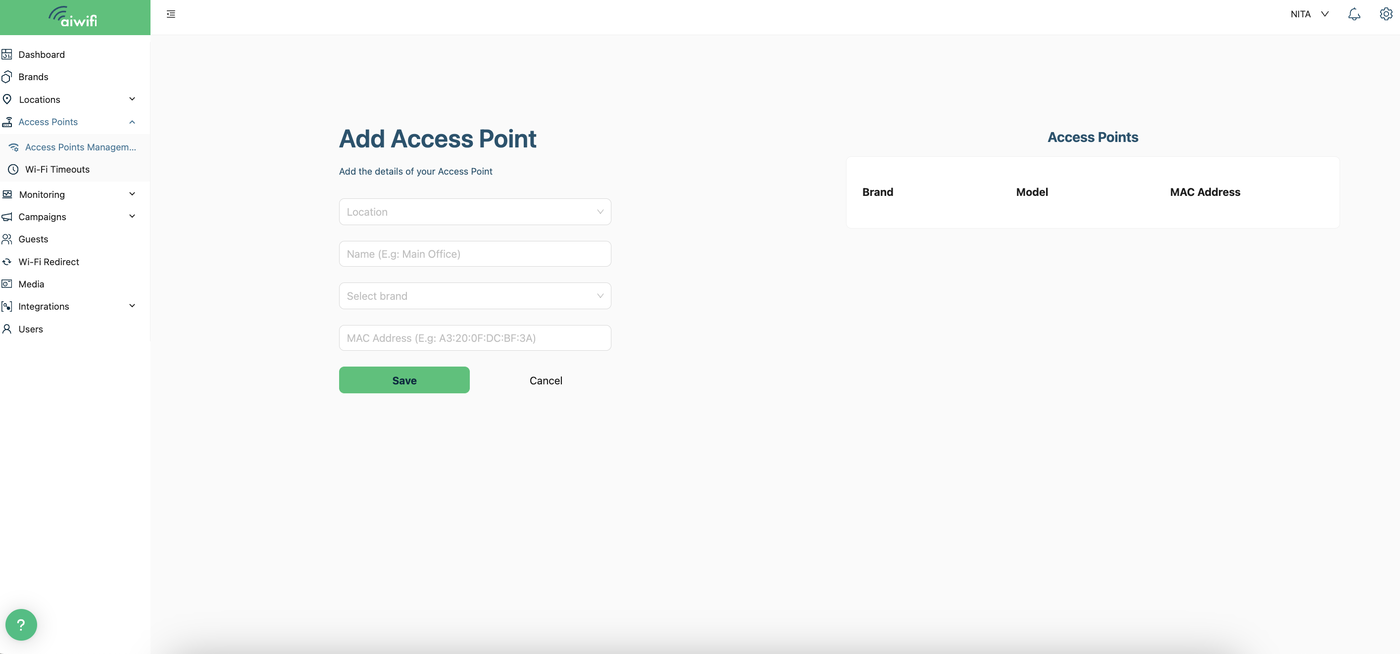
Add your first Access Point
Access points are the wifi antenna where Aiwifi will be setup. Make sure you have your access point’s MAC address ready to add it to the platform and make sure you’ve setup your Access Point to point to our captive portal.
1.- Click on “Access Points Manangement”.
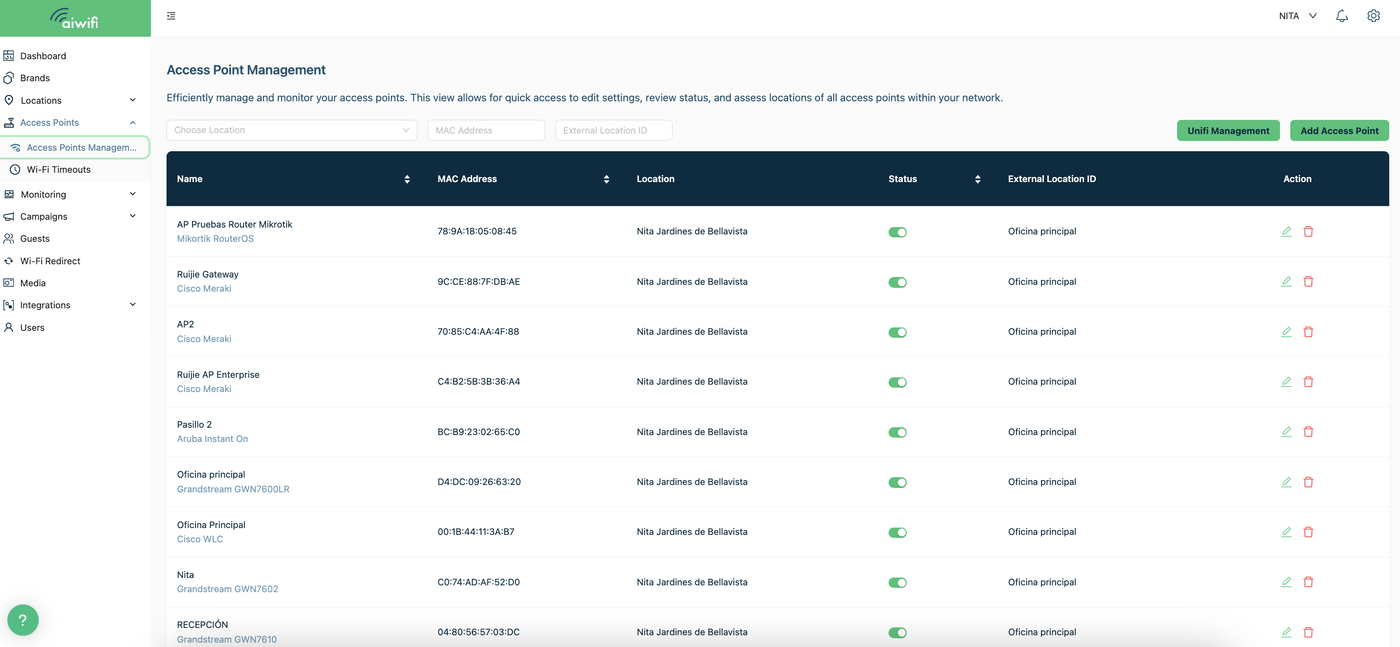
2.- Click on “Add Access Point”