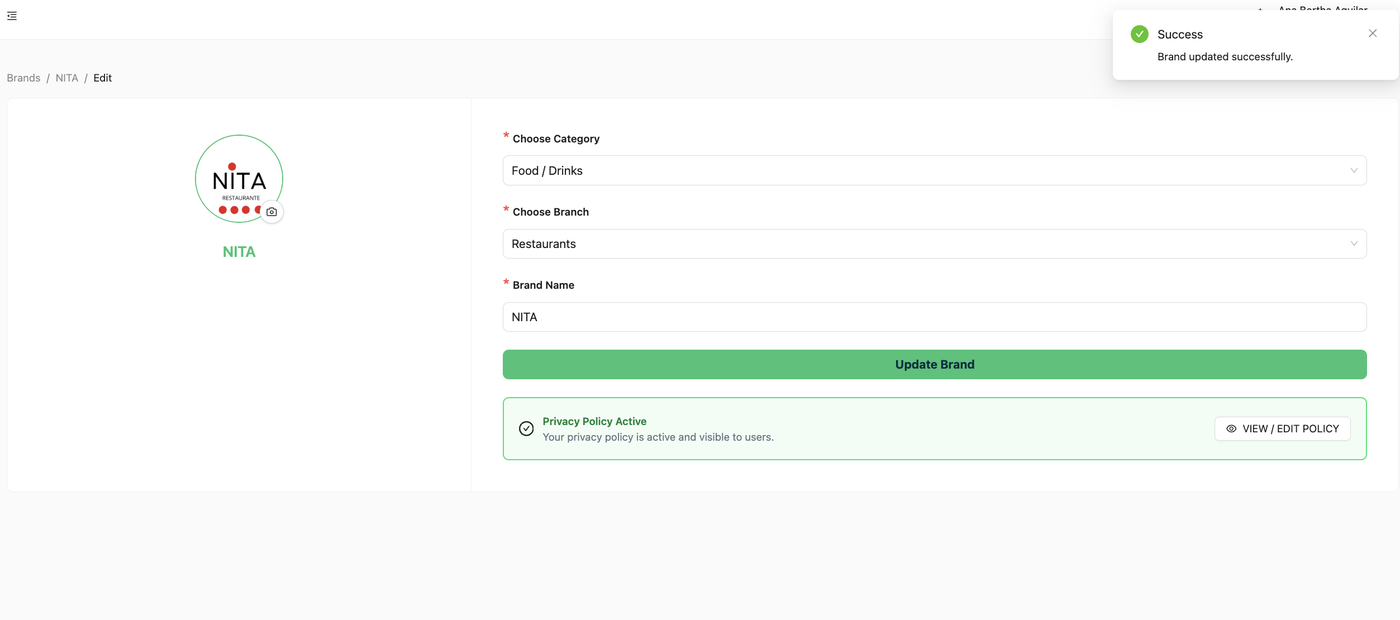

Personalize and update your brand logo
Below, we outline the steps to customize your brand logo to create the necessary impact for providing your guests with an optimal experience and increasing brand loyalty.
Steps:
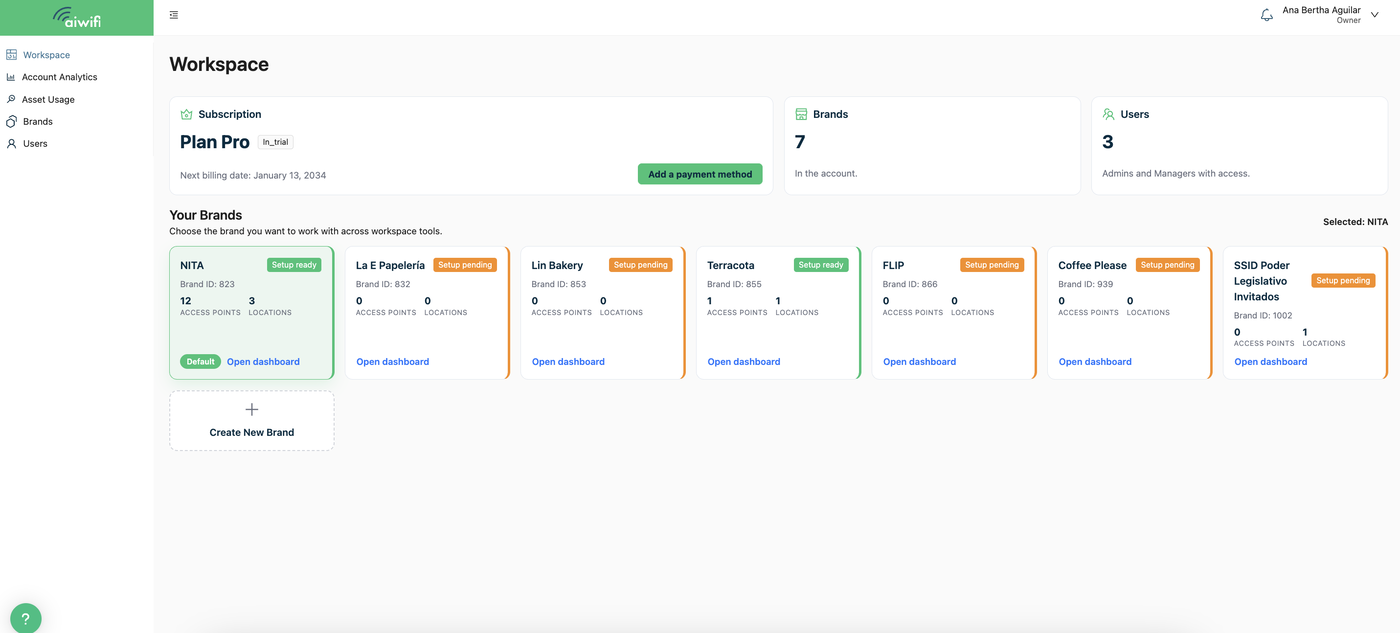
1.- Workspace:
Once you log in to the platform, in the Workspace dashboard, select the "Brands" section located in the left column of your screen. An example is shown below.
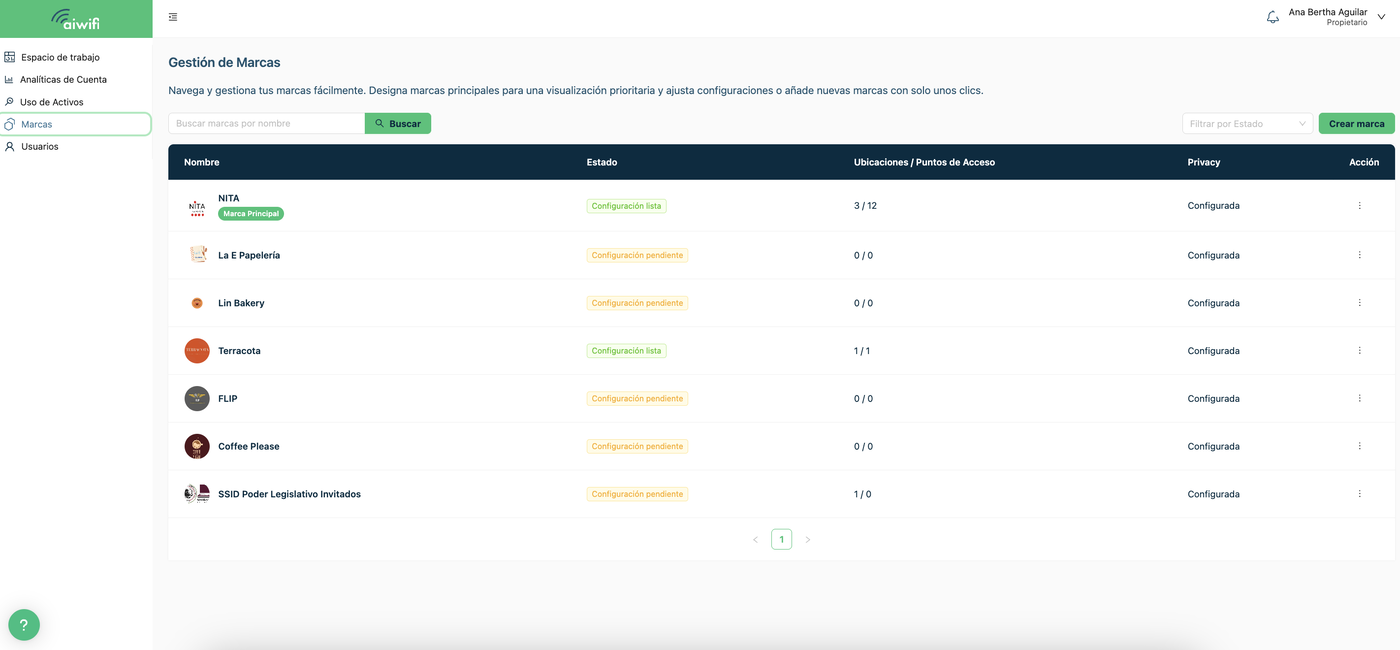
2.- Brands
In the Brand Management dashboard, select the brand to customize by clicking on the three dots found in the top right corner of the menu bar, under the “Action” heading.
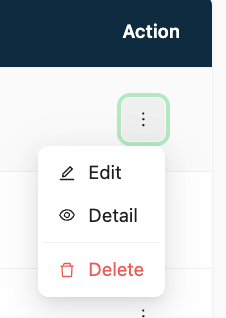
On your screen it will deploy the available actions. Here is an example:
3.- Edit brands:
In this section you will be able to update your brand.
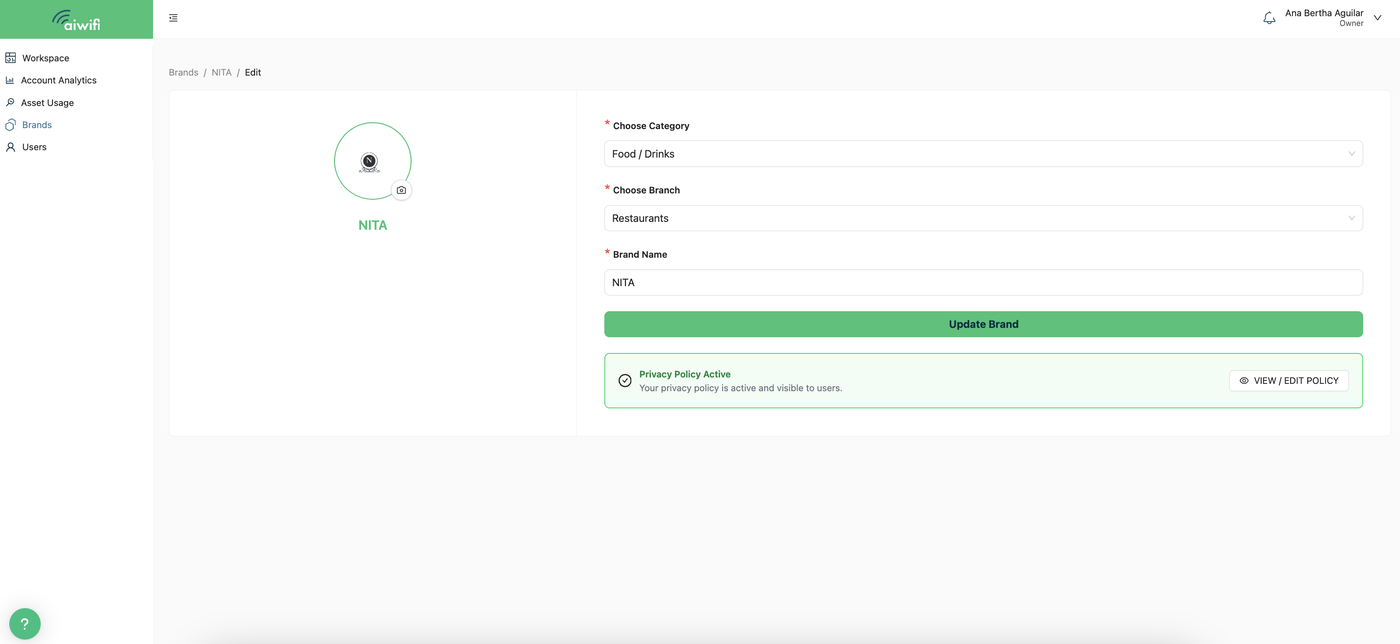
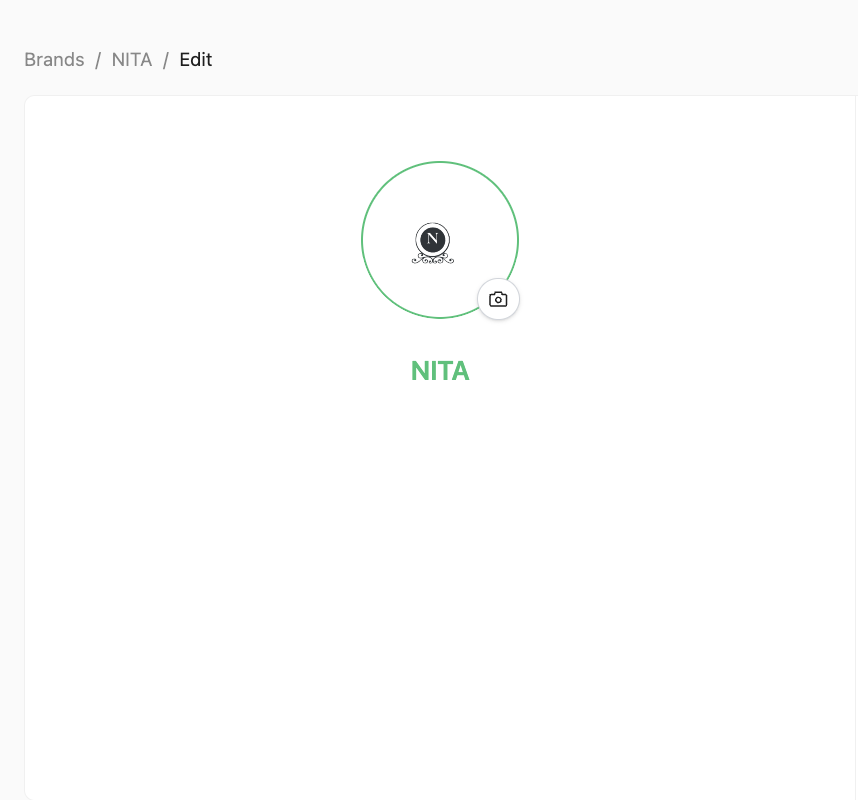
4.- Click on the camera icon:
Select the camera icon located at the bottom right of the logo image circle.
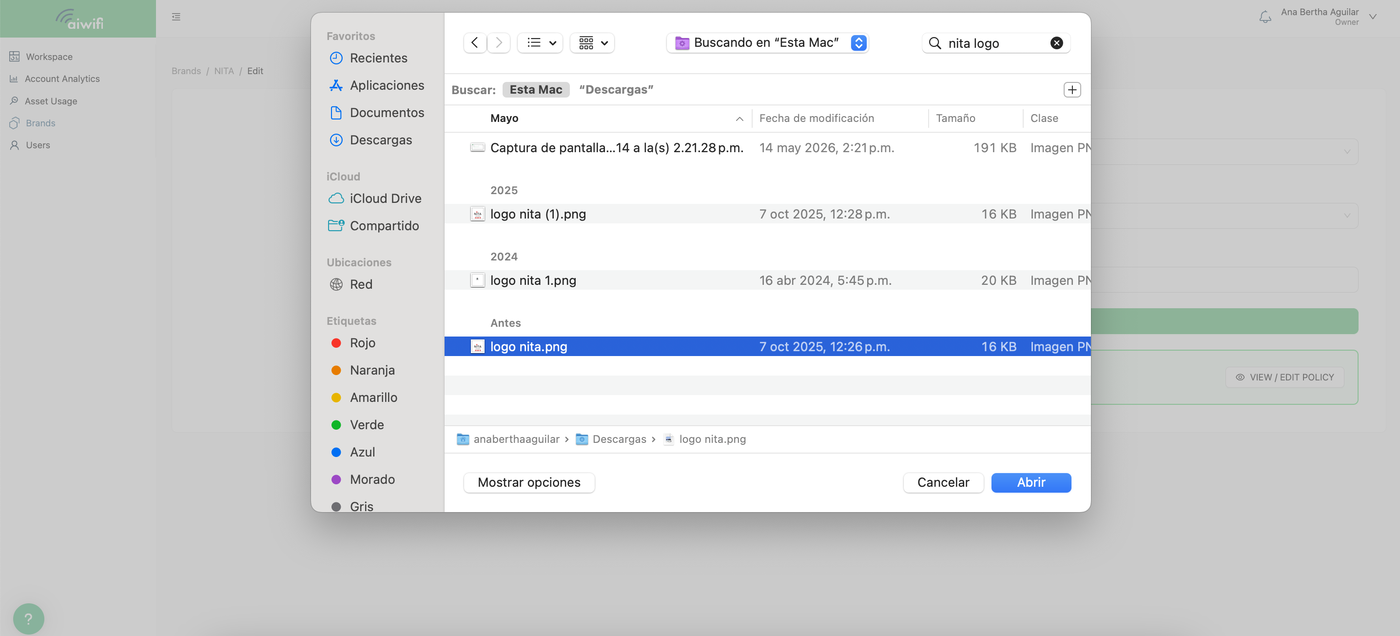
5.- Select a file on your browser
On your browser, select a file to deploy on your platform and click on “Abrir” or “Open”.
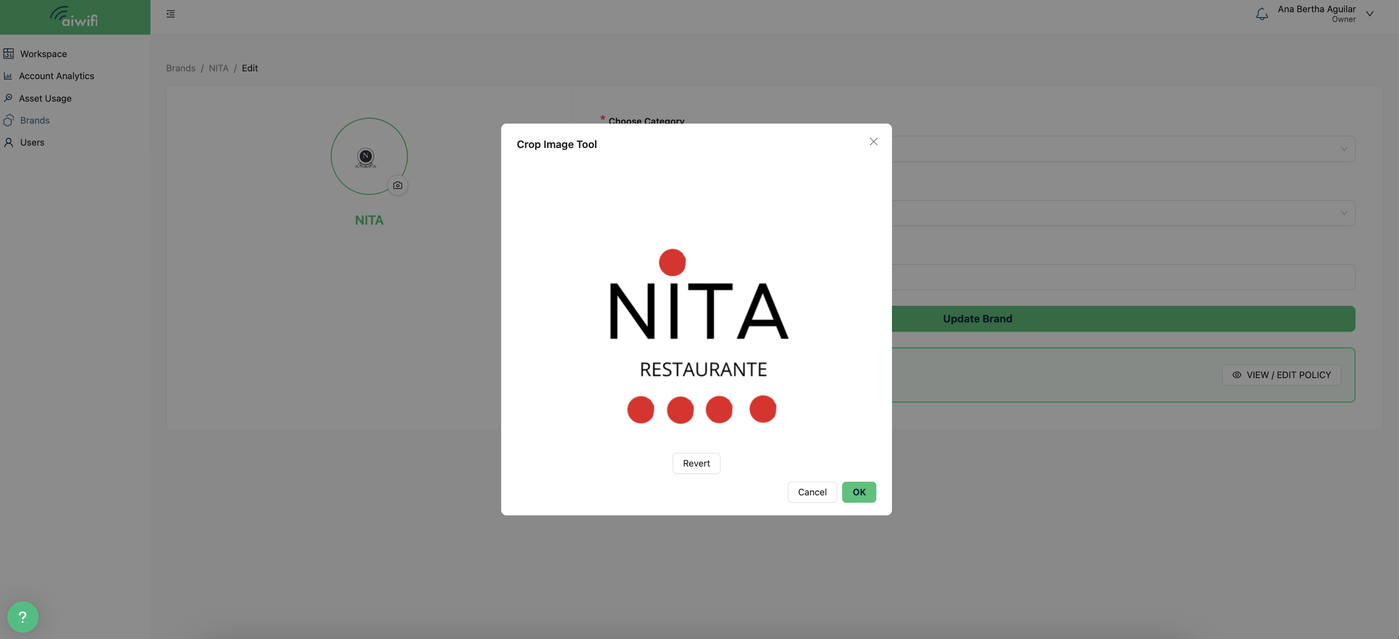
6.- Adapte de image to the box
Adapt the image to the box then click on “Apply”.
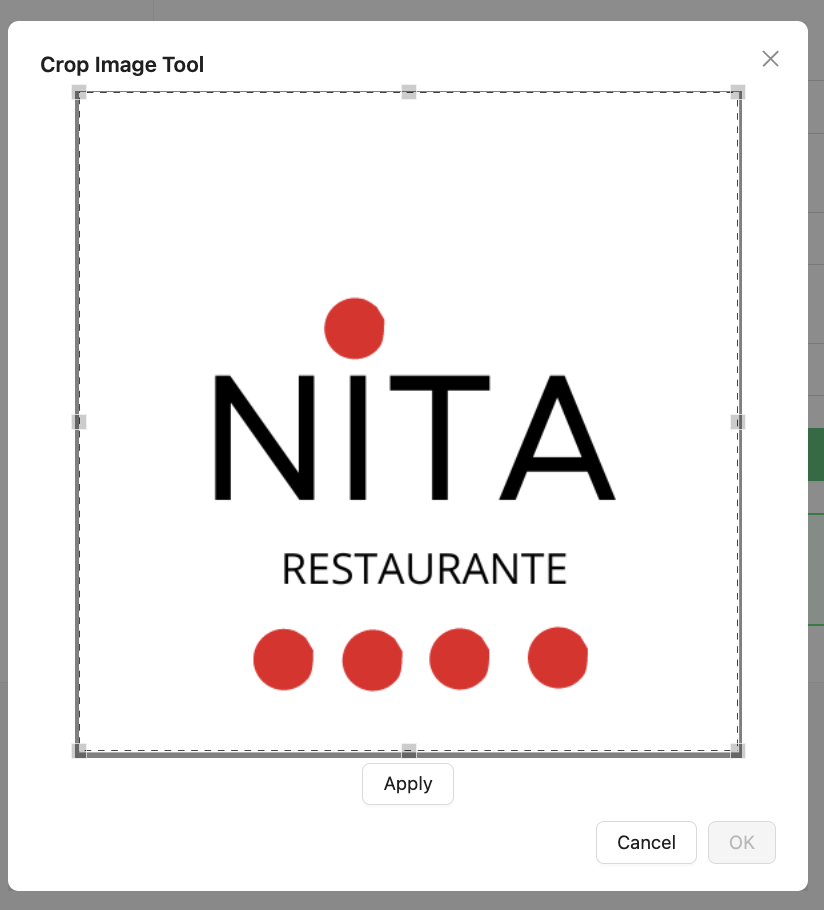
7.- Select “OK”
8.- Logo updated successfully
It will deploy on your screen the message “Logo uploaded successfully.
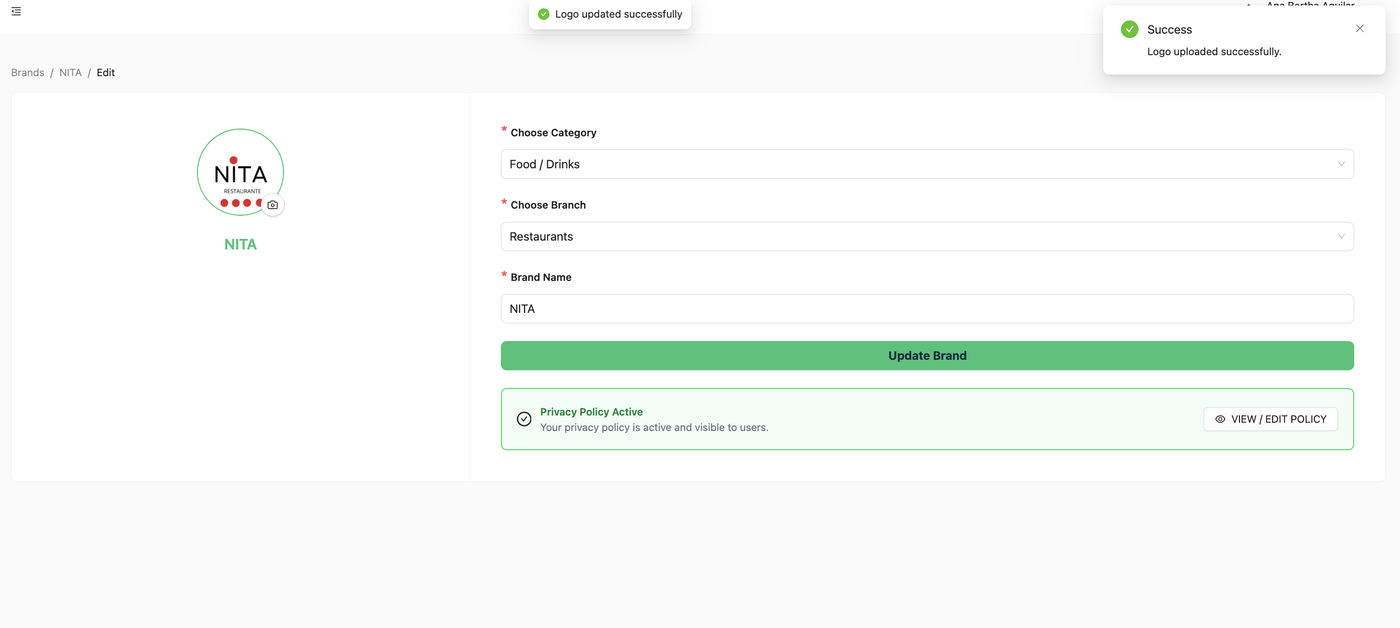
9.- Click on “Update Brand”
On your screen it will deploy the message “Brand updated successfully”.