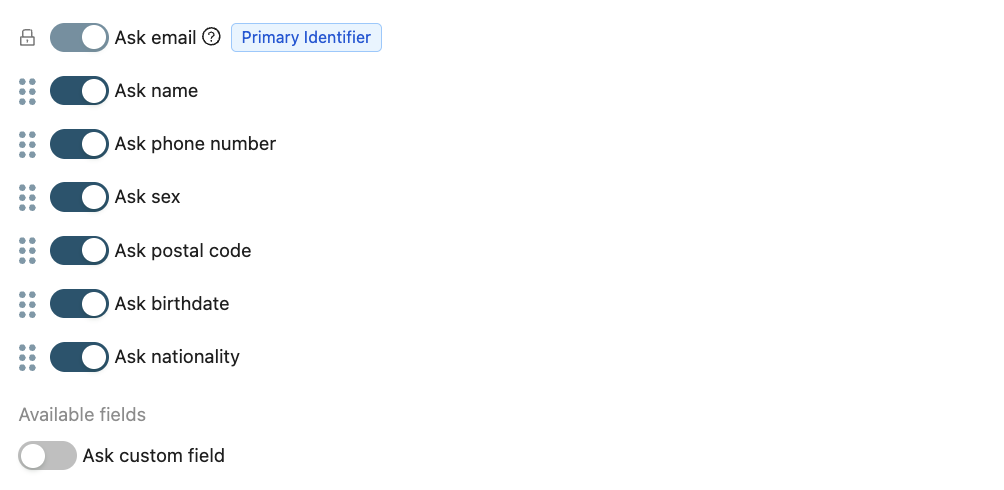

Select and arrange the fields you want to collect from your guests in the Data Capture Campaign
Strategically choose the data you want to collect in your Data Capture campaign to maximize your results and get to know your customers better.
Your Data Capture campaign stores guest information, including Email, Name, Phone Number, Date of Birth, Zip Code, Nationality, and Gender. You can now choose which fields to display and how many each time a guest visits your Data Capture campaign.
Please note: The "Email" field is mandatory and will always be requested first, as it serves as the primary identifier and unique key for guest records.
Number of fields per visit:
You can now select how many fields you want to display during each visit within the Data Capture campaign.
By default, the platform displays two fields per visit, as this yields the optimal conversion rate. We have found that guests are much more likely to complete the captive portal flow when presented with just two fields per visit. This ensures a smooth, fast, and engaging experience for your guests. However you can add more fields per visit if you prefer.
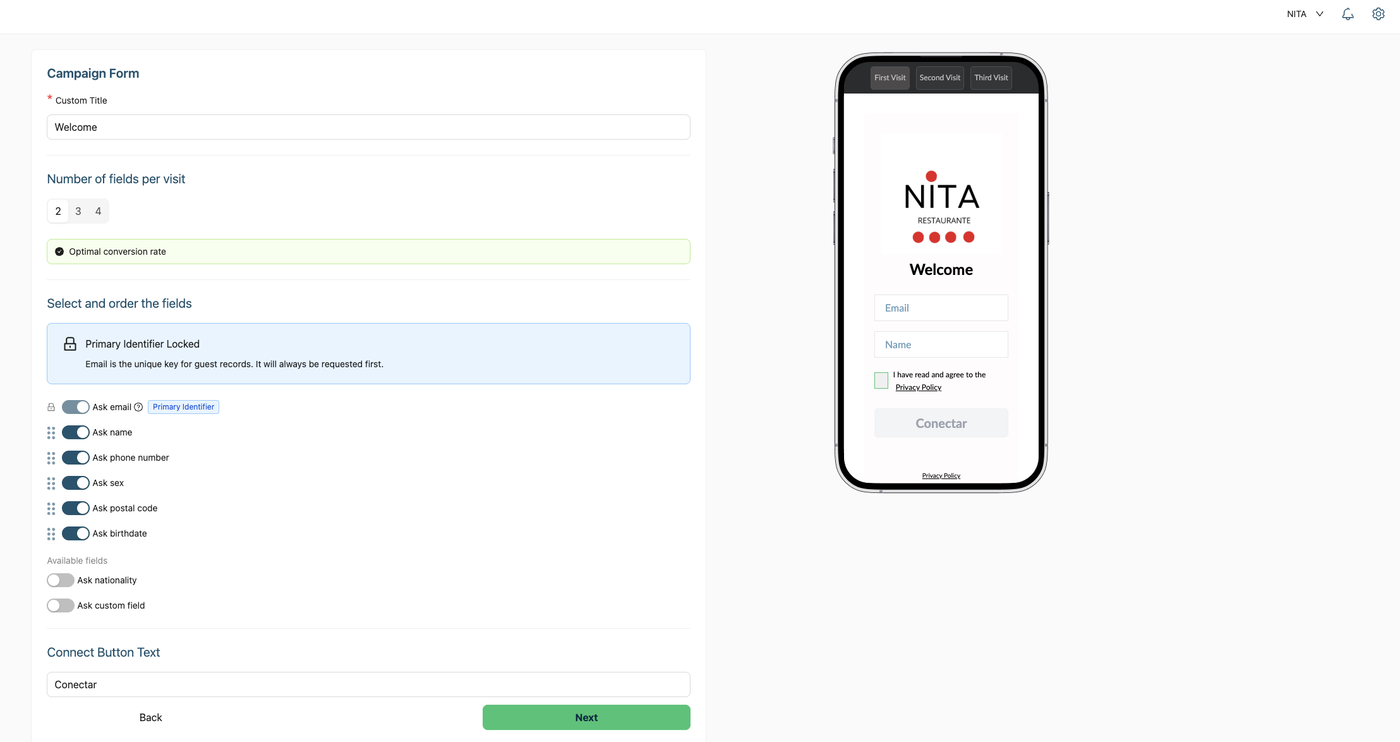
Steps to select and order the fields you want to collect from your guests:
1- In your Data Capture campaign, go to the “Form” section and choose the number of fields to display per visit.
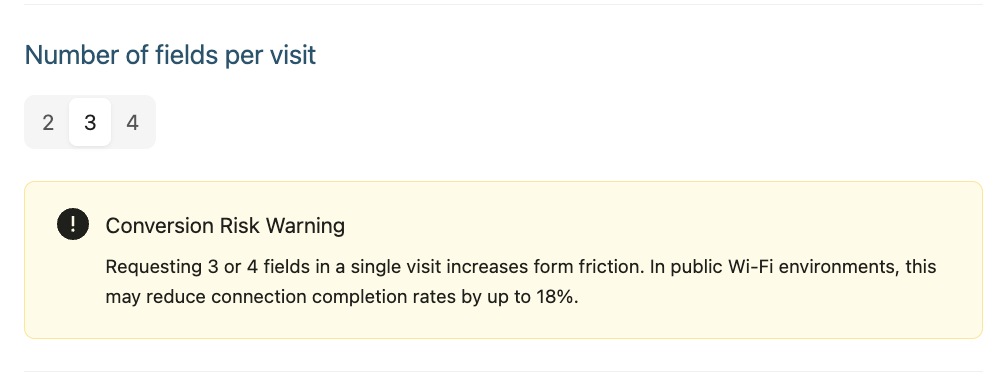
If you select the number 3, the platform will automatically show a warning about conversion risks.
Remember that showing 3 or 4 fields in a single visit can reduce the number of connections. However, this may vary depending on your business sector.
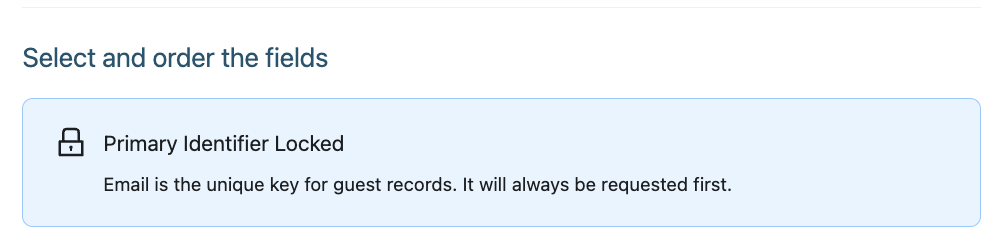
2. Select and order your fields: In this section, you can choose which fields to show your guests and the order in which they appear during your data capture campaign.
Please note that the Email field is locked and cannot be moved, as it serves as your primary identifier.
To select a field, simply click and drag the six dots on the left side either up or down.