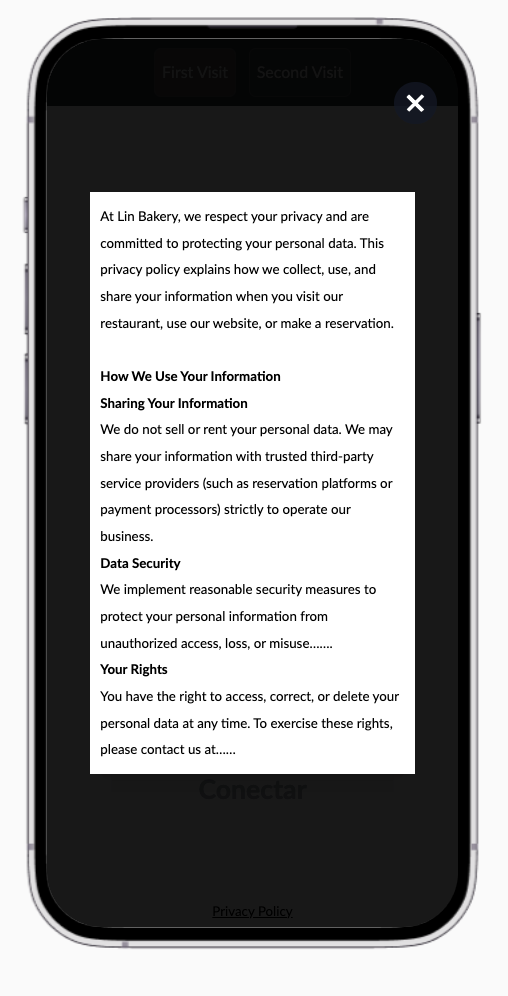

Add /Update your Privacy Notice
Here are the steps to add your brand’s Privacy Notice. You will see is easy to do it only in few clicks.
Steps to add your Privacy Notice:
1.- On Workspace Dashboard, go to the column on the left side of your screen and select “Brands”.
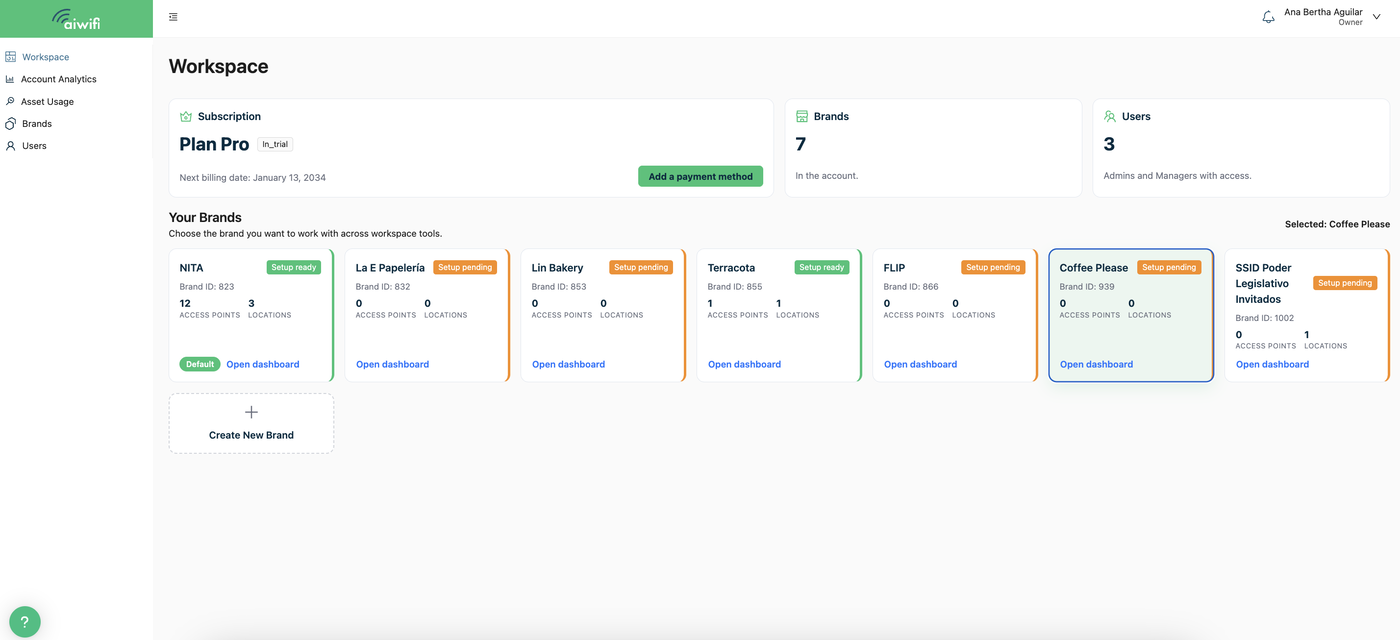
2.- On the Brand Management board, use your cursor to select the brand you want to add the Privacy Notice.
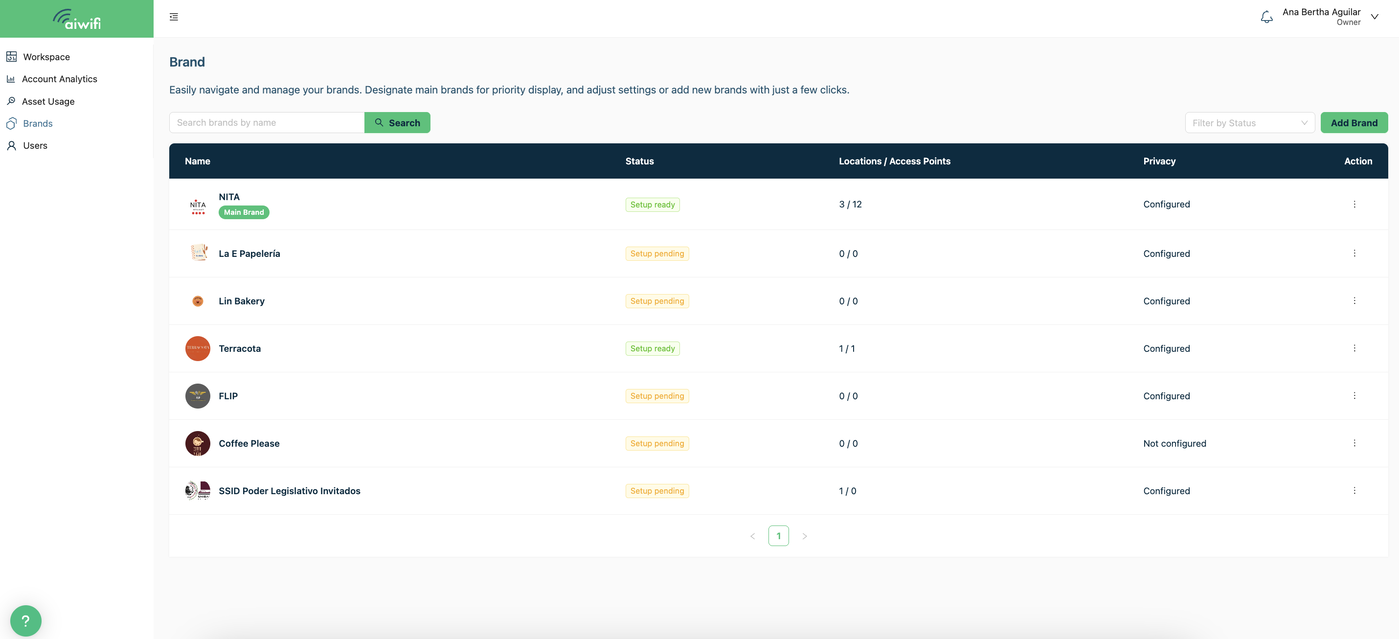
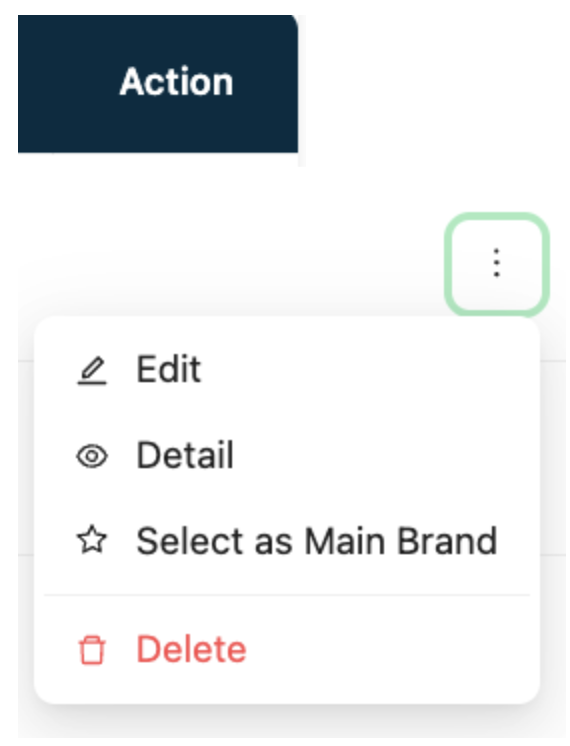
3.-Select the three dots located under the “Action” heading .

4.- On your screen it will deploy a list of actions. Click on “Edit”.
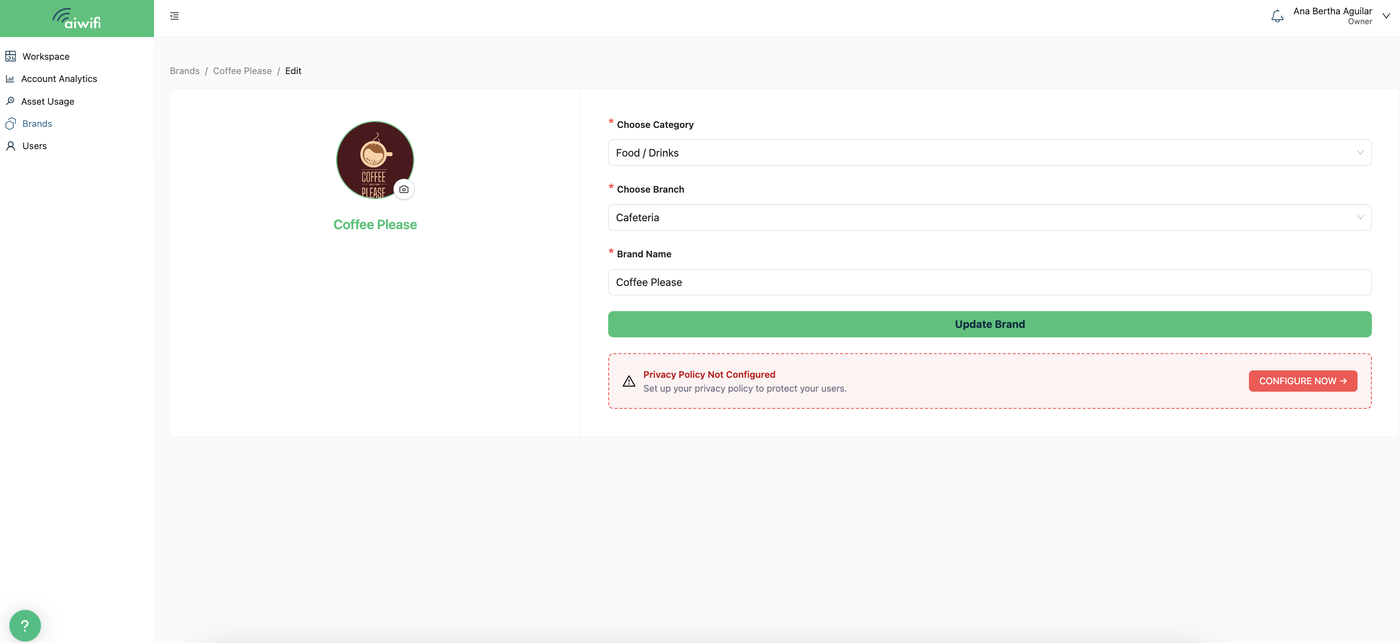
5.- On your screen you will see the category, the branch, the brand name and a message of Privacy Policy not configured, press the button: “Configure Now”.
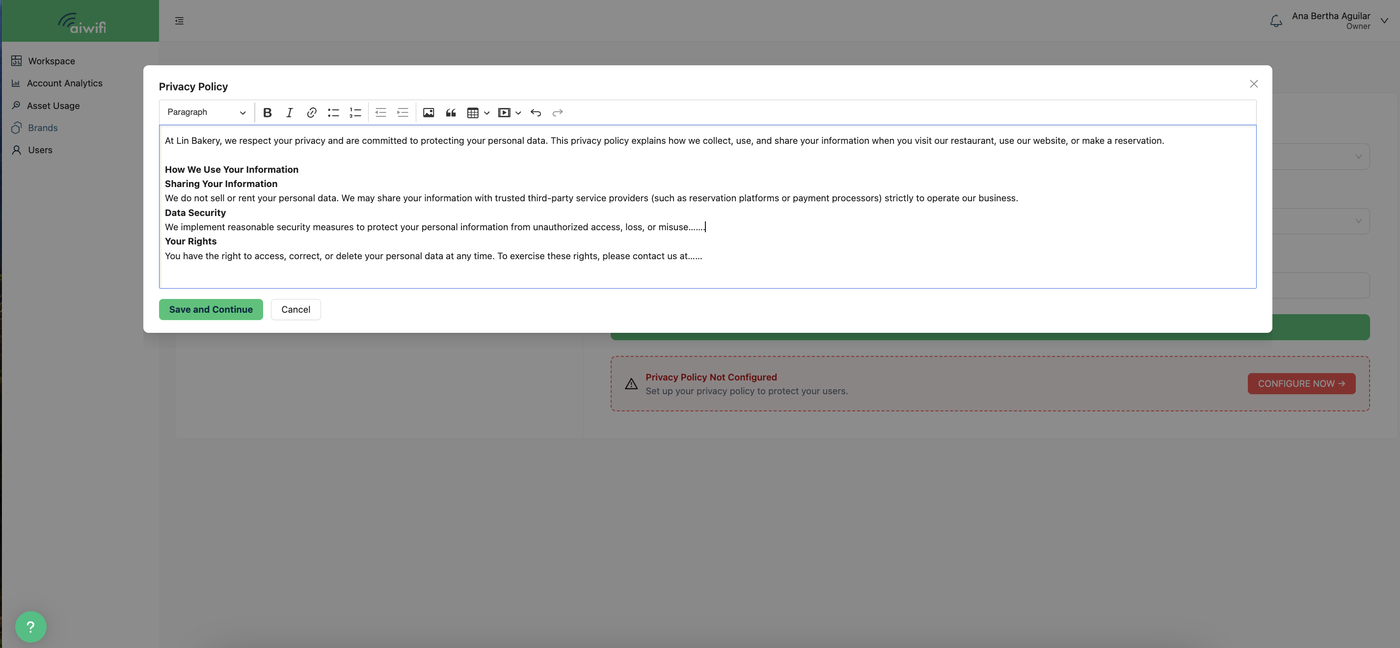
6.- It will deploy on your screen a blank space. Add or write down the Privacy Notice and click on “Save on continue”.
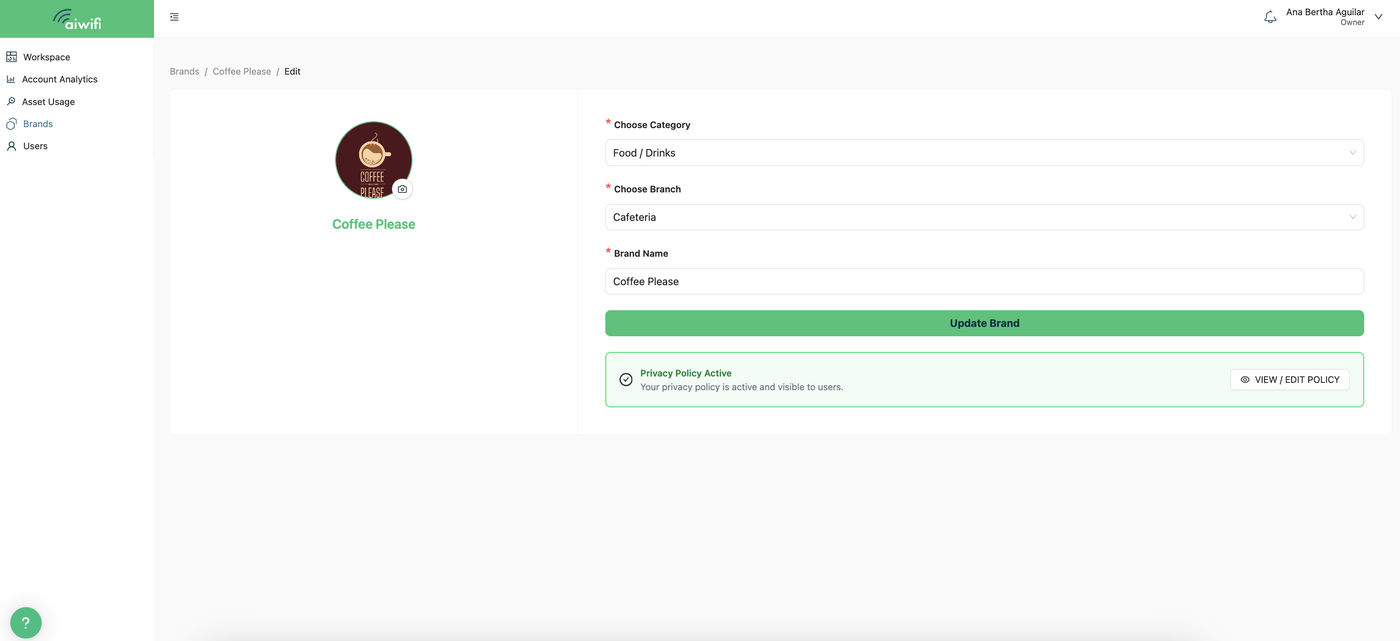
7.- Once you saved your Privacy Notice, on your Brands Dashboard you will see the message “ Privacy Policy Active”.
8.- To verify that your privacy notice has been updated, log in to your brand panel, go to the Campaign Management dashboard, select the three dots on the right side of the Data Capture Campaign (Default), and click on the “Edit” icon.
On your screen you will see the Data. Capture Campaign, on the right side you will see a cellphone image preview that shows how your guest will see the data capture campaign on his phone.
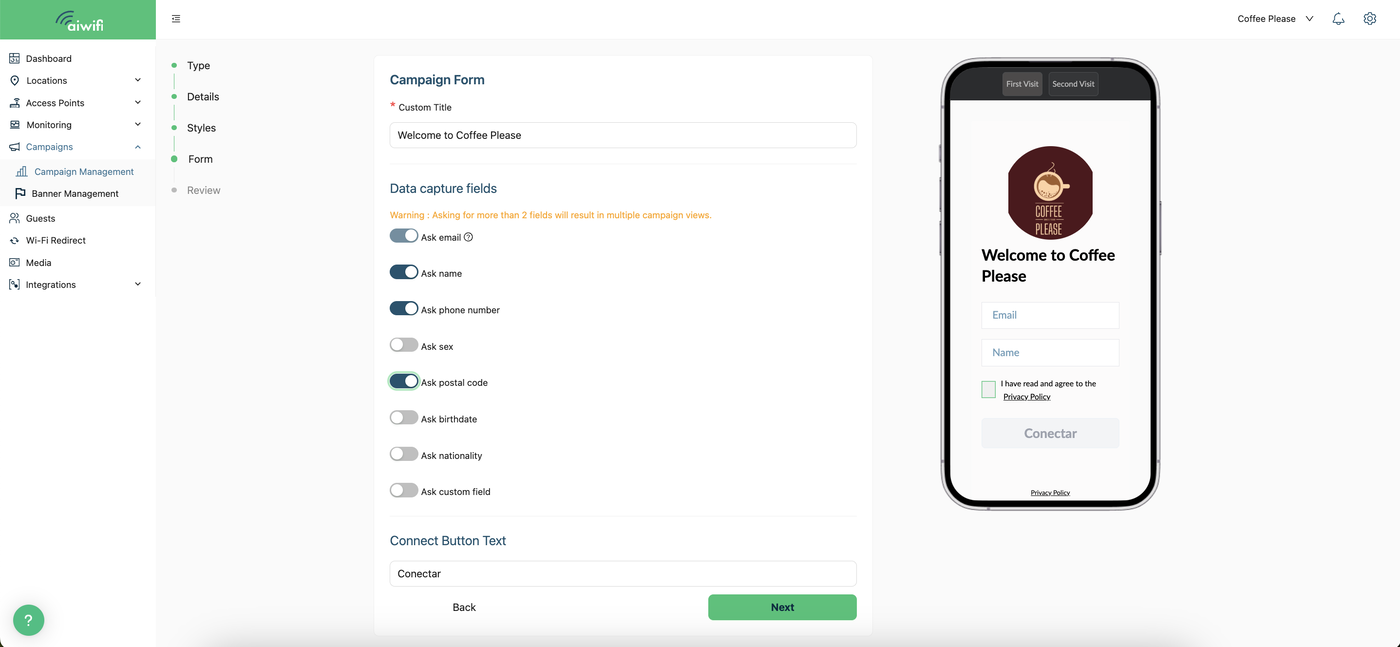
9.- Go to the cellphone image preview and press the Privacy Policy item.
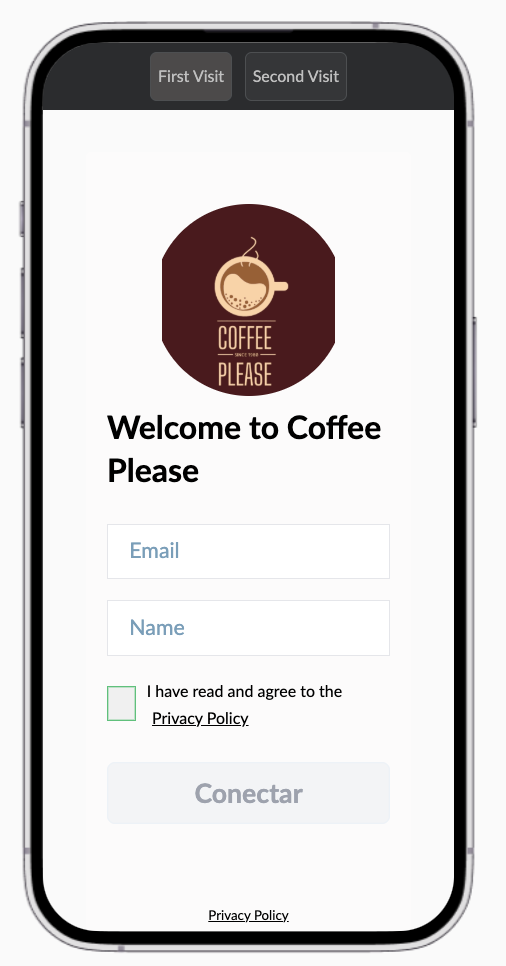
10.- Once you selected the Privacy Policy Item, the text will deploy on your screen.