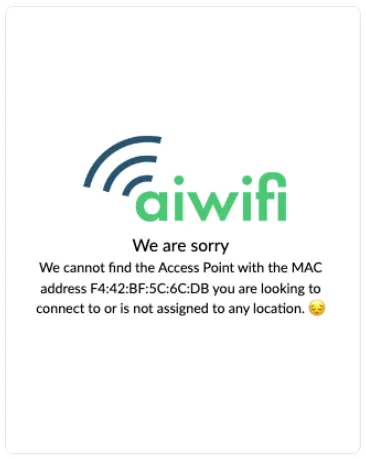
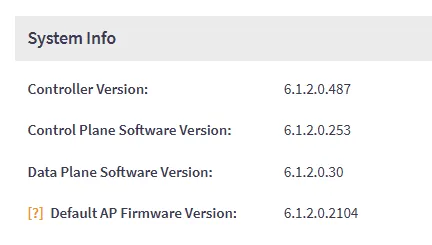
Ruckus Samart Zone100 firmware version
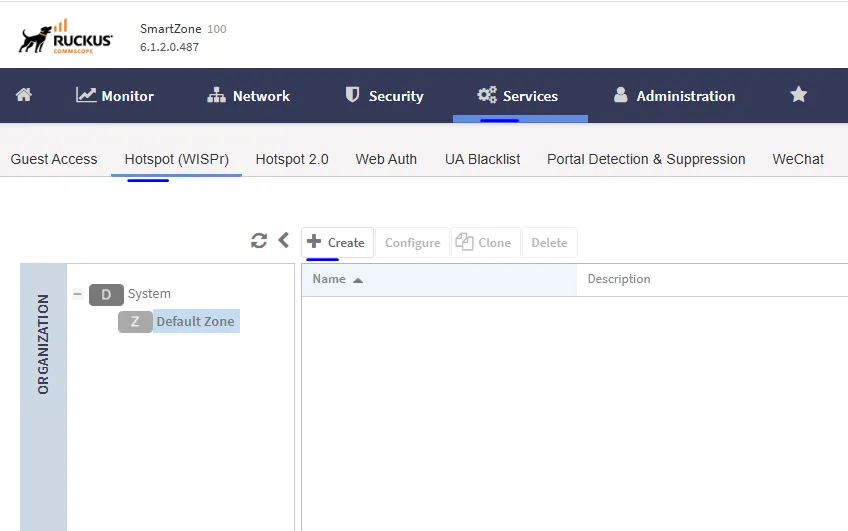
Step 1: Access the Platform
- Open a web browser of your choice.
- Enter the following address in the address bar: https://192.168.88.10:8443/wsg/
- Log in with your administrator credentials.
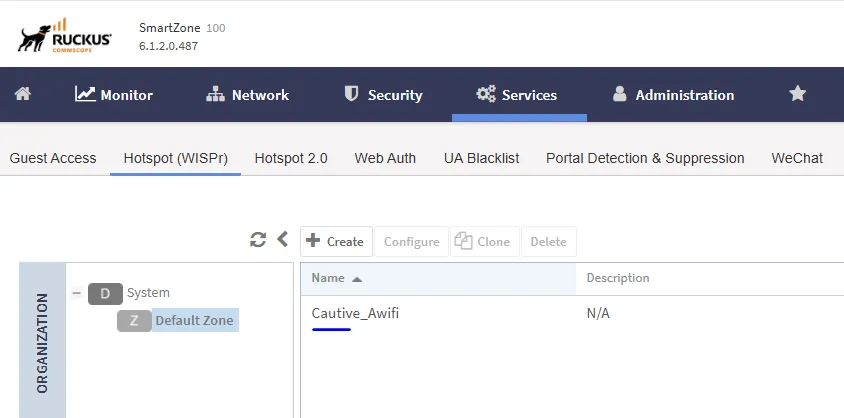
- Go to the Services menu and select Hotspot.
- Click the Create button to create a new captive portal.
Step 2: Captive Portal Configuration
- Select Zone: Make sure to select the zone where your access point is located.
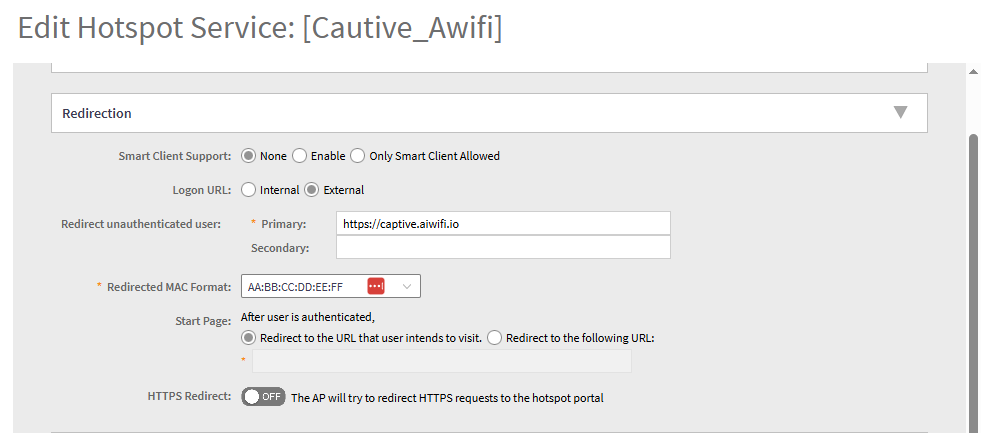
- Portal Name: In the corresponding field, enter the portal name. Example: Captive_Awifi.
- Logon URL: External
- Redirect to the Authenticated User: https://captive.aiwifi.io
- Redirected MAC Format: AA:BB:CC:DD:EE:FF
Step 3: Configure Walled Garden
-Scroll down to the Walled Garden / Traffic Class Profile section.
- Add the following list of allowed URLs:
captive.aiwifi.io
storage1-prod-media.s3.us-east-2.amazonaws.com
api.aiwifi.io
sentry.io
cloudfront.com
lr-ingest.io
doubleclick.net
fbsbx.com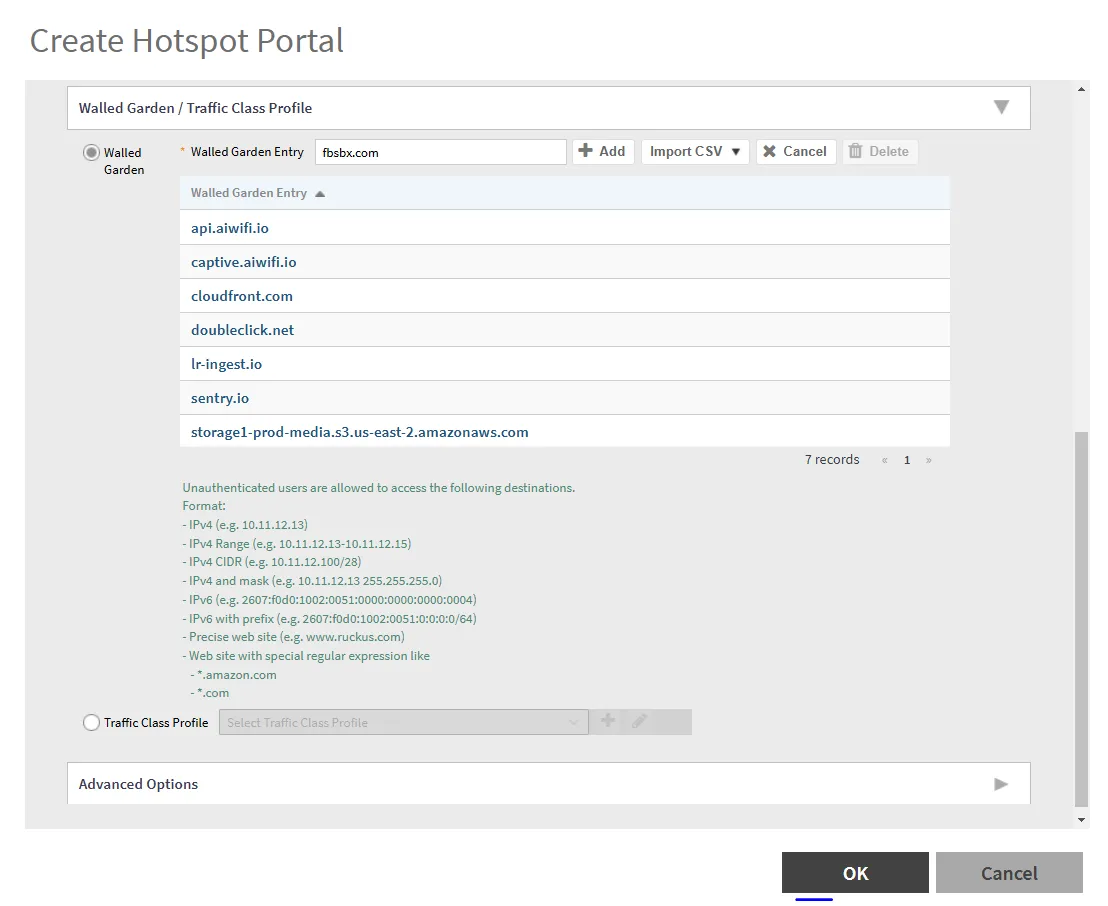
-Once the configuration is complete, click OK.
-The new hotspot will appear in the list with the previously assigned name.
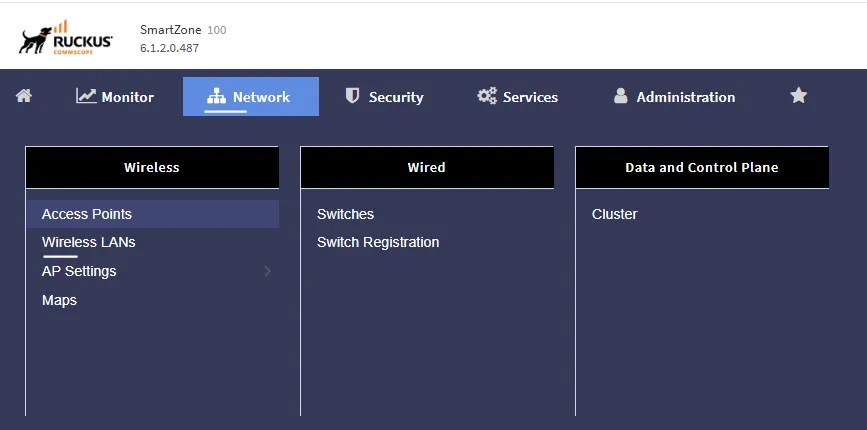
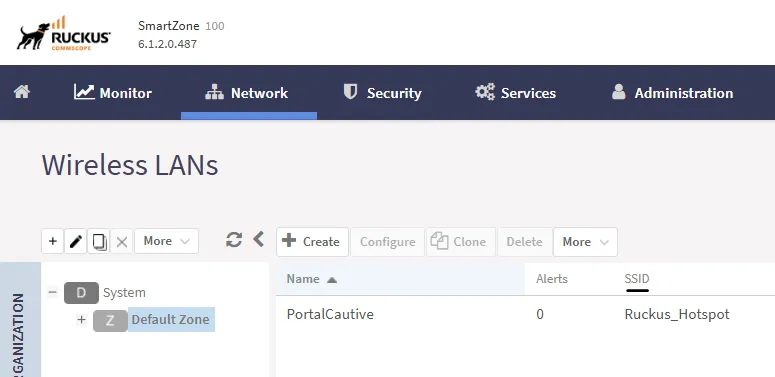
Step 4: Create SSID with Hotspot Authentication - Go to the Network menu and select Wireless LANs.
Step 5:
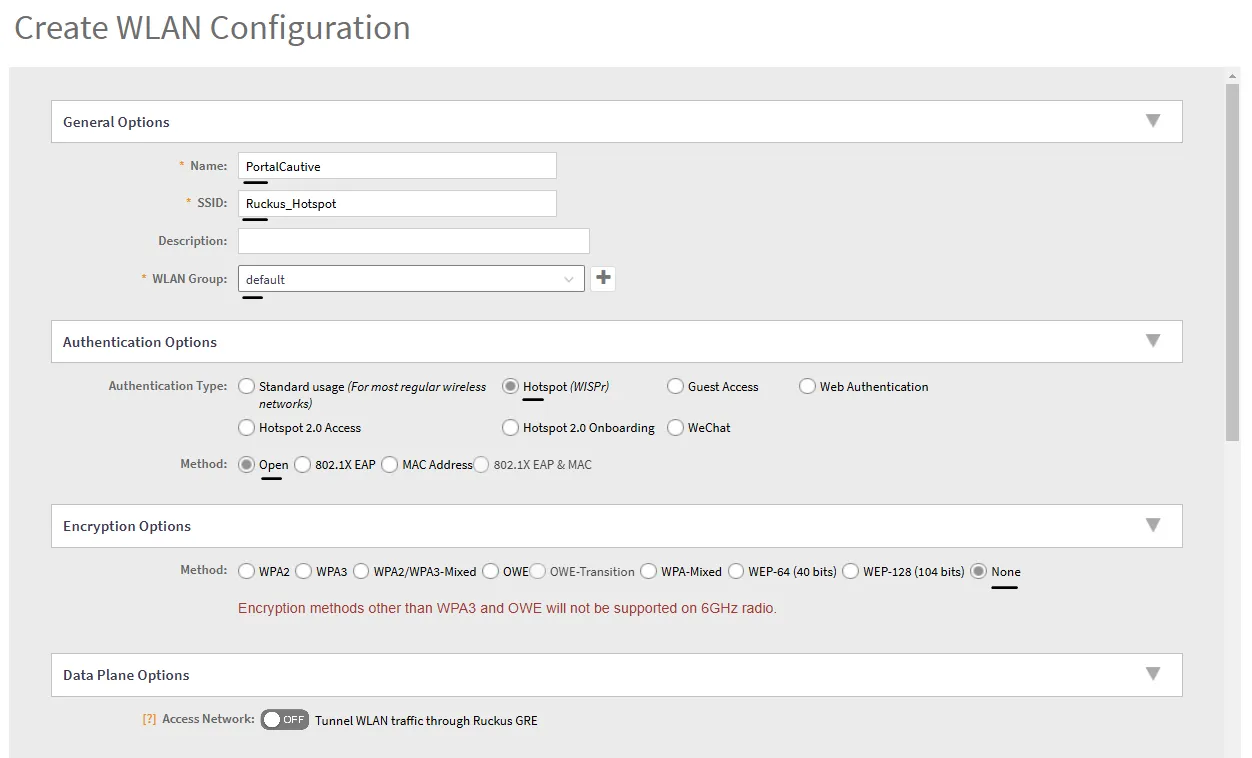
-Create a new SSID:
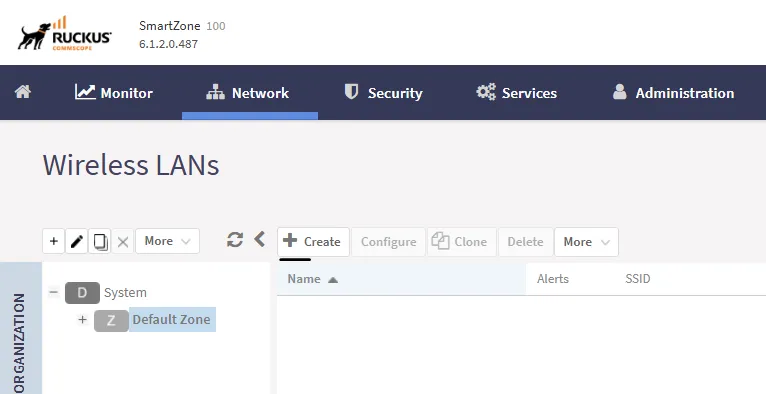
-Create a new SSID with the following settings:
-Name: Aiwifi_Hotspot.
-SSID: Choose the network name. Example: Ruckus_Hotspot.
-Authentication Options: Select Hotspot (WISPr).
-Method: Set to Open.
-Link the SSID to the previously created captive portal.
Step 6: Configure the Hotspot Portal
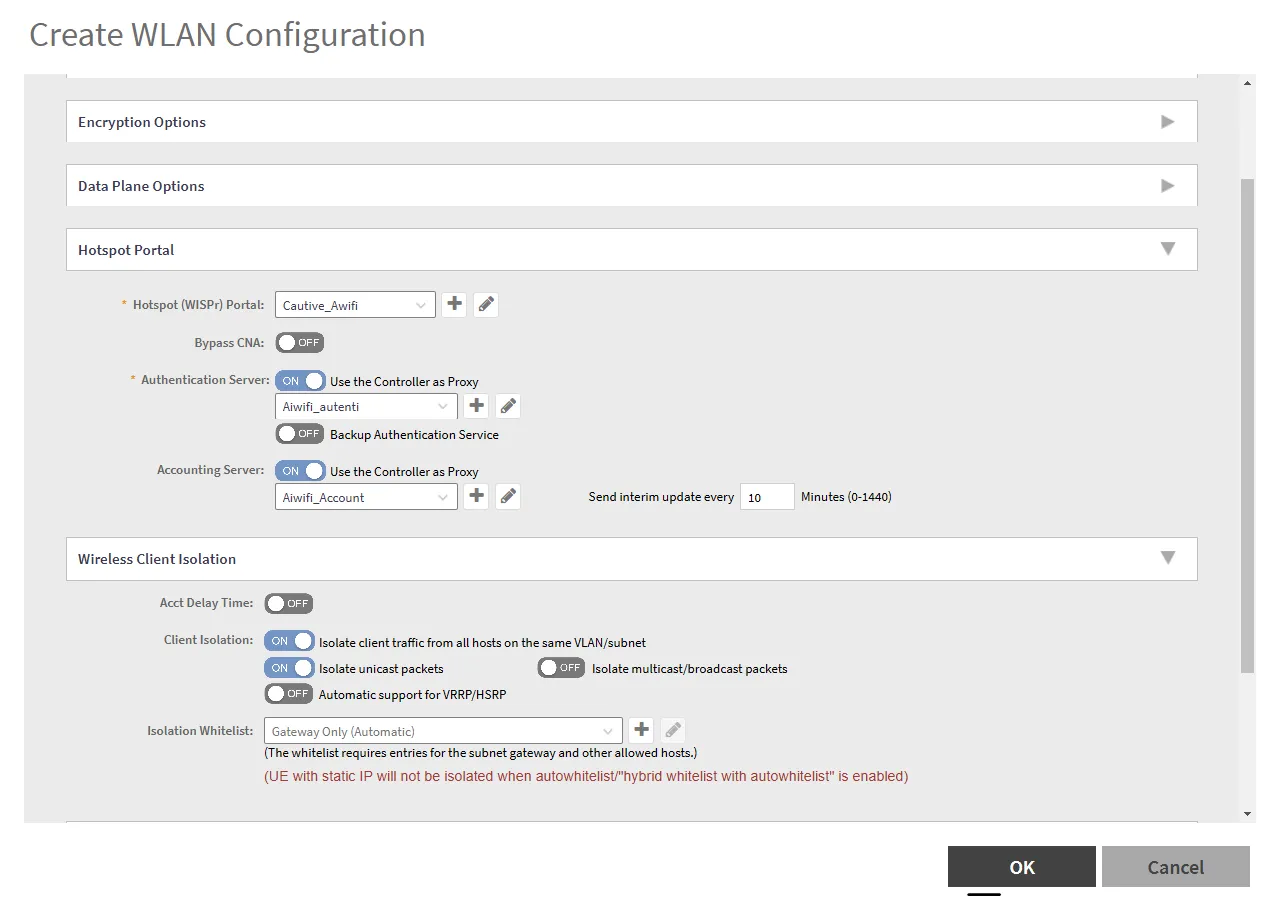
-Go to the Hotspot Portal menu.
-Under the Hotspot WISPr Portal option, select the previously created portal: Captive_Awifi.
-Configure the servers:
-Authentication Server: Click the + button to add an authentication server.
-Accounting Server: Click the + button to add an accounting server.

-Configure the servers:
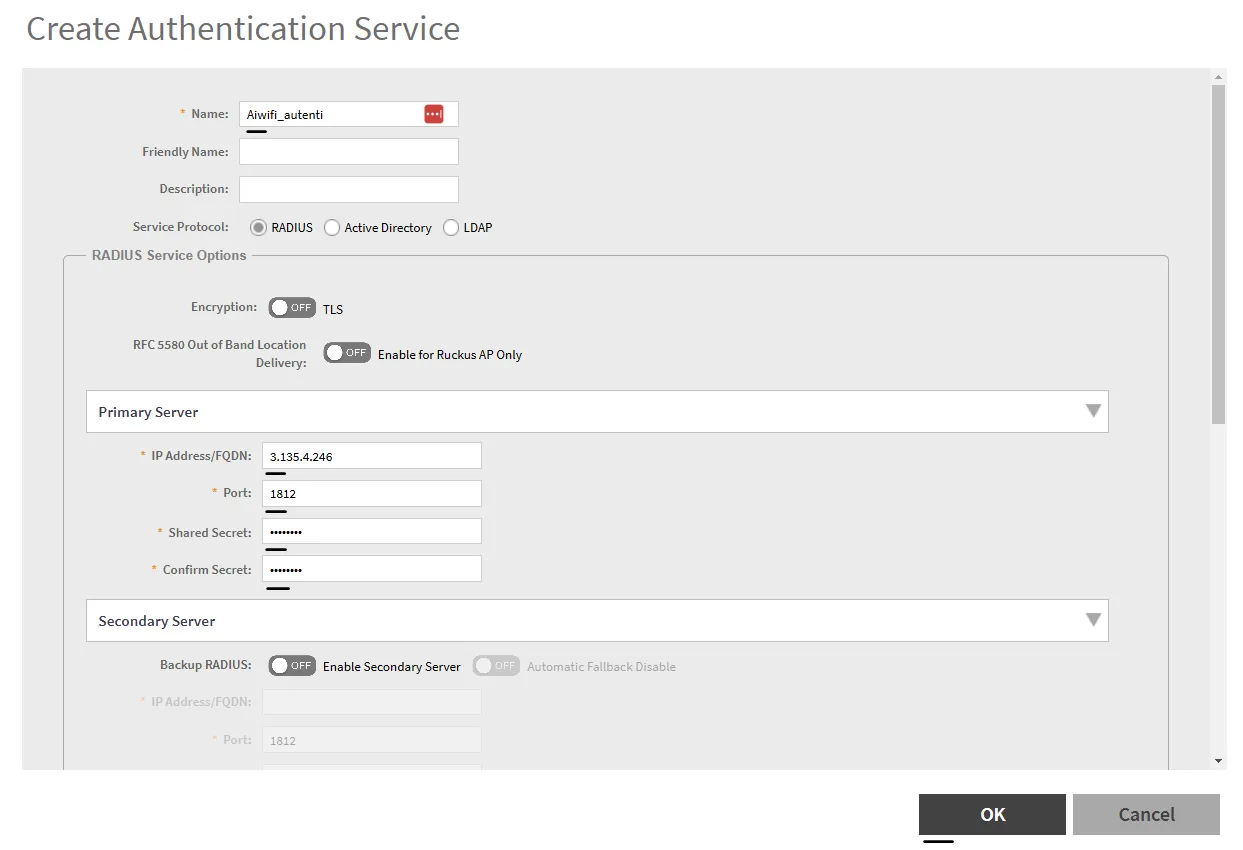
-Click the + button to add an authentication server.
-Name: Aiwifi_authen.
-IP Address: 3.135.4.246.
-Secret: Request the key from the systems department.
-Click OK to save.
-The RADIUS authentication server will now be added.
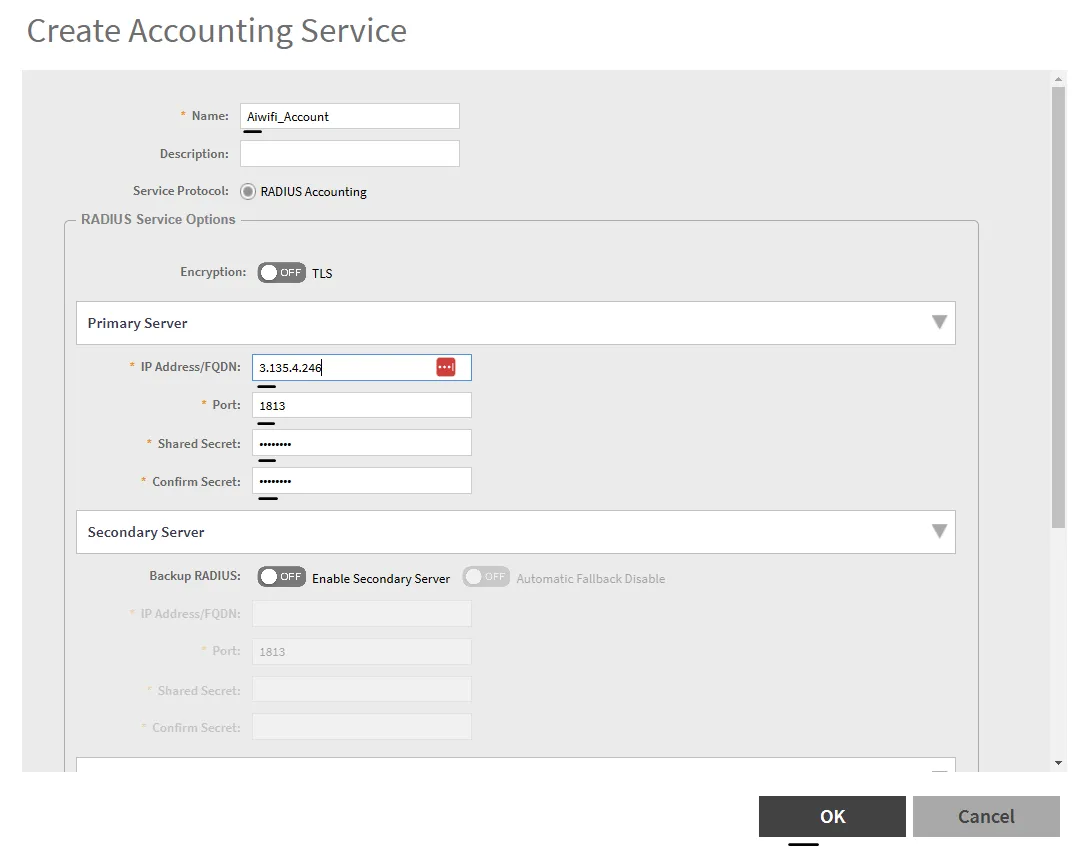
-Click the + button to add an accounting server.
-Name: Aiwifi_Account.
-IP Address: 3.135.4.246.
-Secret: Request the key from the systems department.
-Click OK to save.
-The RADIUS accounting server will now be added.
-Once the setup is complete, click OK.
-The new Hotspot will appear in the list with the previously assigned name.
Step 7: Decrypt the MAC Address from the CLI
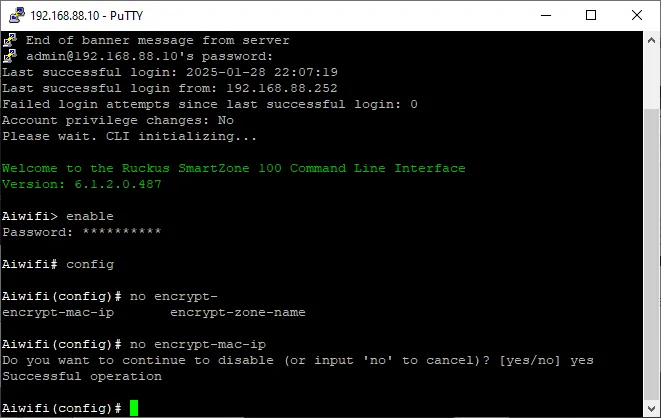
- Access the controller via the CLI (command line interface).
- Run the following commands:
-enable
-config
-no encrypt-mac-ip
-yes
This disables MAC address encryption.
Step 8: Connection and Verification
- Connect to the SSID you created (e.g., Ruckus_Hotspot).
- Upon connection, a message will appear on the screen confirming the correct operation of the captive portal.
- With this, all configuration is complete.
