Pre-requisites
Firstly, you need to have an account, then your Access Point (GWN76xx) should be already added on GWN.Cloud
Captive Portal Setup
1. Navigate to Settings | Profiles
2. Expand the Splash Page row and click on +Add.

3. Create a new Portal Policy:
- Name: Aiwifi
- Splash page: External
- Platform: Aiwifi
- URL Pre-shared Key: [optional, for Enterprise requirements]
- Timeout Duration of Unauthentication Clients (minutes): 30
The rest of the fieldas can be left blank.

4. Click Save
5. Create a new SSID Network by navigating to: Settings - WiFi

6. Setup the WiFi Network:
BASIC
- Wi-Fi: Enabled
- Name: [Your desired WiFi name]
- Client IP Assignment: Any, but NAT recommended.
- Enable Captive Portal: Enabled
- Captive Portal Policy: Aiwifi [the one you created in previous steps]
ACCESS SECURITY
- Security Type: Open
ACCESS CONTROL
- Client Isolation: Enabled


7. You can leave the rest of the fields on the default option.
8. Click on SAVE to save your changes.
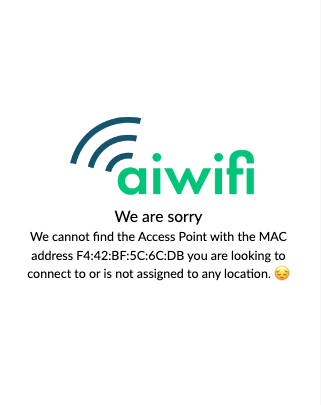
You should now be able to test your captive portal by connecting to the WiFi network you created. If you haven't added your Access Point to your Aiwifi account you should see the following message on the portal. Add your AP to your Aiwifi account to customize your captive portal.