This article applies to all devices belonging to the MR series
Prerequisites
Request the following access to the Meraki Support team the following access in case you do not see the information or steps on your Meraki Portal:
Splash Page: https://documentation.meraki.com/MX-Z/Access_Control_and_Splash_Page/Splash_PageAccess Control: https://documentation.meraki.com/MX-Z/Access_Control_and_Splash_Page/Access_ControlWalled Garden: https://documentation.meraki.com/zGeneral_Administration/Cross-Platform_Content/Walled_GardenRadius Accounting: https://documentation.meraki.com/MR/Splash_Page/Configuring_RADIUS_Authentication_with_a_Sign-on_Splash_Page
Check your Meraki Devices are online. Update to the latest firmware if necessary.
Steps
1. First, configure the SSID for your guest network on the Left Menu: Wireless > SSIDs
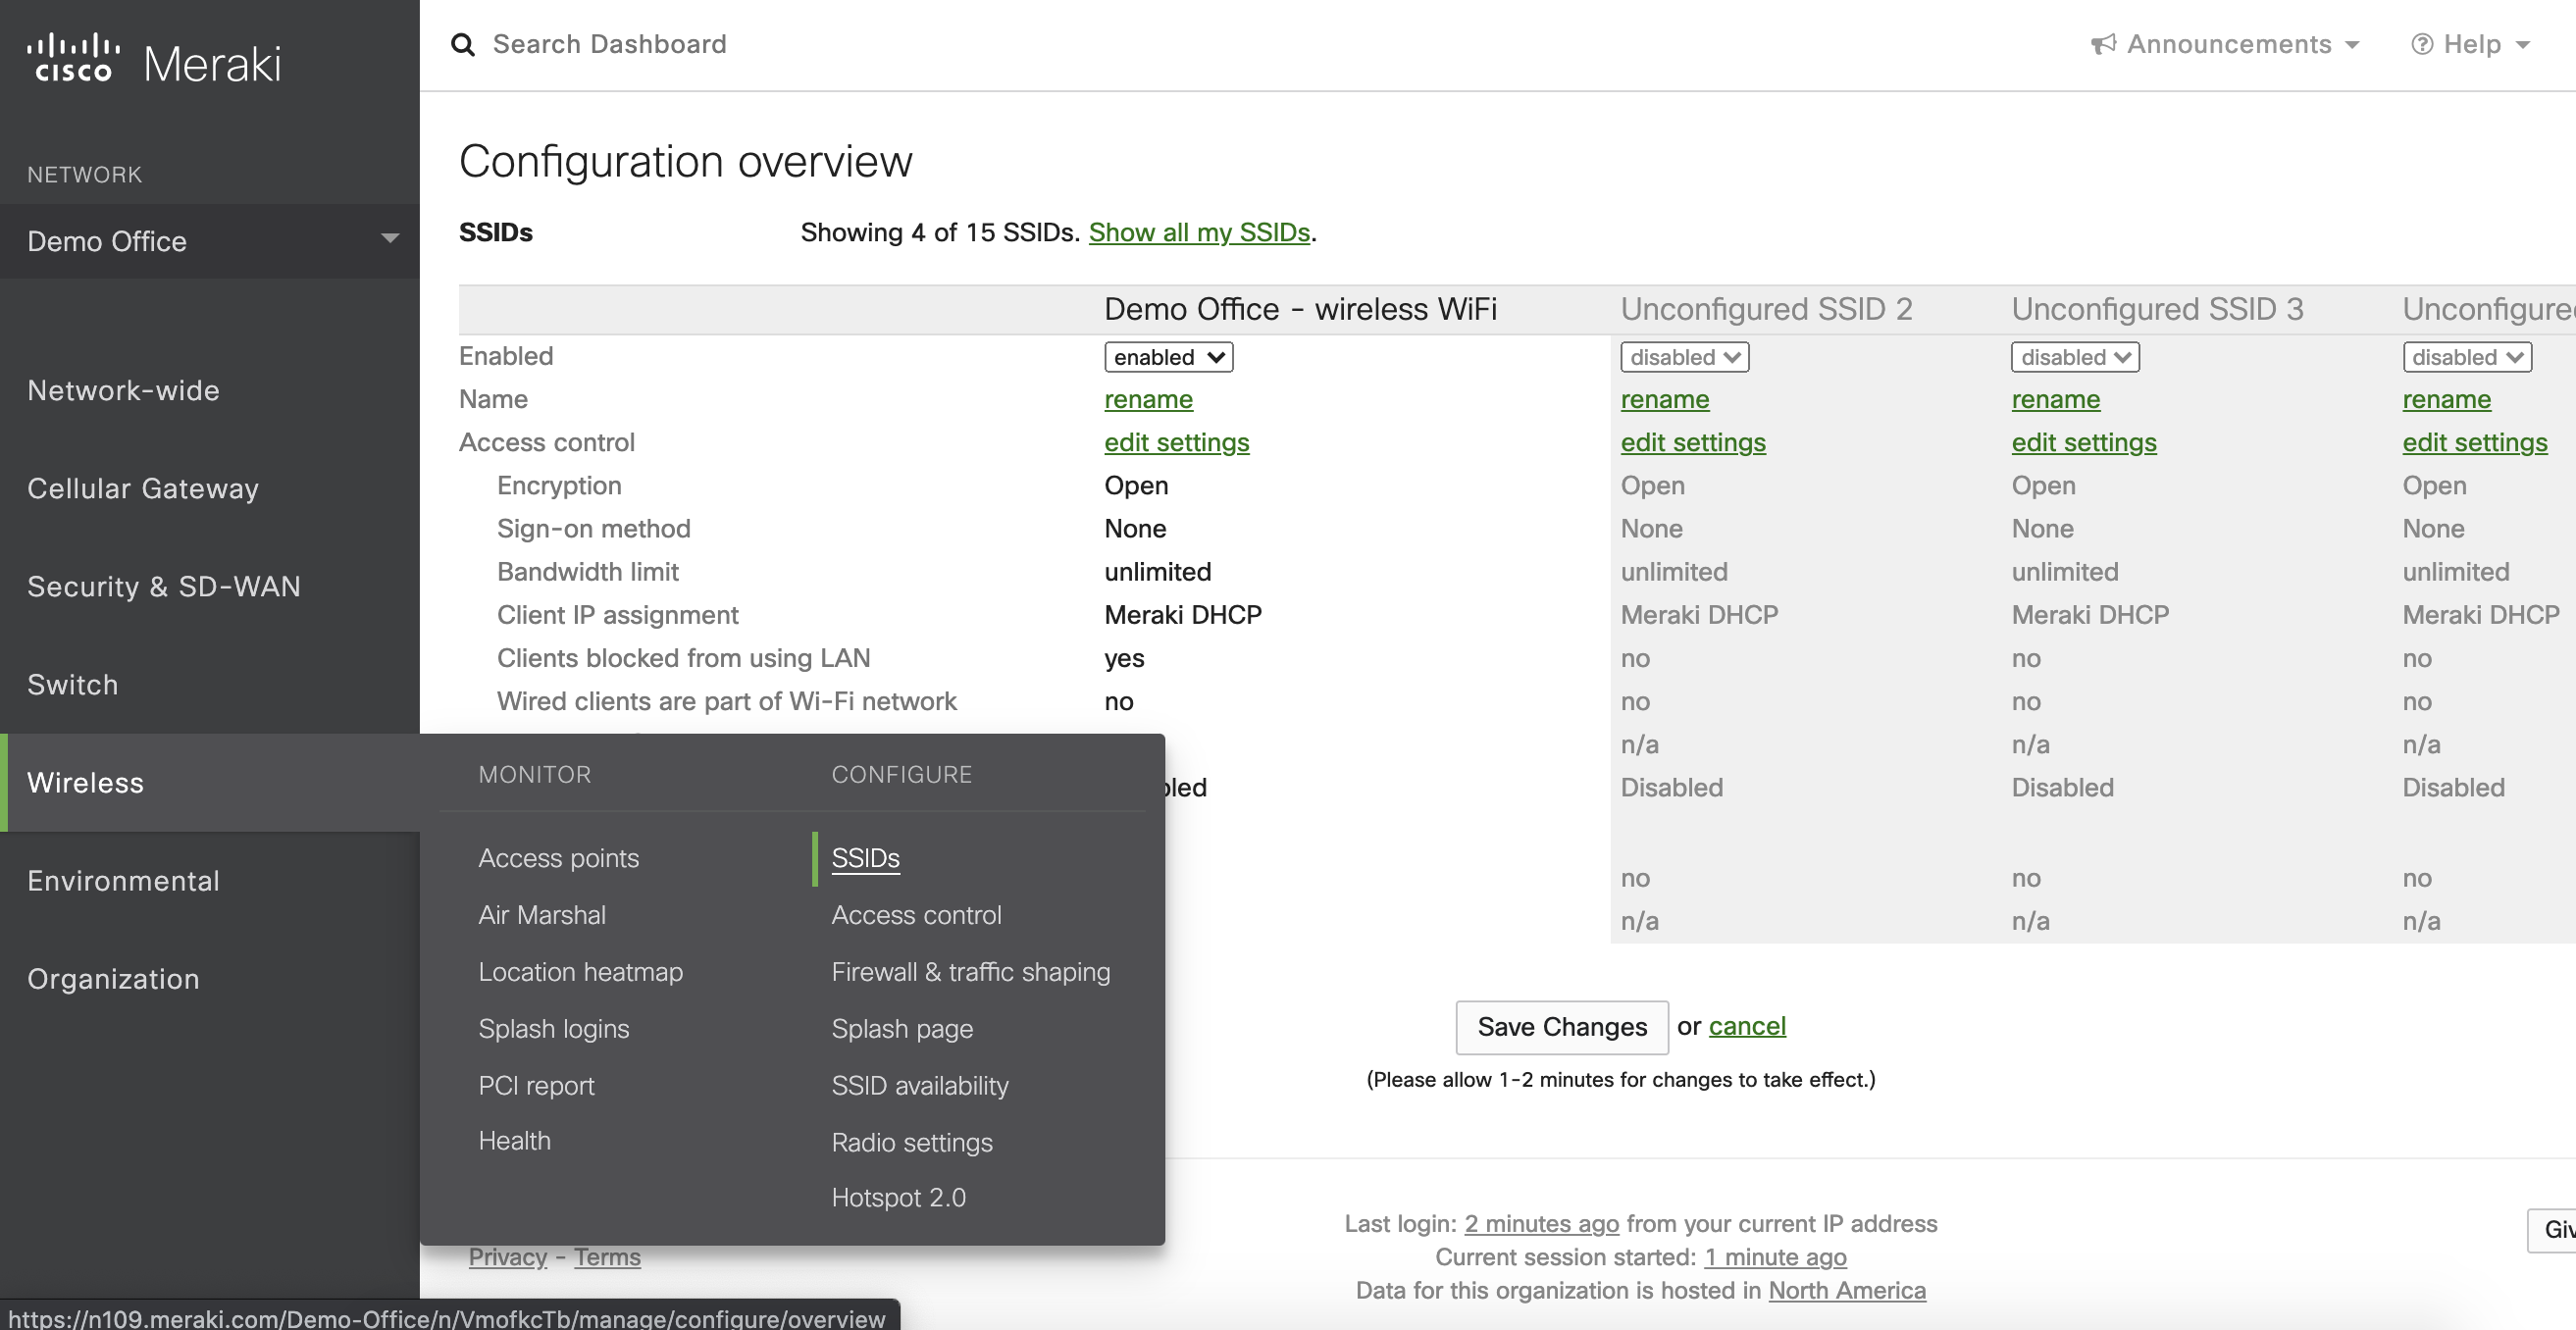
2. Once Saved the configuration, select the edit_settings link, below the name of the network.
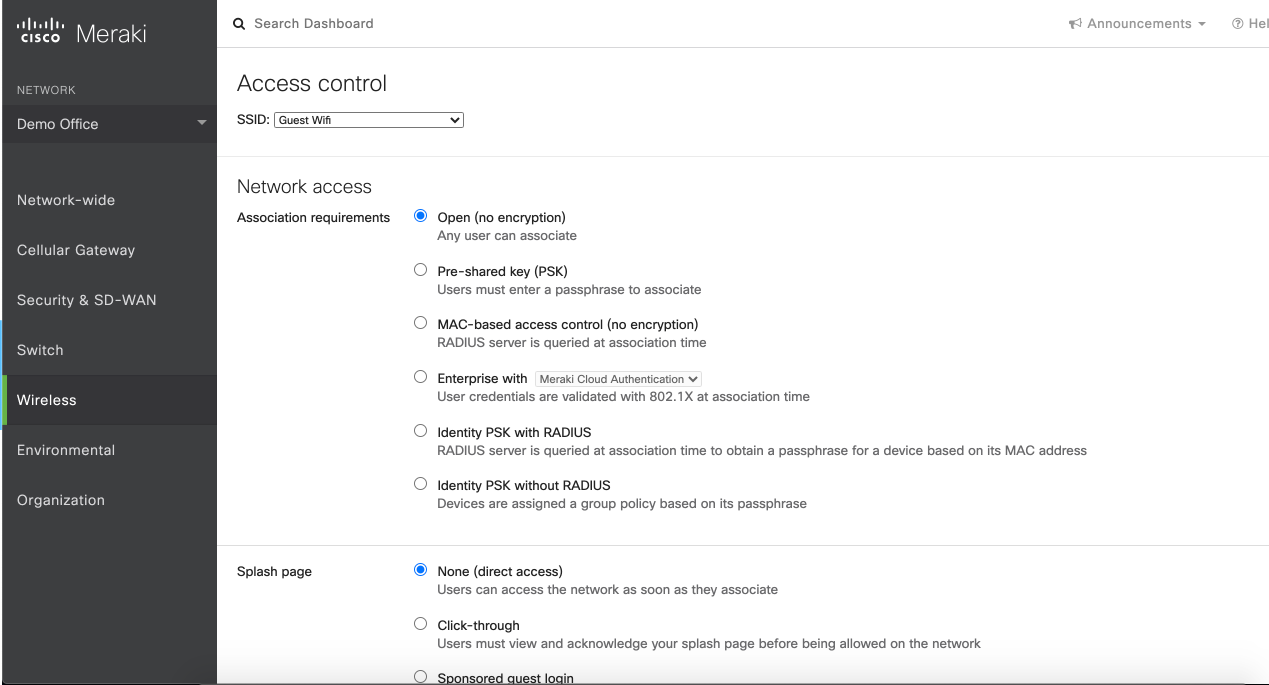
Select the following parameters (those parameters not included in this list are to be left as they are - the default configuration):
a) Association requirements: Open (no encryption)
b) Splash Page: Sign-on with [my RADIUS server]
c) RADIUS for splash page: Add a server. - Be sure to add both, main and secondary Radius servers in strict order (Check the available Radius servers for your configuration on the following link: General Information
You can request the Secret Key for Radius to our support team [email protected] mentioning the email registered for the account.)


**Please make sure you do find the RADIUS accounting servers options so that we can track data consumption for analytics.
d) Failover Policy: Deny Access
e) Load balancing policy: Strict Priority Order
f) Walled Garden: Walled Garden is Enabled - make sure to add the following urls:
captive.aiwifi.io
storage1-prod-media.s3.us-east-2.amazonaws.com
api.aiwifi.io
connect.facebook.net
facebook.com
sentry.io
cloudfront.com
lr-ingest.io
doubleclick.net
fbsbx.com
g) You also must set the complete access to the Internet only for authenticated end-users. To do this, you must set Captive portal strength to Block all access until sign-on is complete.
You can choose the NAT mode or Bridge mode according to your favorite network configuration.
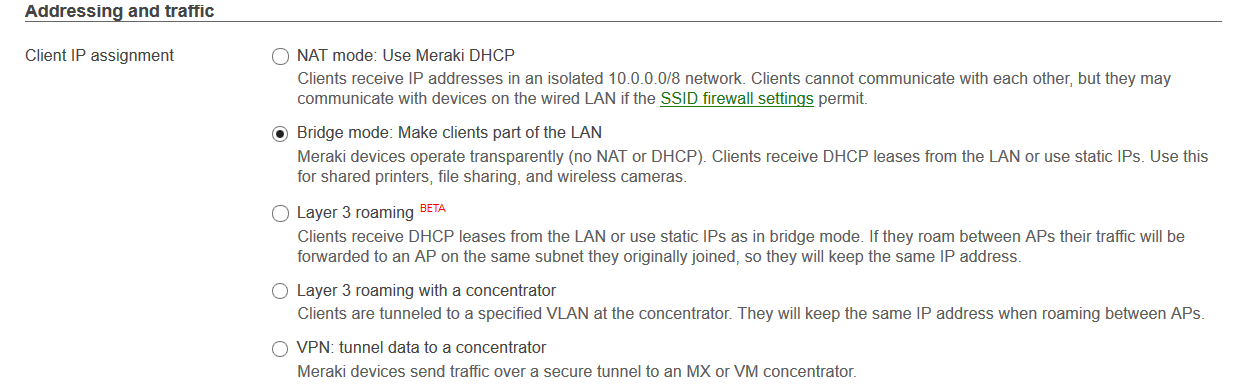
If required, it is possible to set VLAN tagging, to direct traffic to specific VLANs.

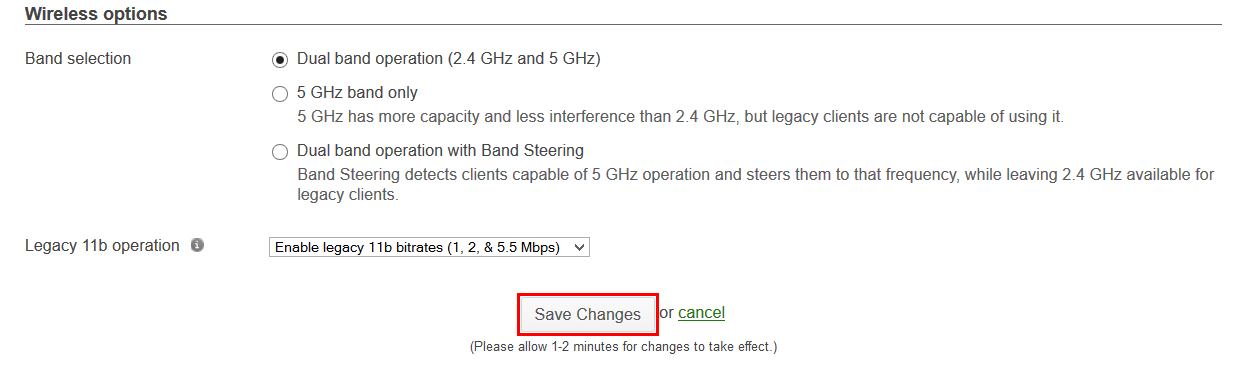
You can set the version of the IEEE 802.11 protocol to use.
Then save your changes.
Configuring the Splash page
Finally, we need to set the Splash Page.To get the correct Splash Page URL, please check the paragraph "Parameters for the Solution" at the bottom of the page, since it is updated.You can do this by clicking Splash page
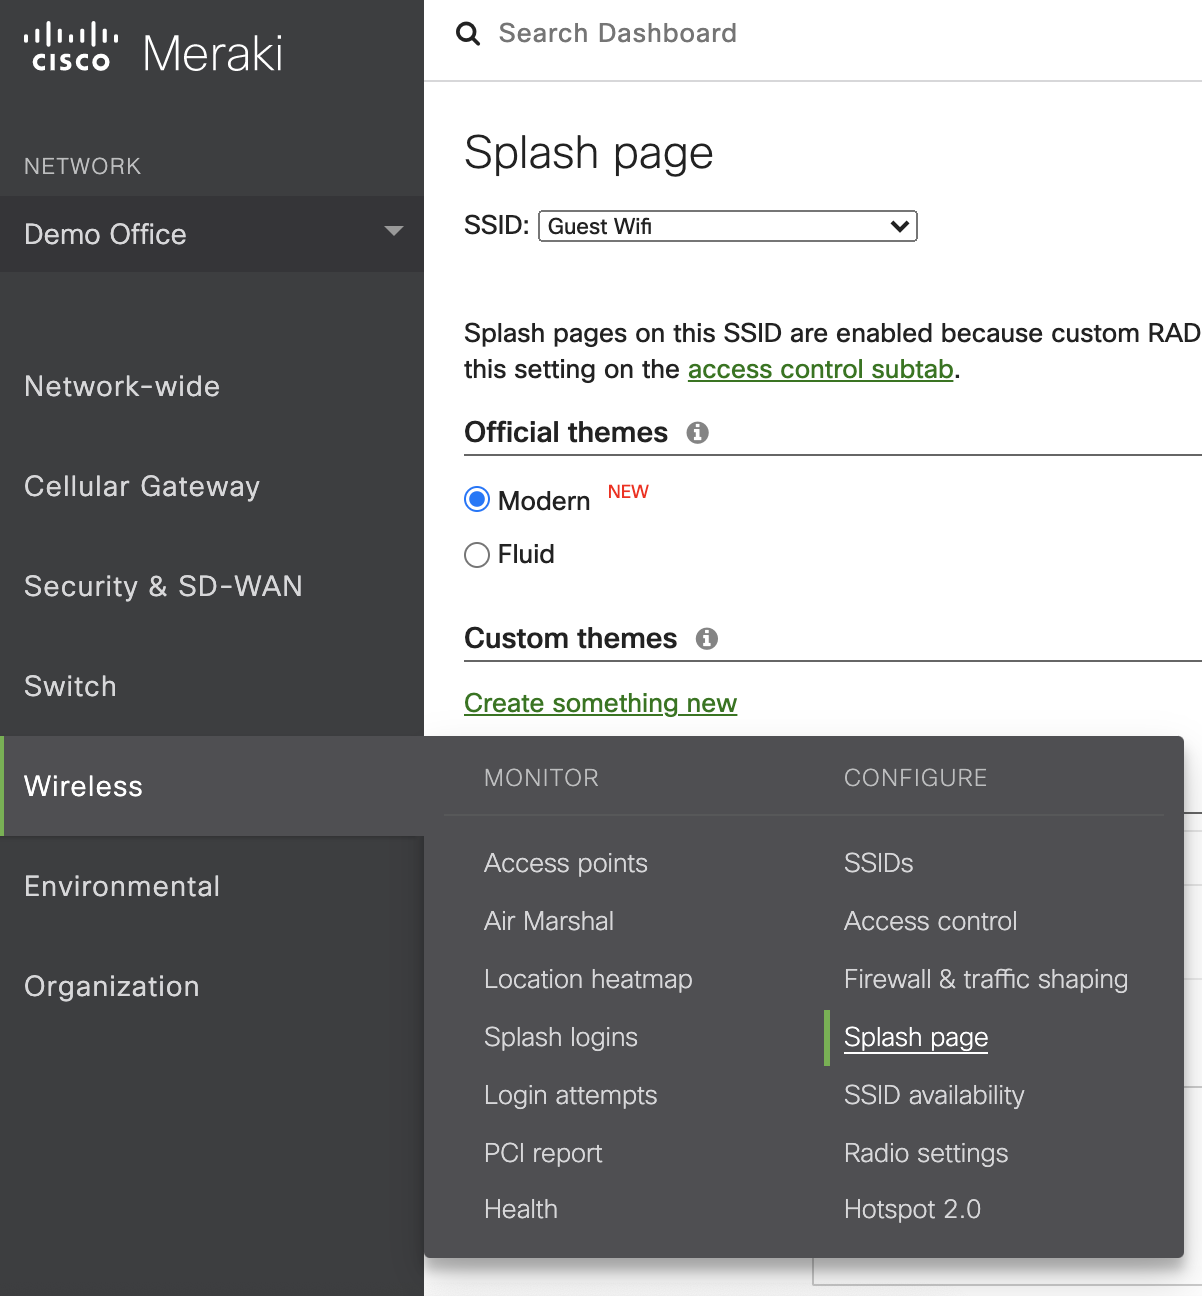
Once you are in the Splash Page settings, select the desired Guest SSID and go directly to the Custom Splash URL and type in the URL: https://captive.aiwifi.io

You can setup how often the Splash should show and if you would like to redirect your guests into your website or any other URL you desire.
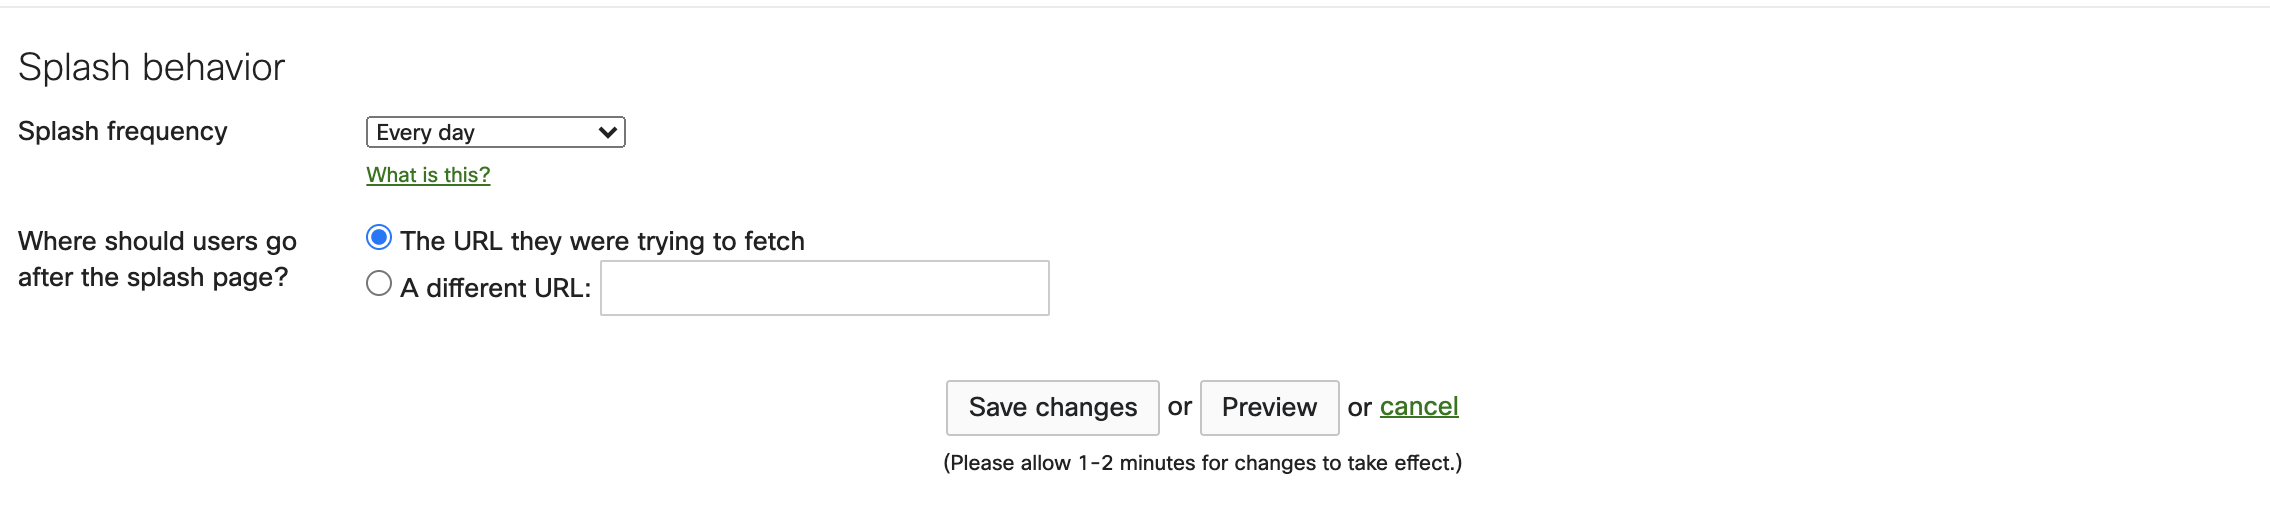
Click SAVE CHANGES.
Finally:
Make sure you add your new Access Point into your Aiwifi Account: Add a new Access Point