Interactive Guide
To add a banner with promotional images, videos or gifs in to an specific campaign or many of them is too easy!!
You can upload up to 5 images, videos or gifs to create your campaign banner.
Add promotional images, videos and gifs of your product in to a banner,this is a perfect way to show your promotions to your clients. And when the promotion have expired you can disable the banner so it will stop appearing on the campaign you added previously.
Steps to upload up to 5 images or videos to create your campaign banner and add it to an specific or many campaigns.
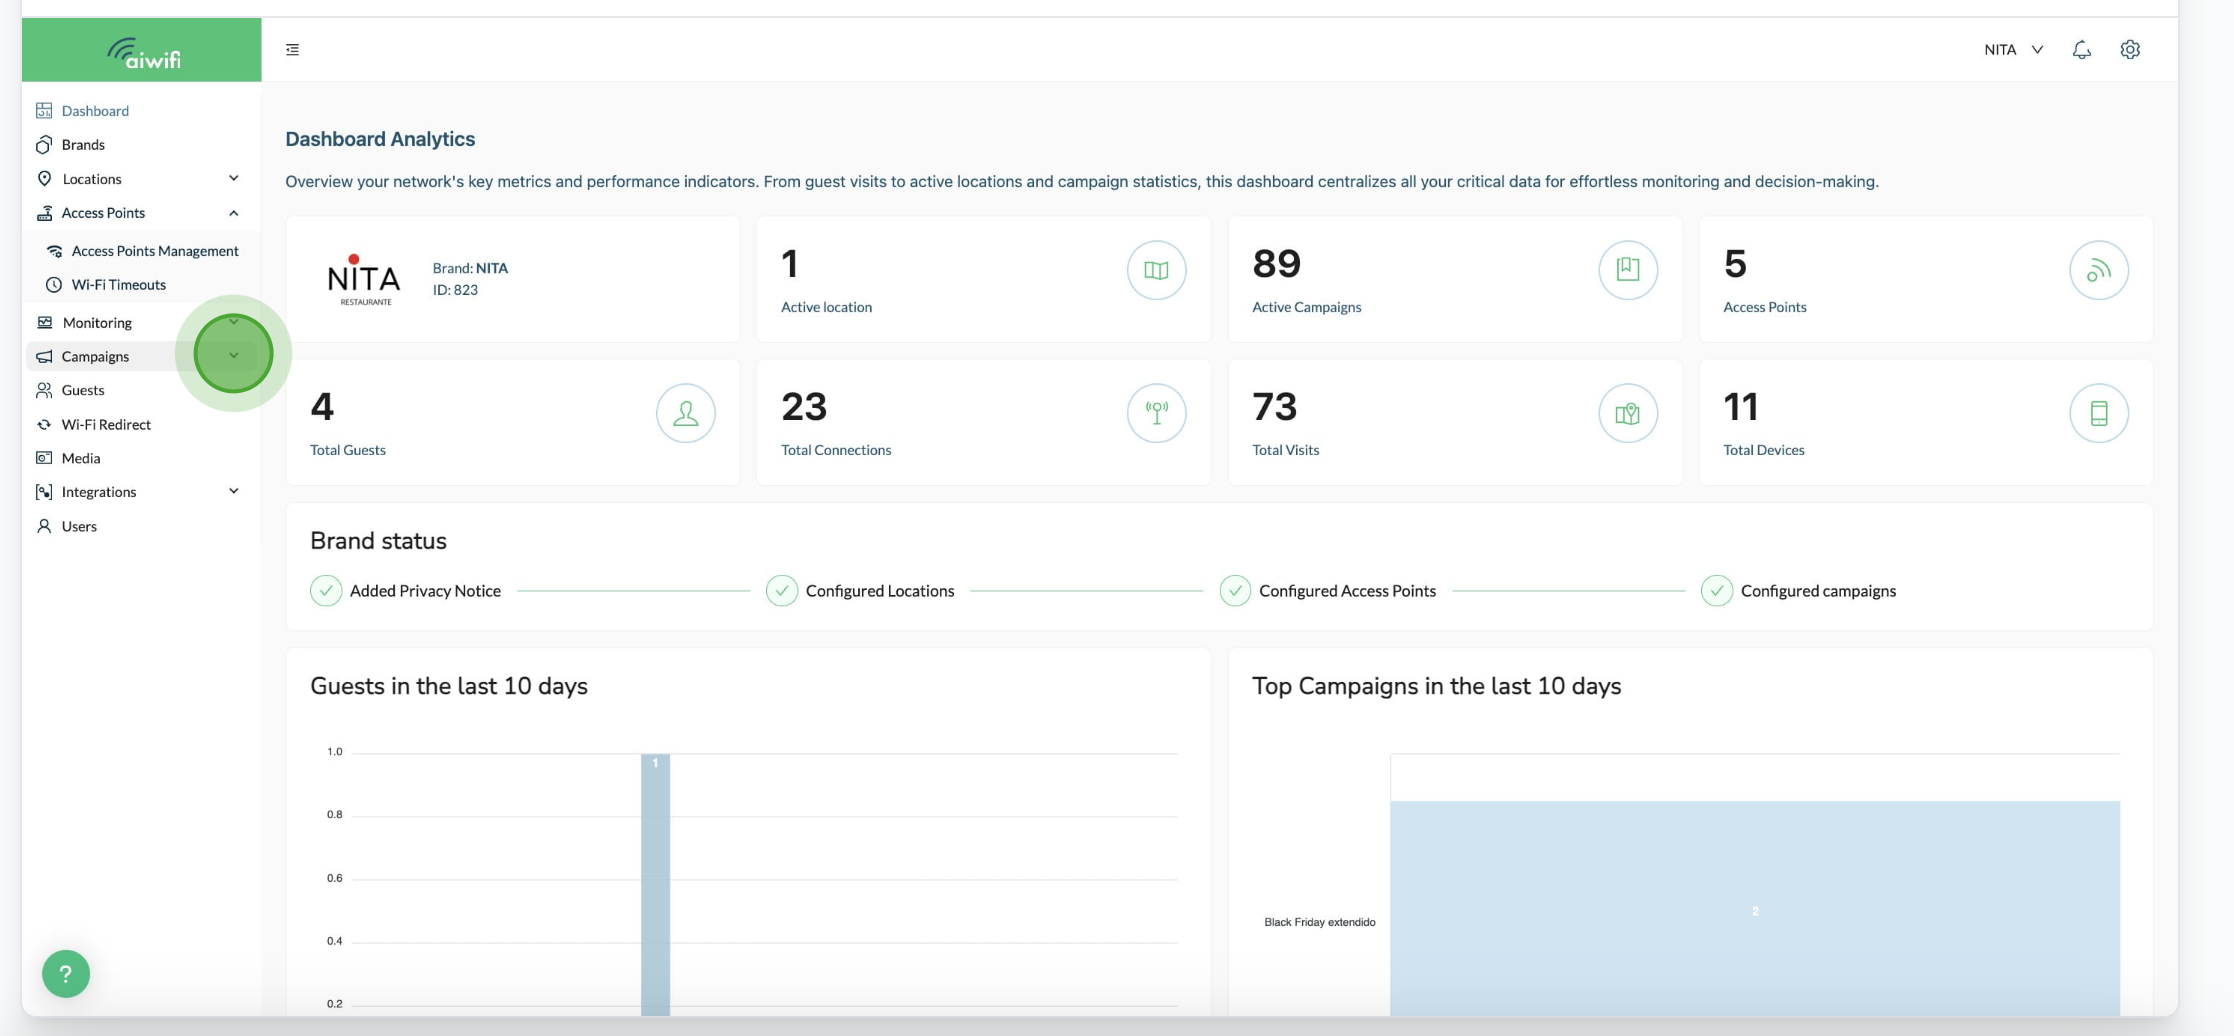
1) Dashboard Analytics
On your Dashboard you have to select "Campaigns"
2) Click on Banner Management
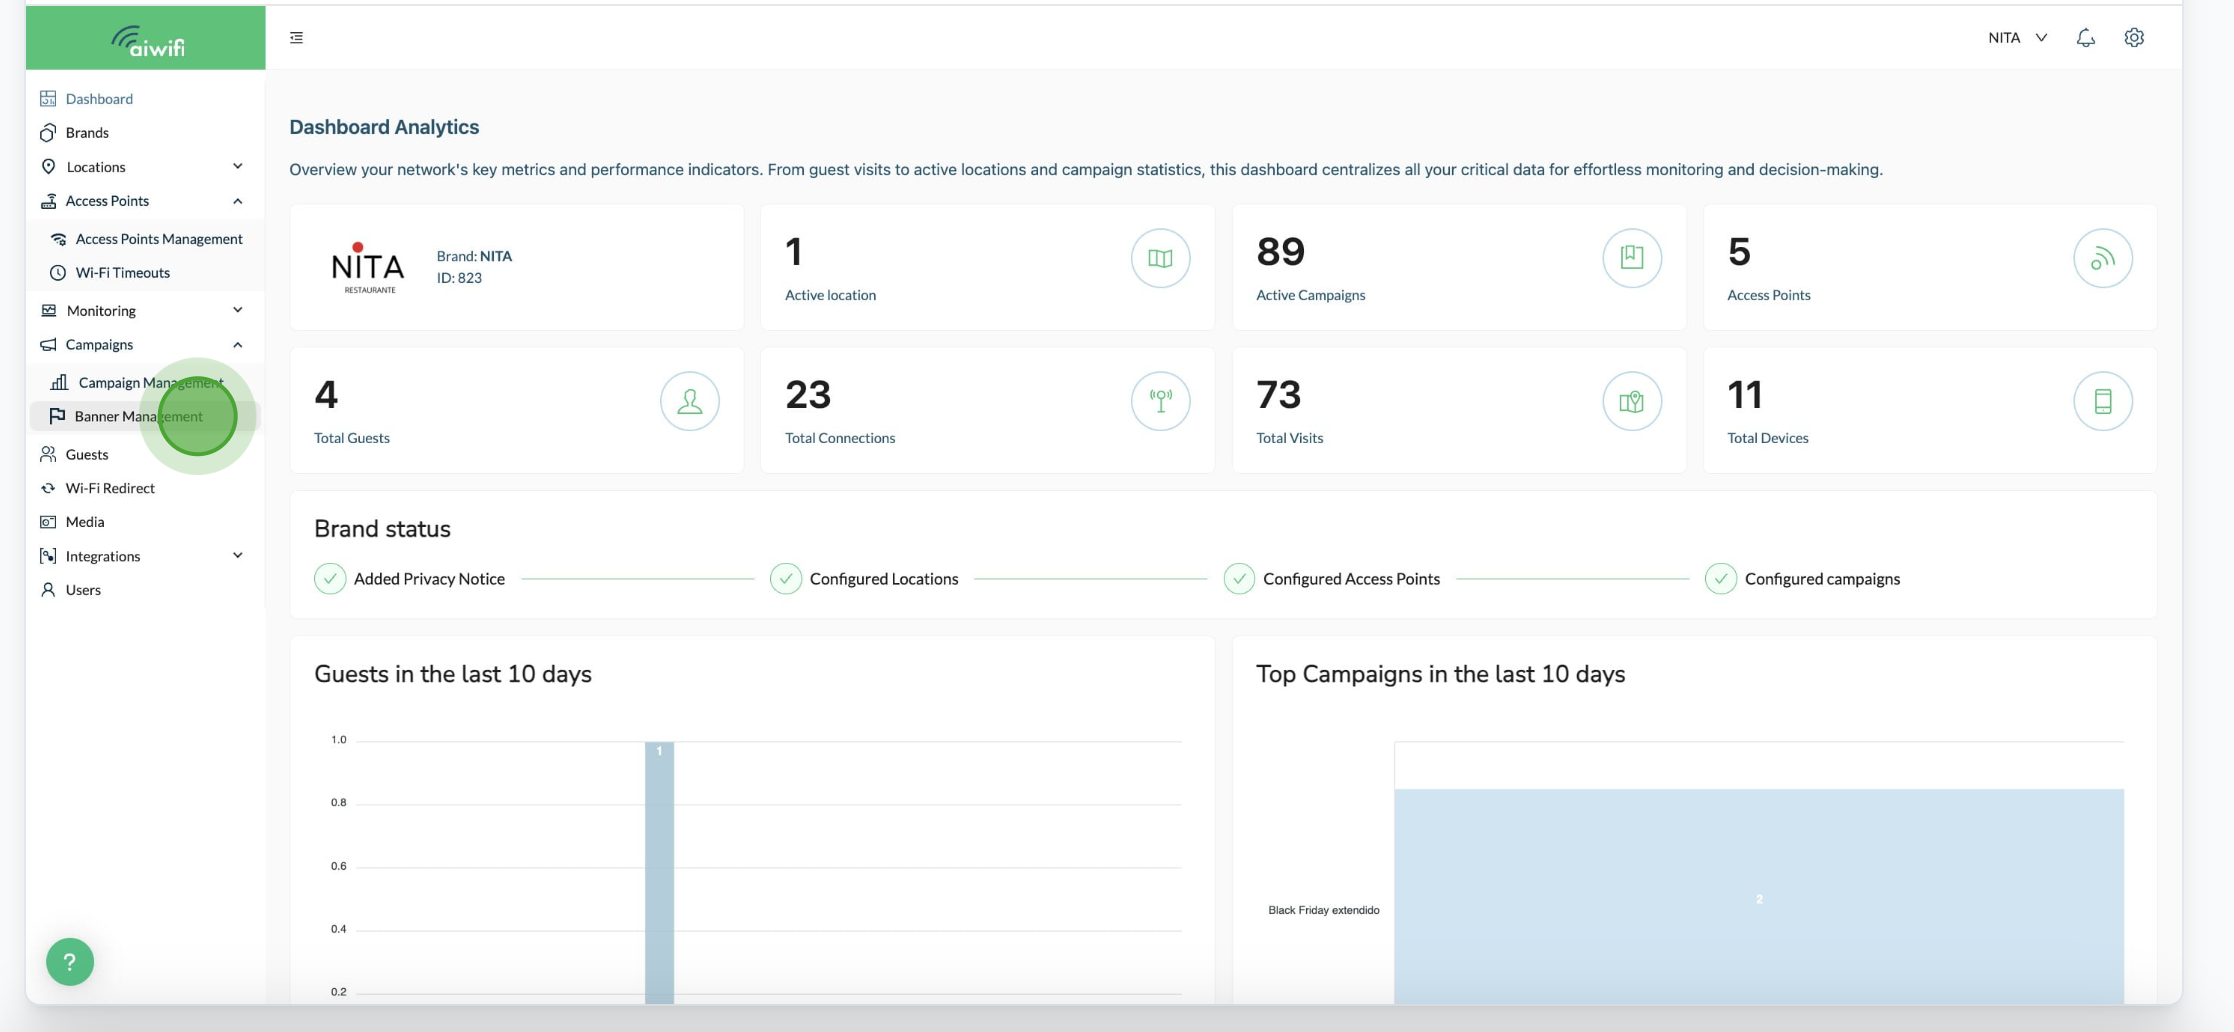
In this section you have to click on "Create new banner"
3) Create your banner
Upload up to 5 images or videos to. create your campaign banner.
Banner Name: In this section you have to assign an specific name for your banner of images, videos and gifs so you can identify it. It can be for example: Hot sale or Grand opening or Christmas sale.
Select from Media: Click on "Select from media" to upload the images, videos or gifs (maximum 5) you want to add to your banner.
Drag file to upload: Click on "drag your file from your browser" to upload the images, videos or gifs you want to add to your banner.
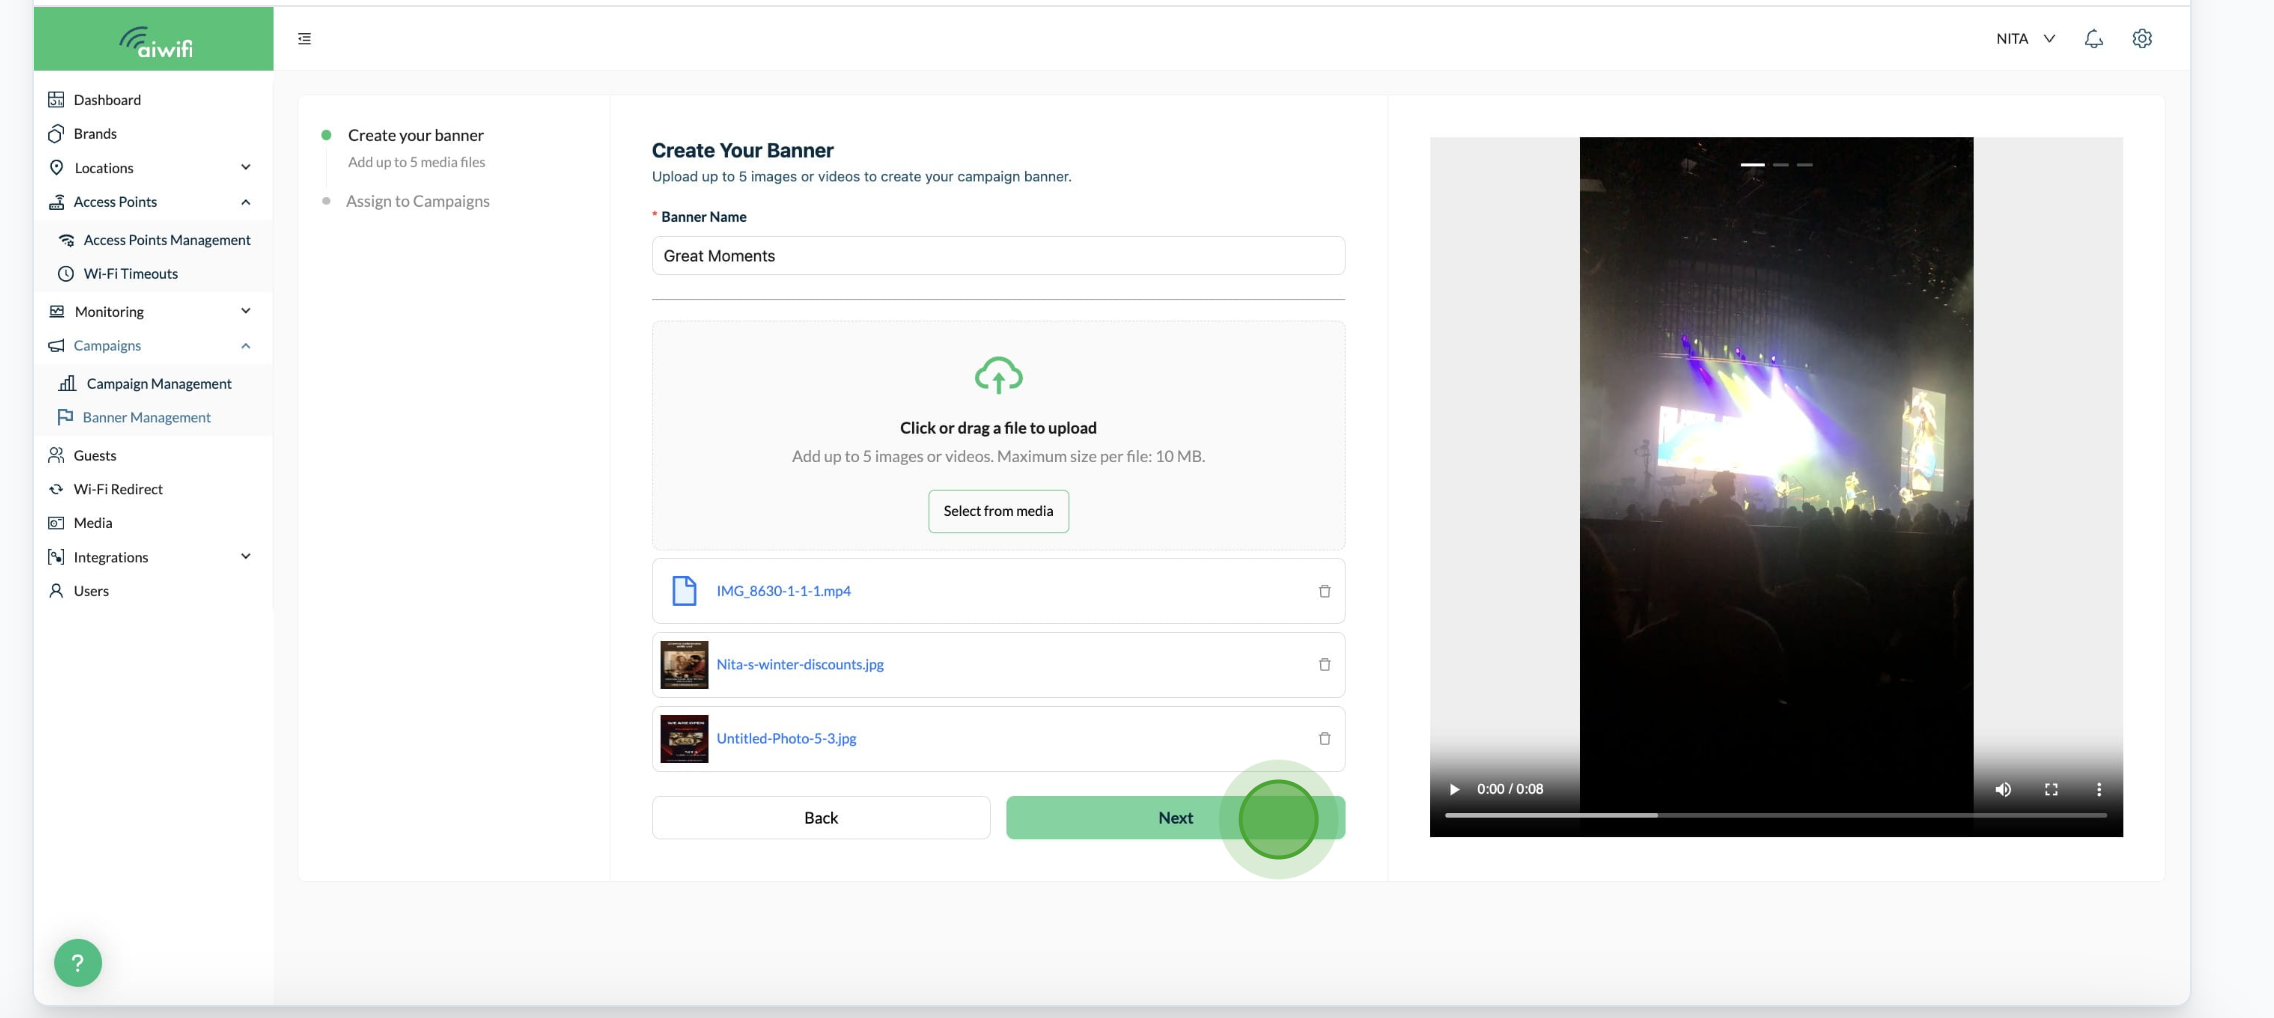
Remember that each banner can contain up to 5 images or videos
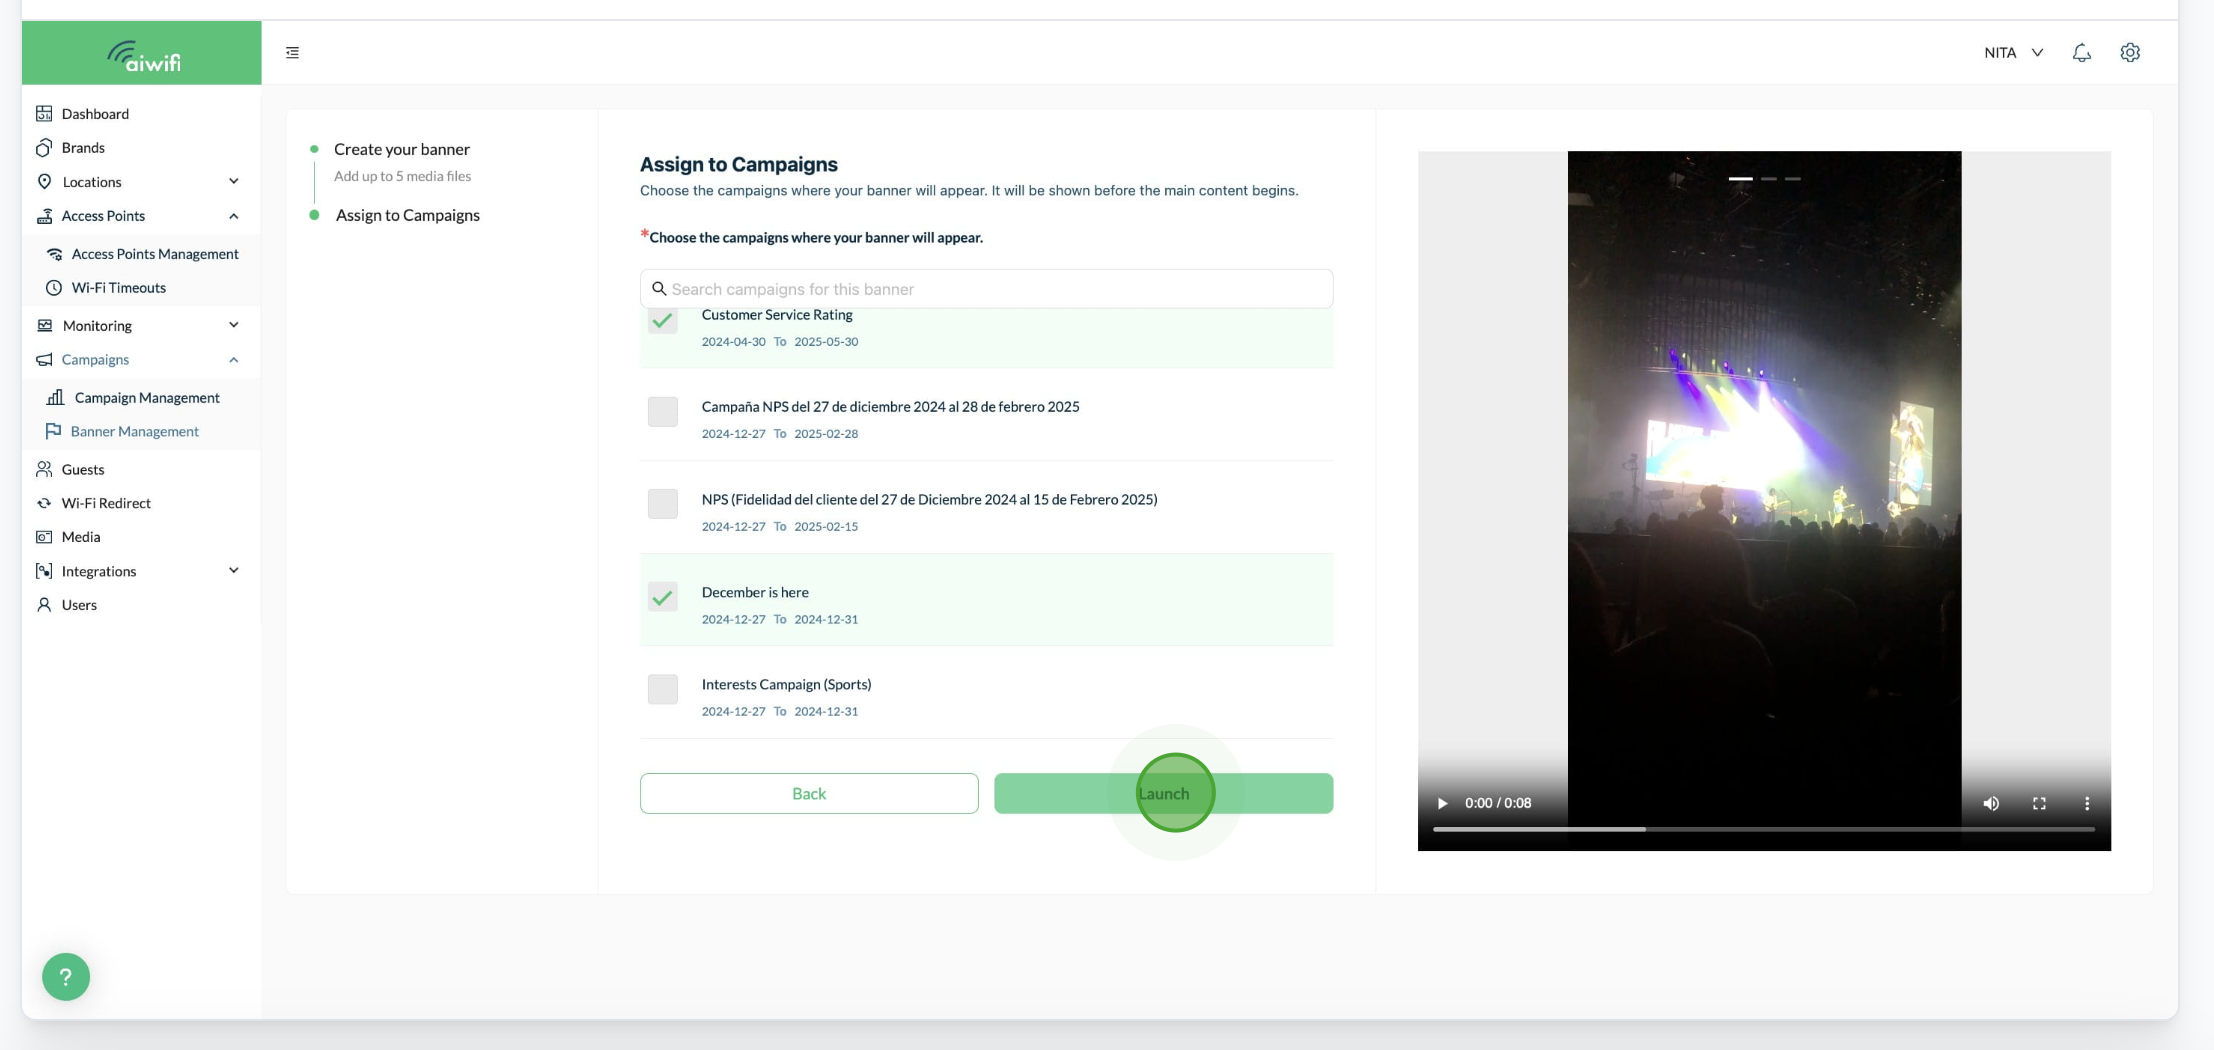
4) Assign to campaigns
Choose the campaigns where your banner will appear. It will be shown before the main content begins.
5) Banner preview
Once you have added your banner in to the selected campaigns go to "Action" and press "Preview" to see if every file shown will appear correctly on clients devices.

Once you did that, a new tab "Banner Preview" will open automatically, and it will show a carousel with all the images and videos you loaded, you can select the arrow that is at your right to see each image or video so you can see how your clients will see your brand promotions on their devices.
Once you saw all the images and videos press the "x" to close the tab.
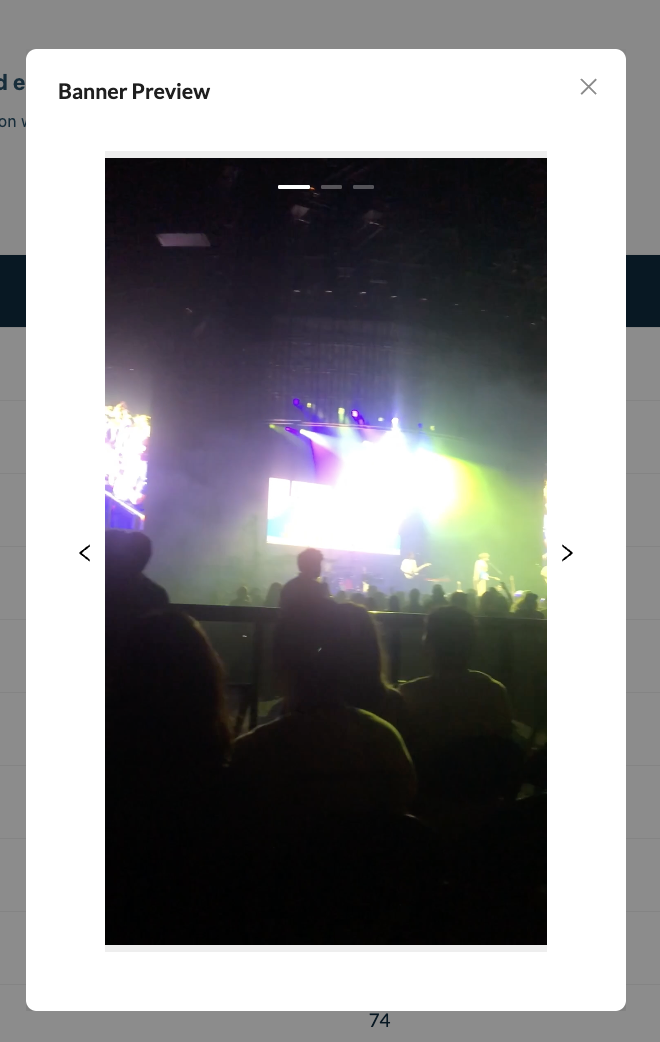
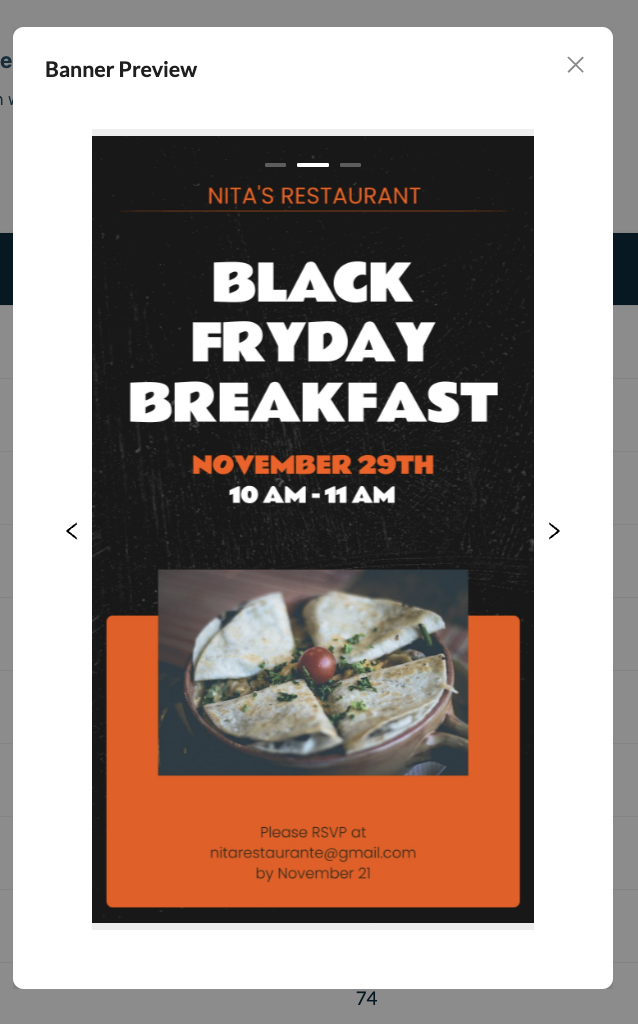
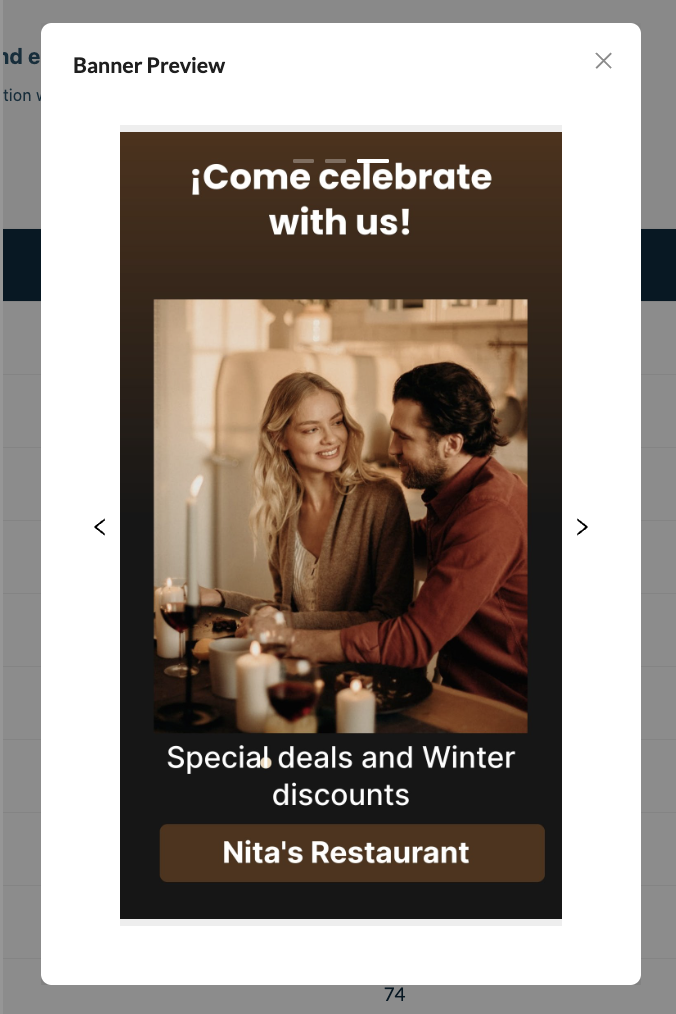
6) To disable the banner.- If you desire to disable the banner when the date of promotion have expired, go to the Banner Management Dashboard and then go to the status button to disabled it.

If the banner is not disabled, it will be appearing in the campaign you selected previously.
Banner guidelines
Dimensions
To ensure high-quality image display, we recommend using dimensions of 1080 pixels wide and 1920 pixels tall. This resolution provides optimal clarity and compatibility across various devices and screen sizes.
Maximum size per file
To ensure high-quality videos, images and gifs display, we recommend maximum size per file 10 MB.
Aspect Ratio
Maintaining an aspect ratio of 9:16 (width:height) is crucial for images to appear correctly on our platform. This aspect ratio ensures that the image fills the screen when viewed on mobile devices without unnecessary cropping or stretching.
Accepted File Formats
We accept the following file formats for image, videos and gif uploads: PNG, JPG, MP4 and Mov. These formats offer a good balance between quality and compatibility, allowing you to showcase your images effectively.