Interactive Guide How to enable 2FA
What is Two-Factor Authentication?
Two-Factor Authentication (2FA) adds an extra layer of protection to your Aiwifi account. After enabling it, you will receive a one-time 6-digit code via email each time you log in. This ensures that only you can access your account, even if someone else knows your password.
How to Enable 2FA (step by step)
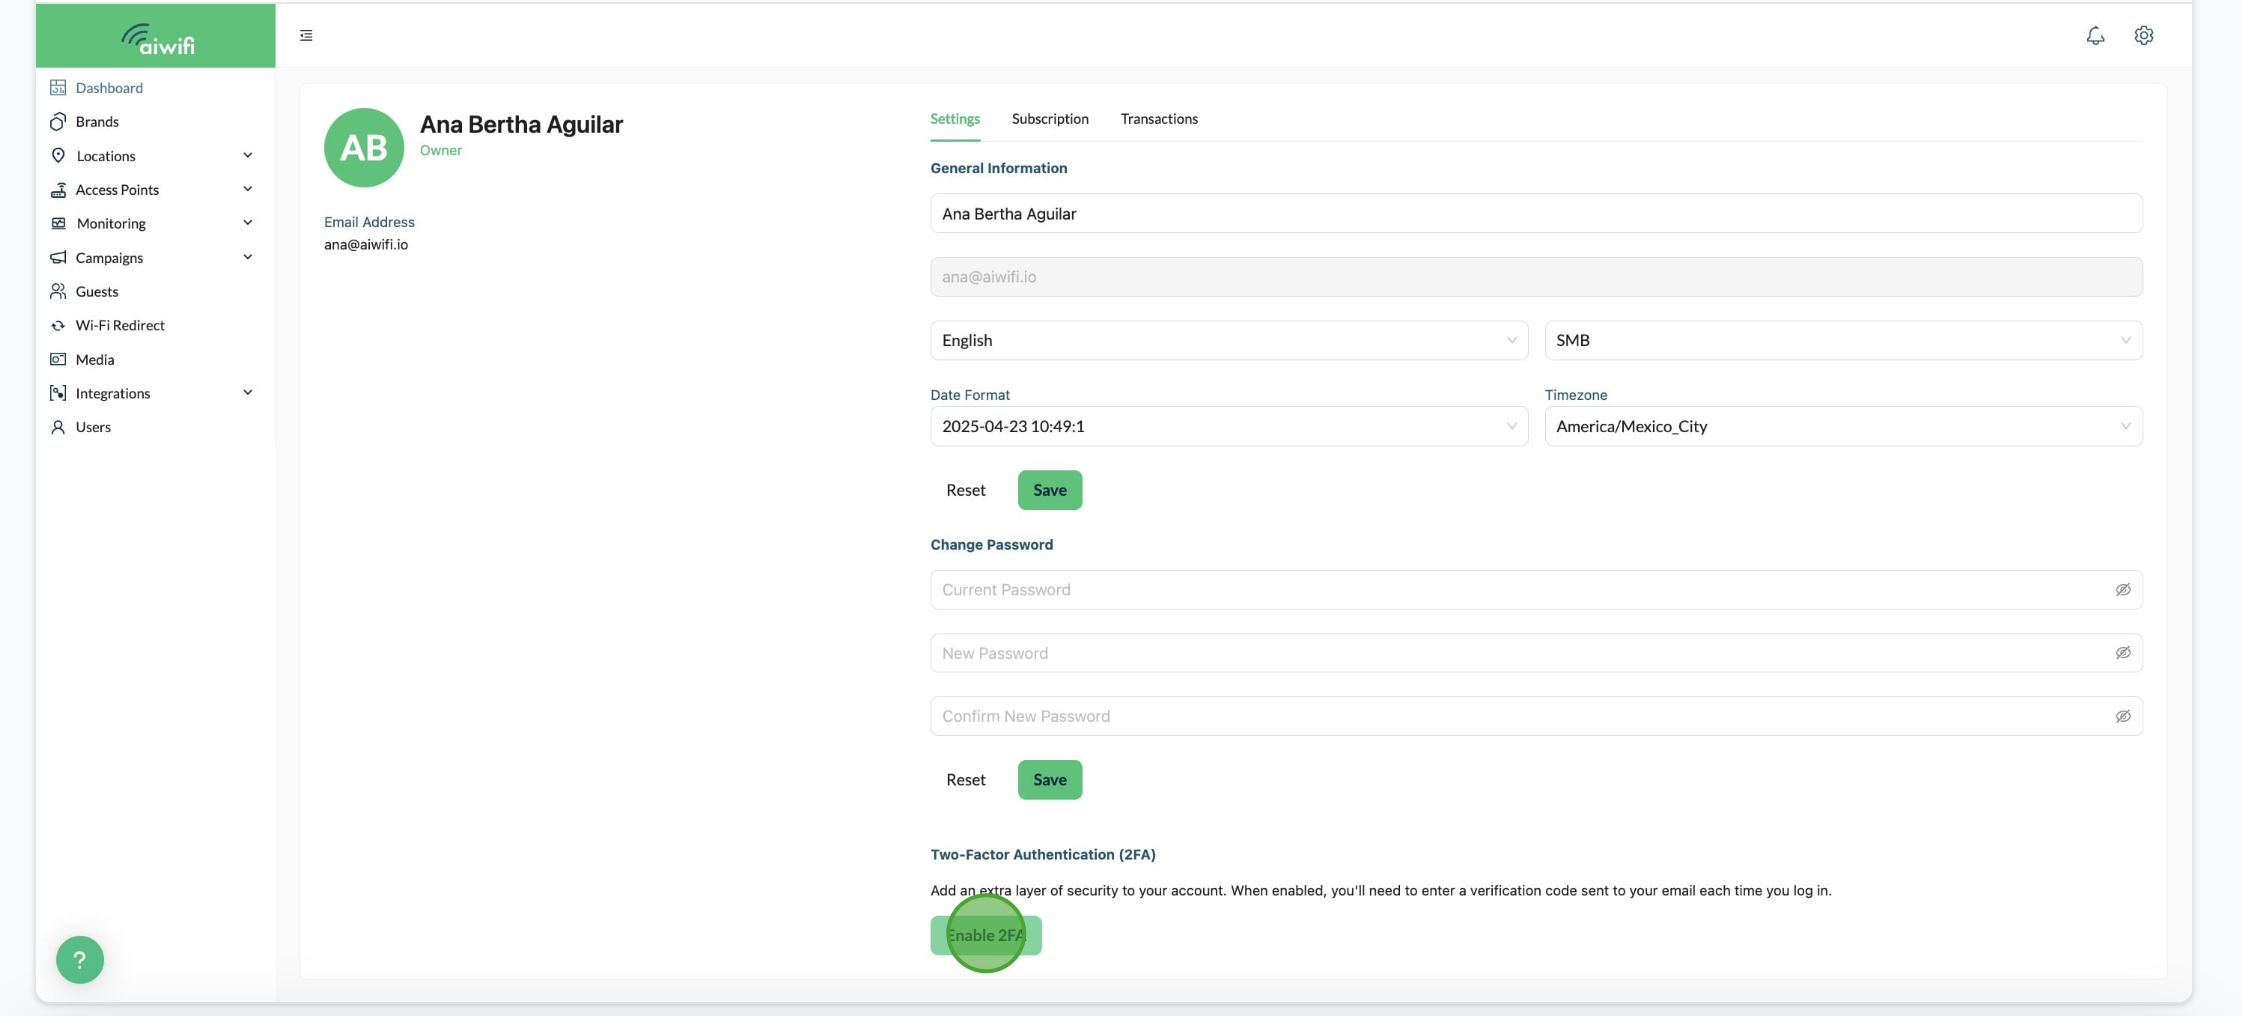
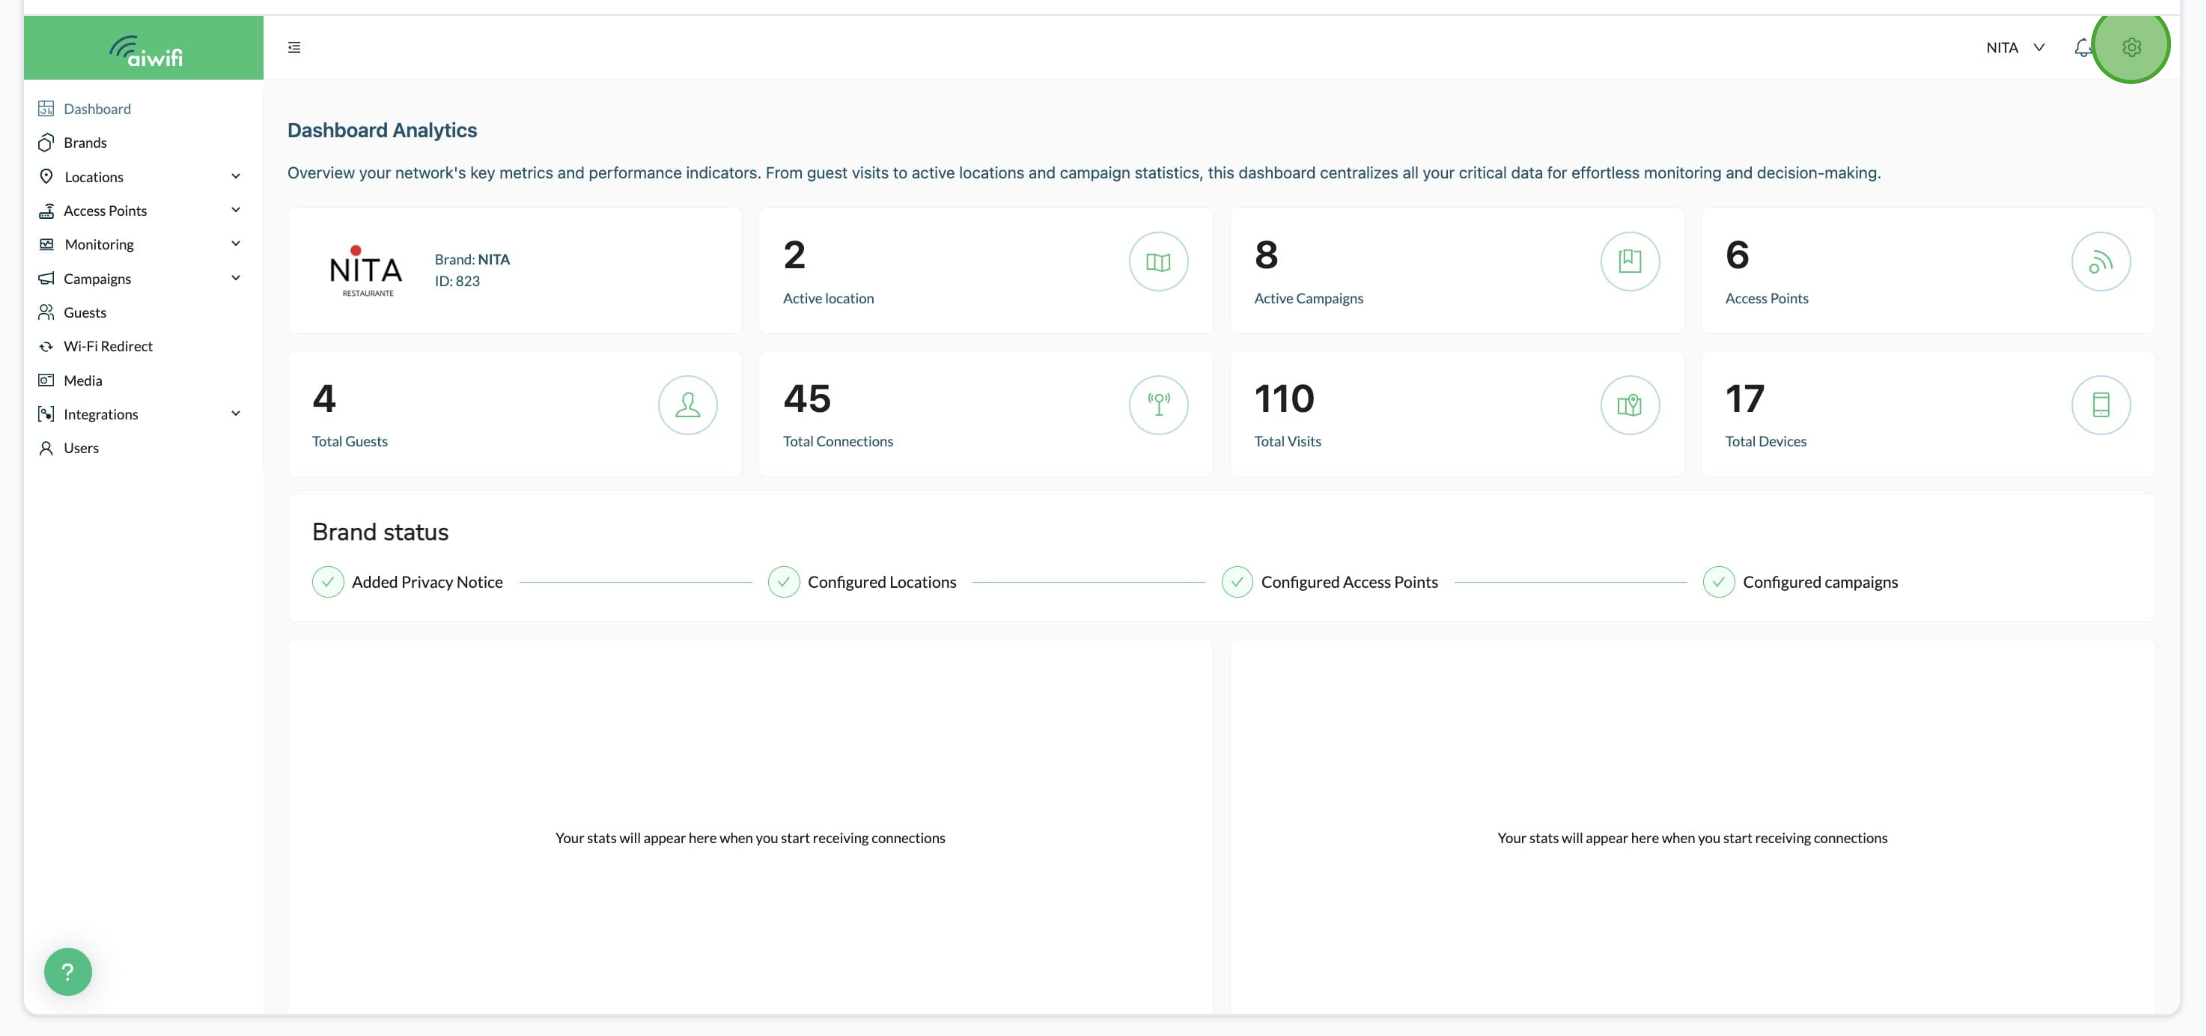
1- From your dashboard, click the gear icon in the top-right corner to open your Account Settings.
2- Scroll down to the Two-Factor Authentication (2FA) section and click Enable 2FA.
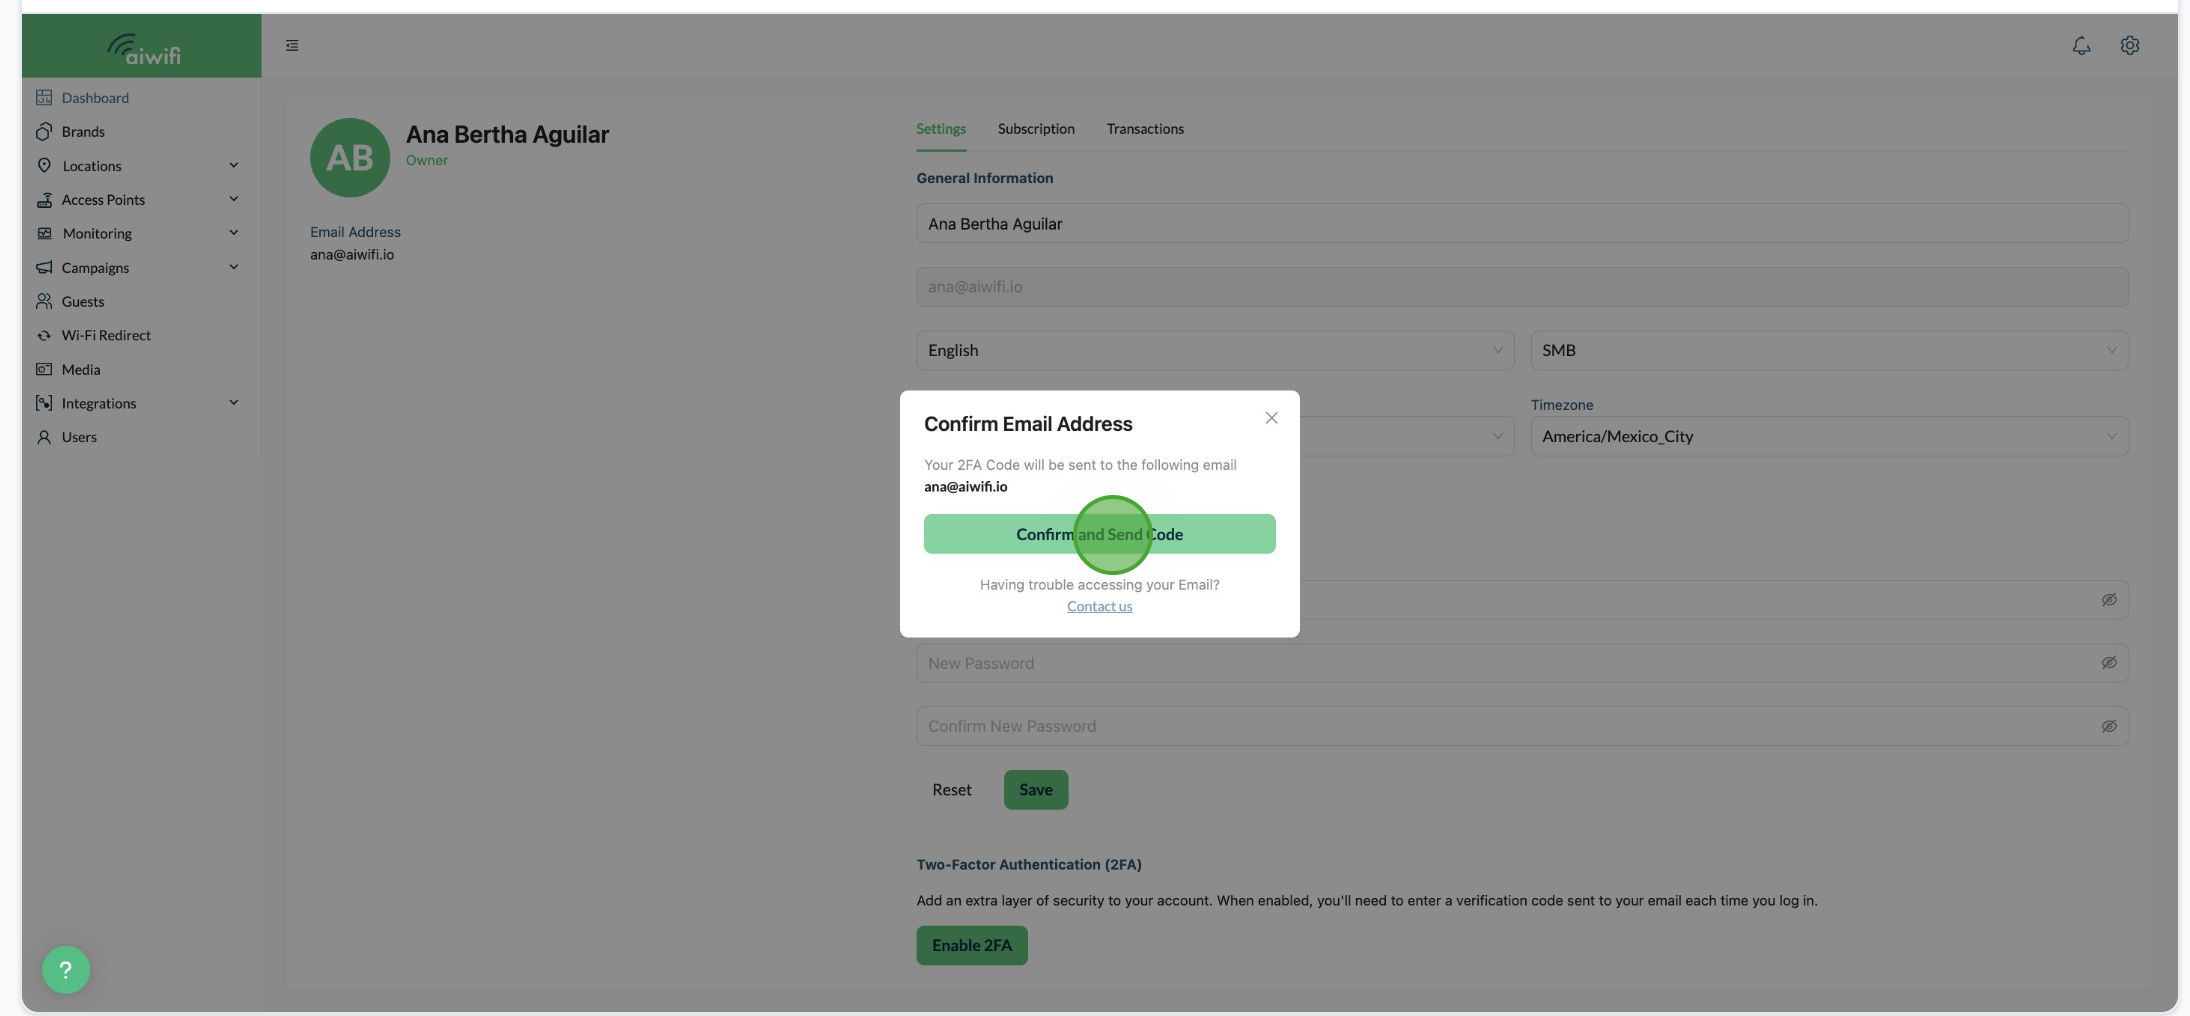
3- In the confirmation modal, click Confirm and Send Code to receive your verification code by email.
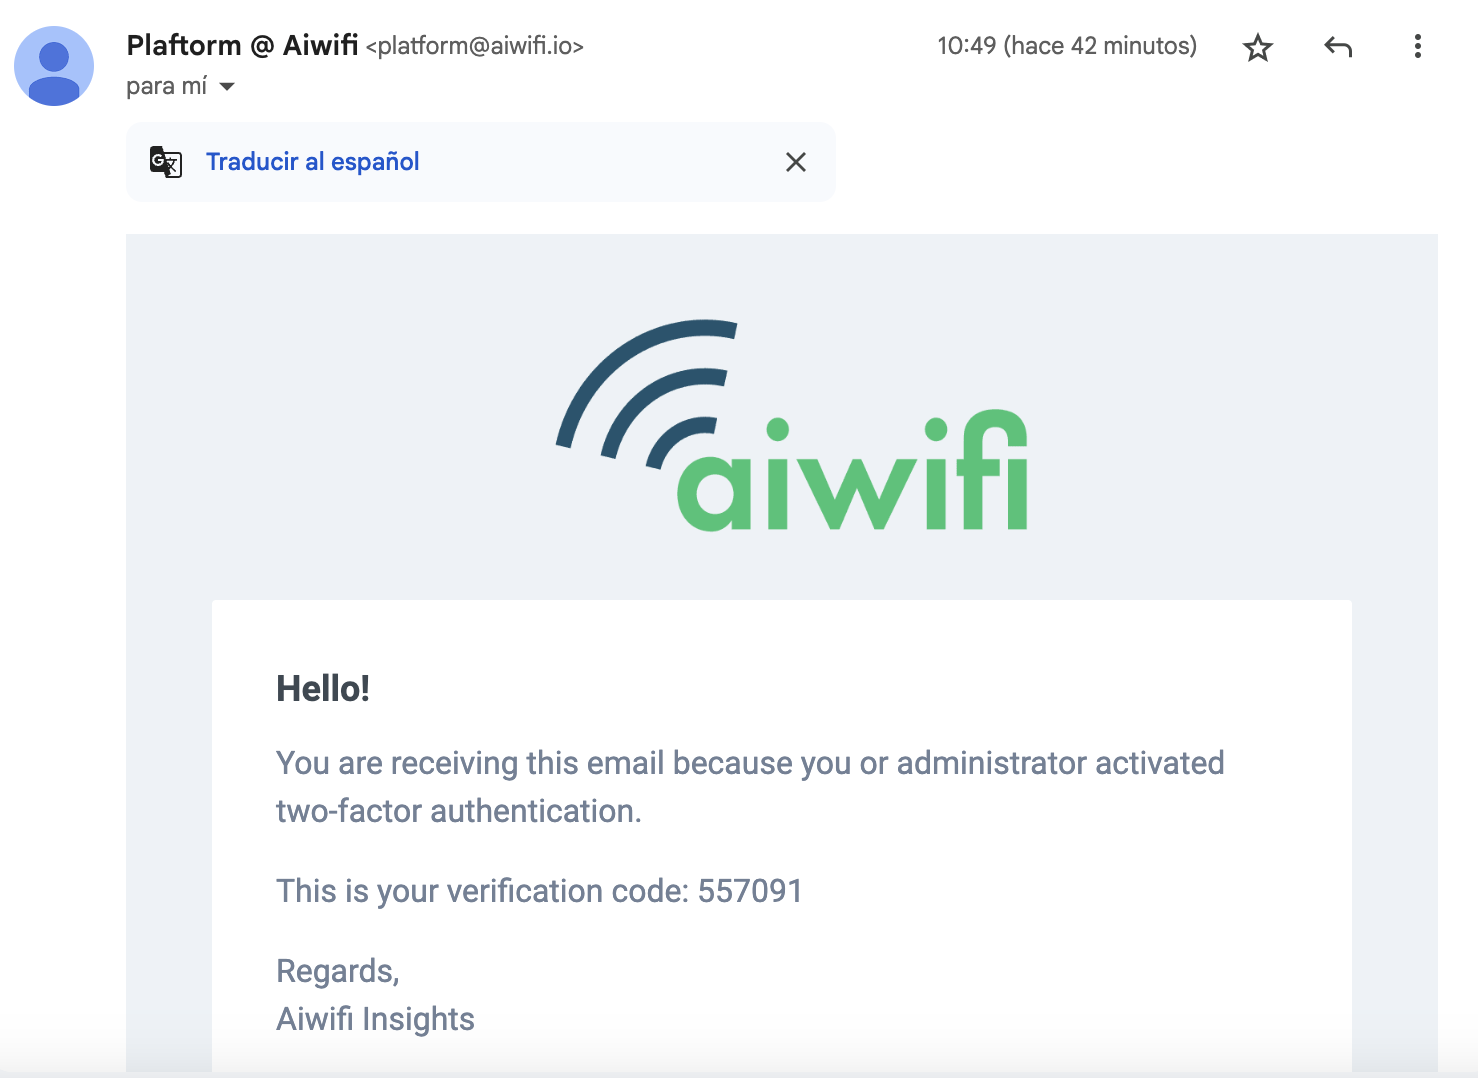
4- Check your inbox for an email from Aiwifi containing a 6-digit code.
5- Enter the code in the prompt and click Verify & Continue.

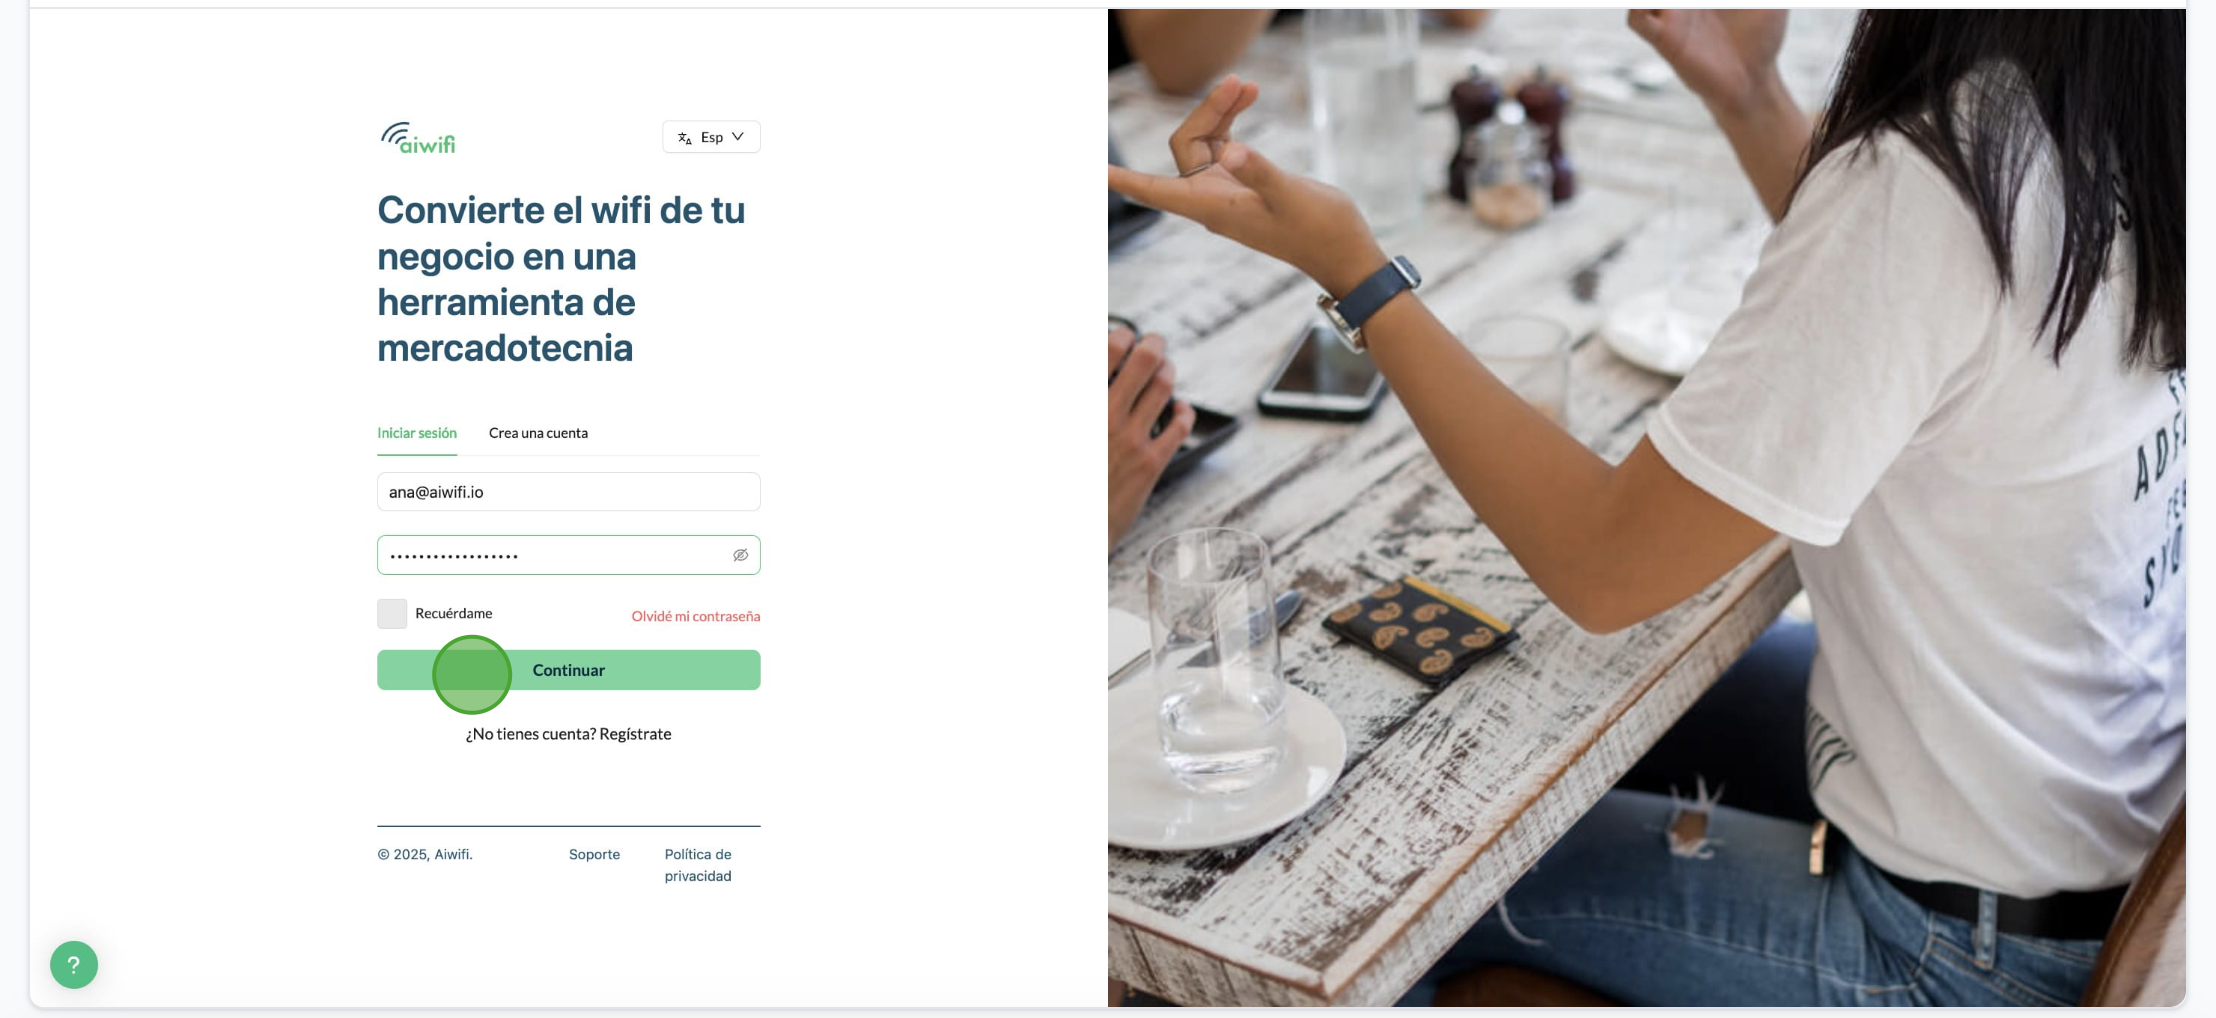
6- The Platform will close and it will take you to the log in section, write your user name and password then click on "Continue".
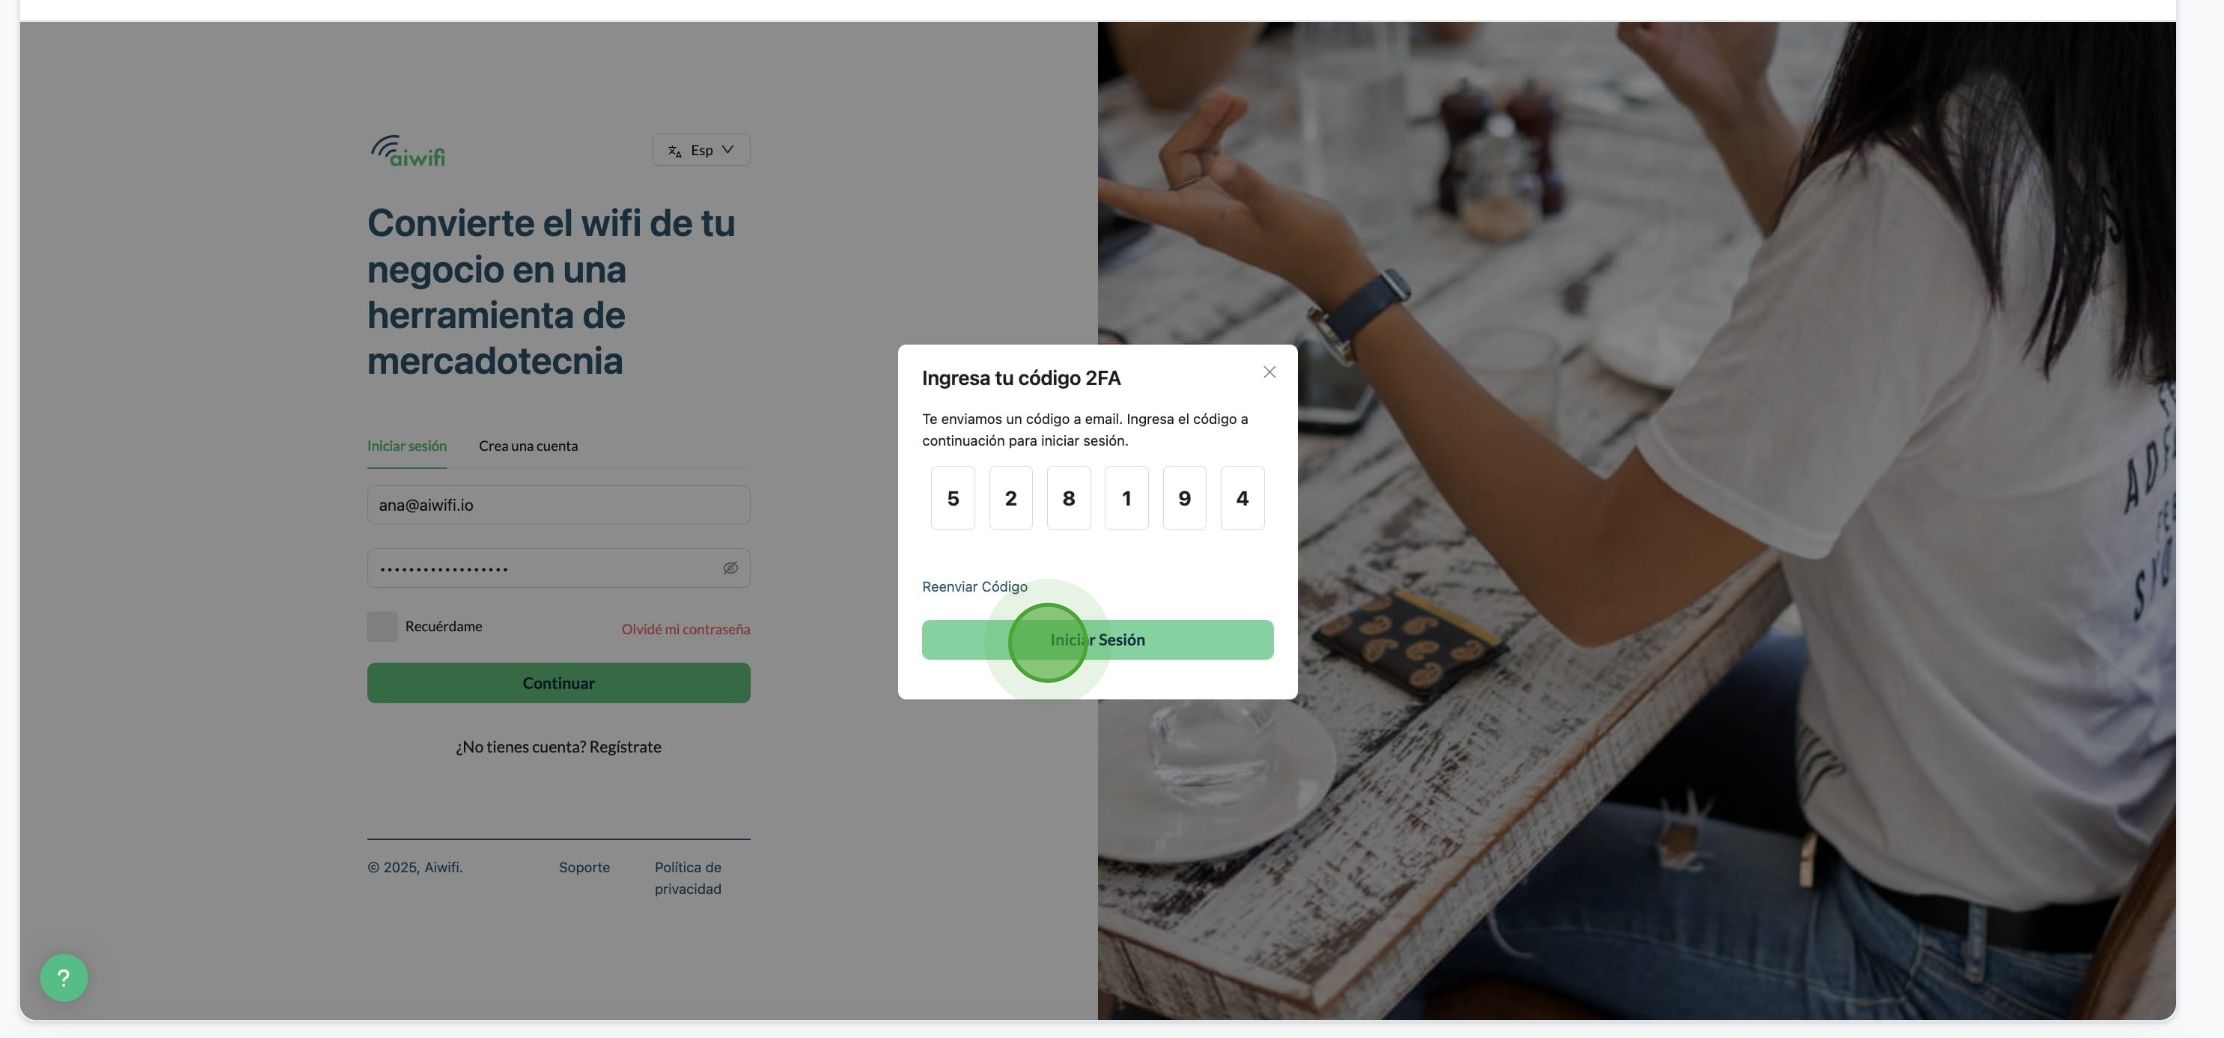
7. Check one more time your inbox for an email from Aiwifi containing a 6-digit code. Enter the code on the prompt and click on "Log in"
8- Once validated, you’ll be logged in to your Dashboard.

Interactive Guide How to disable 2FA
How to Disable 2FA (step by step)
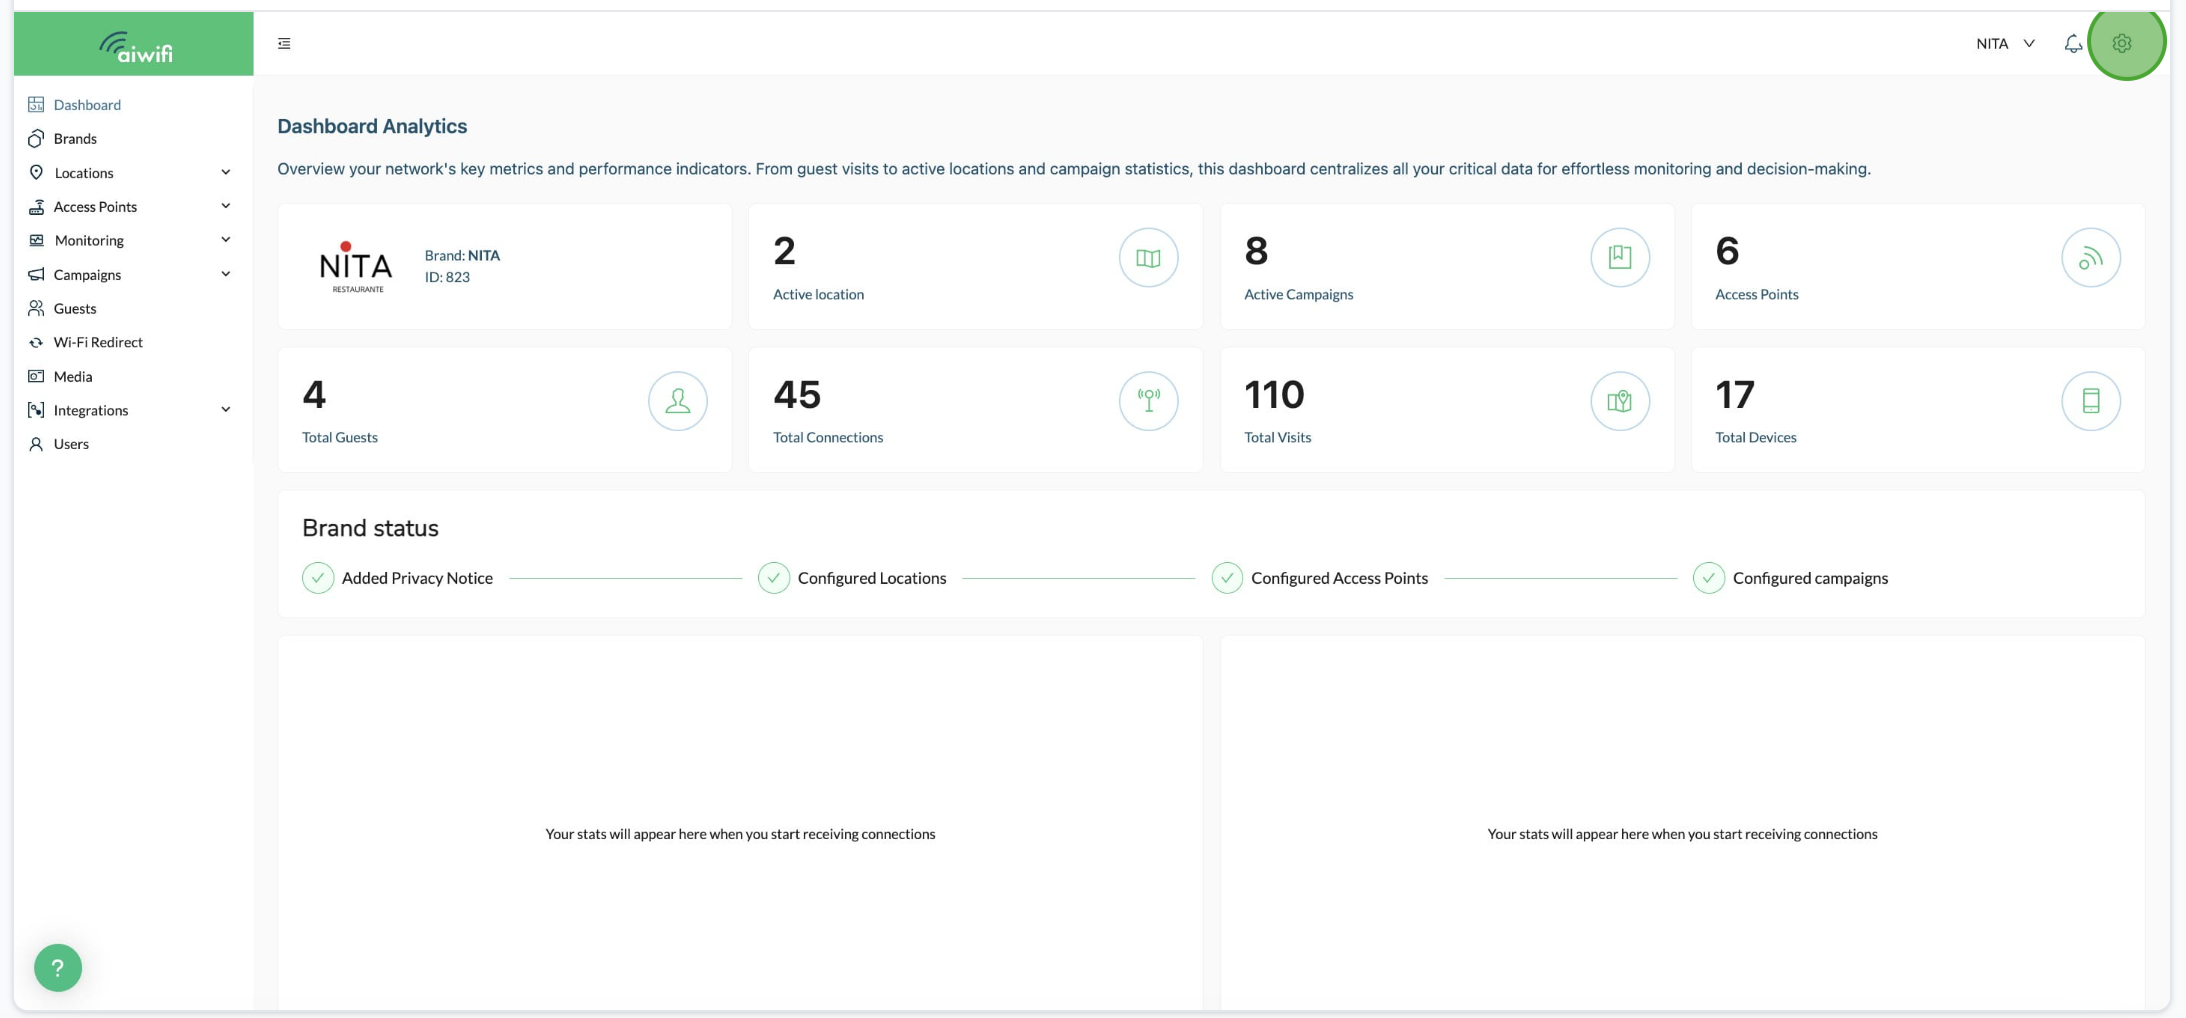
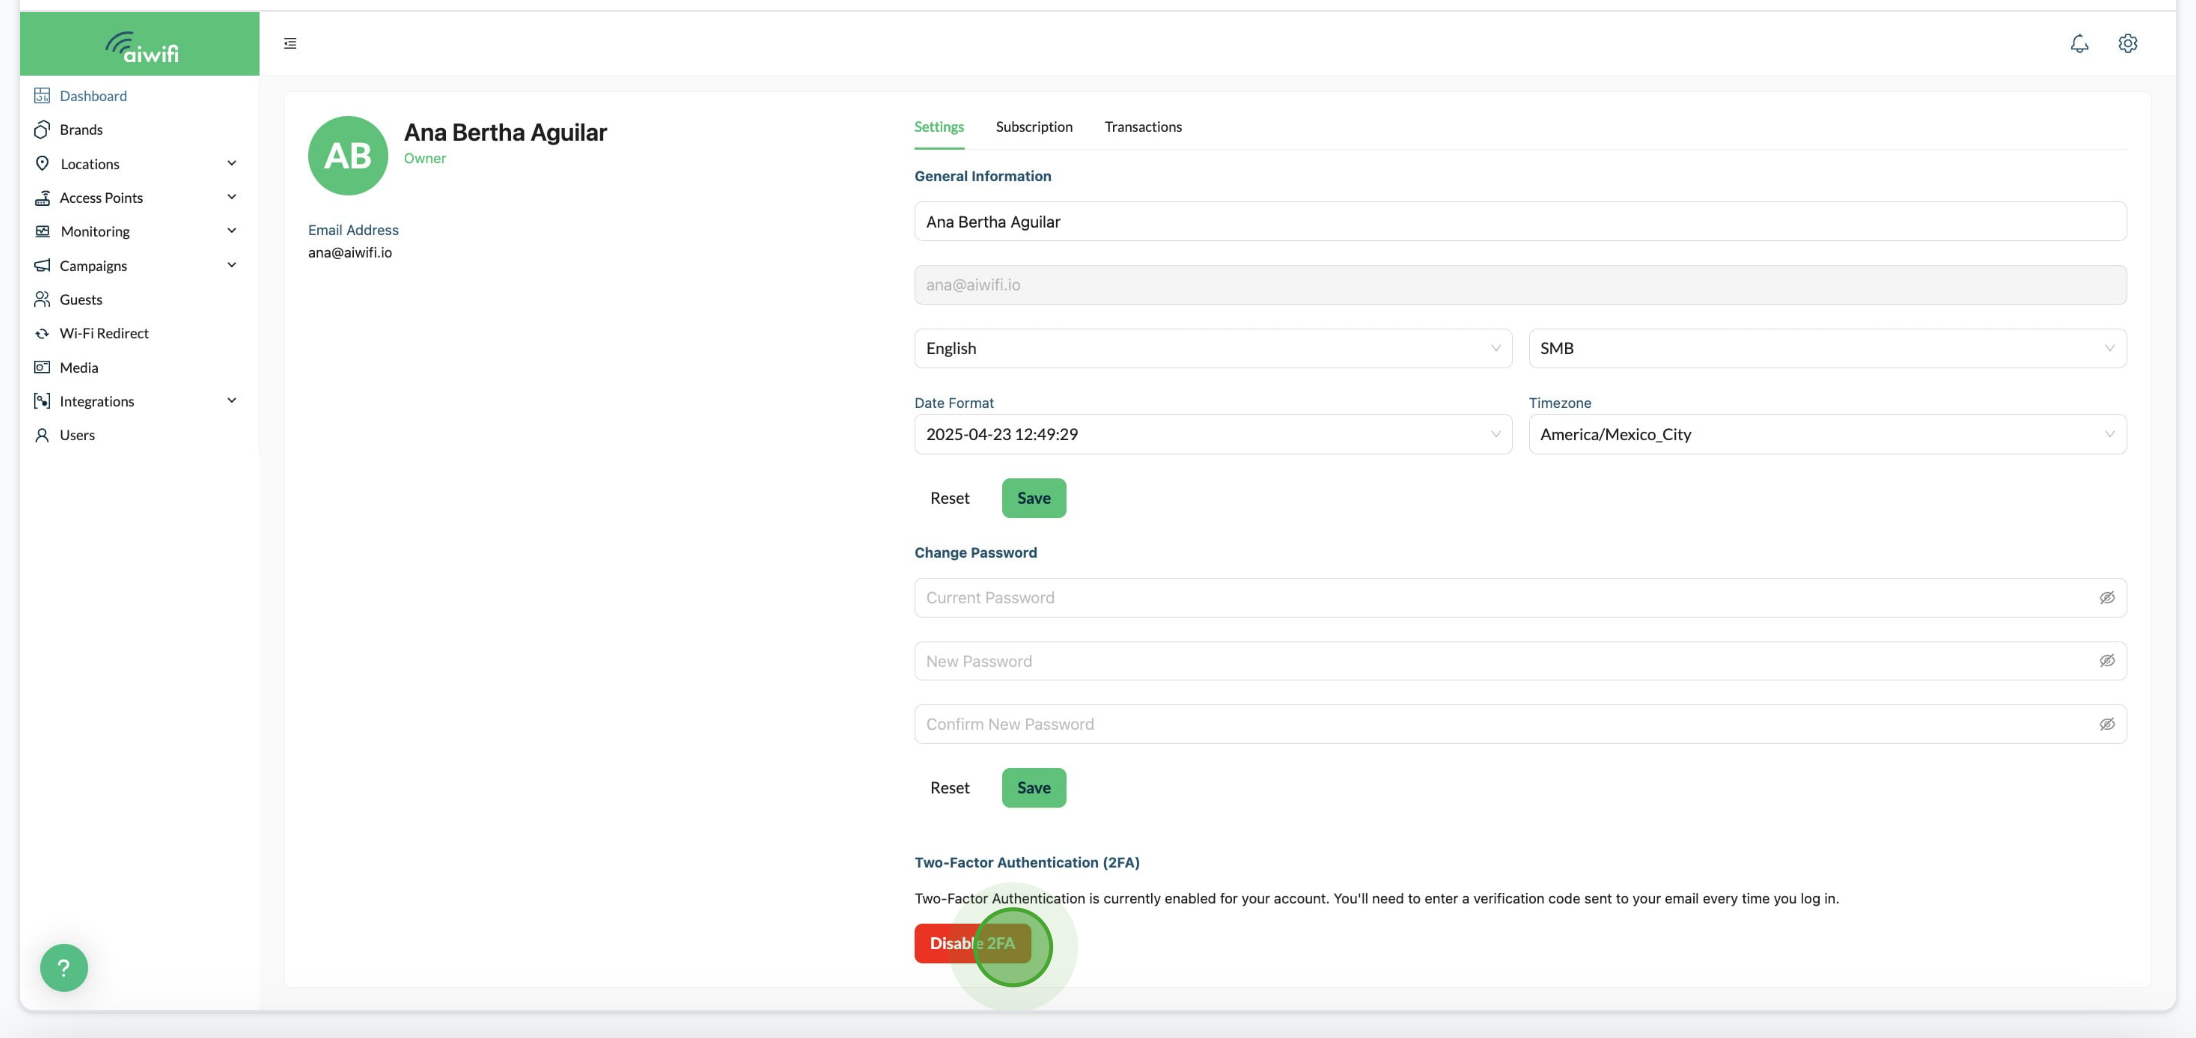
1- On Dashboard Analytics, go back to Account Settings via the gear icon in the top-right.
2- Click on "Disable 2FA button".
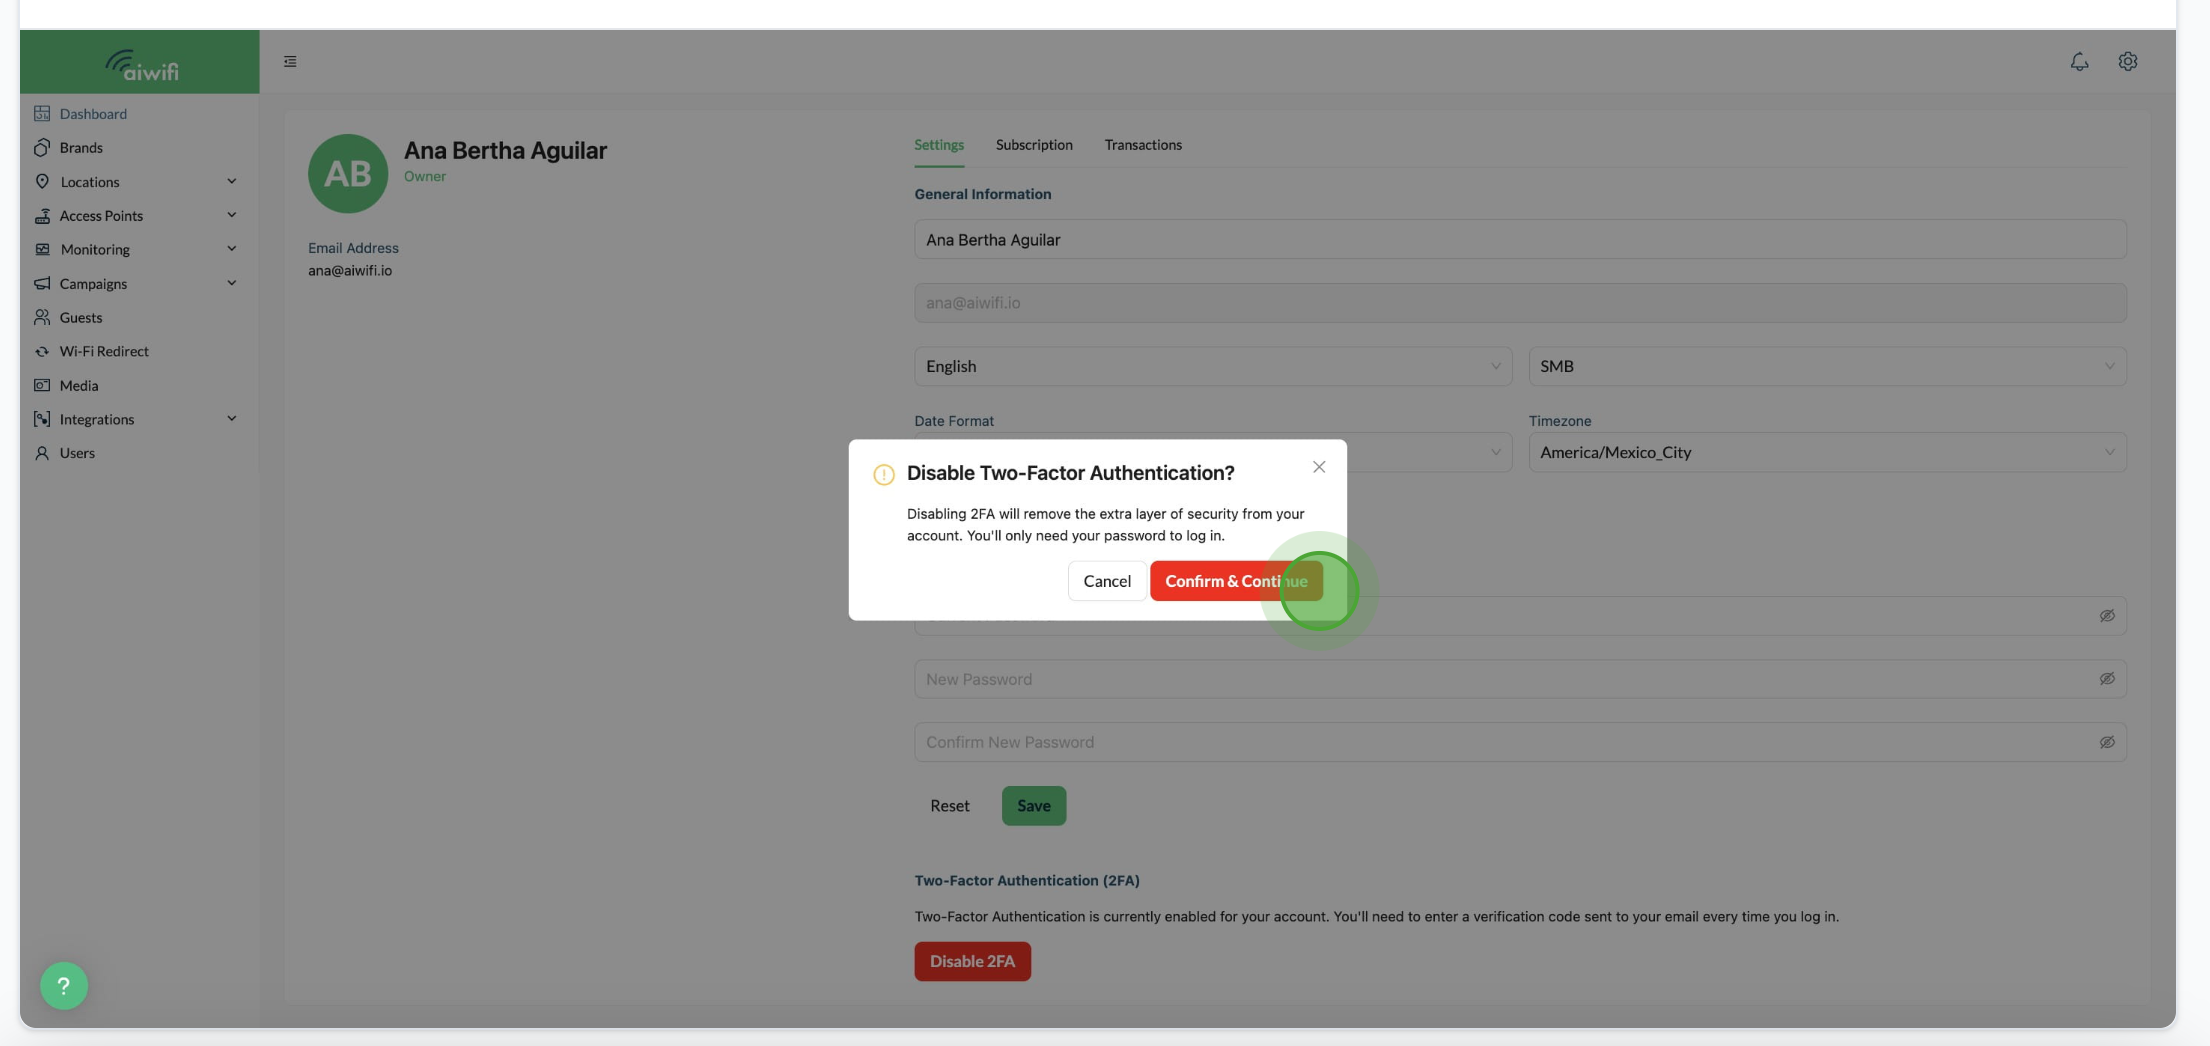
3- A modal will ask you to confirm. Click Confirm & Continue.
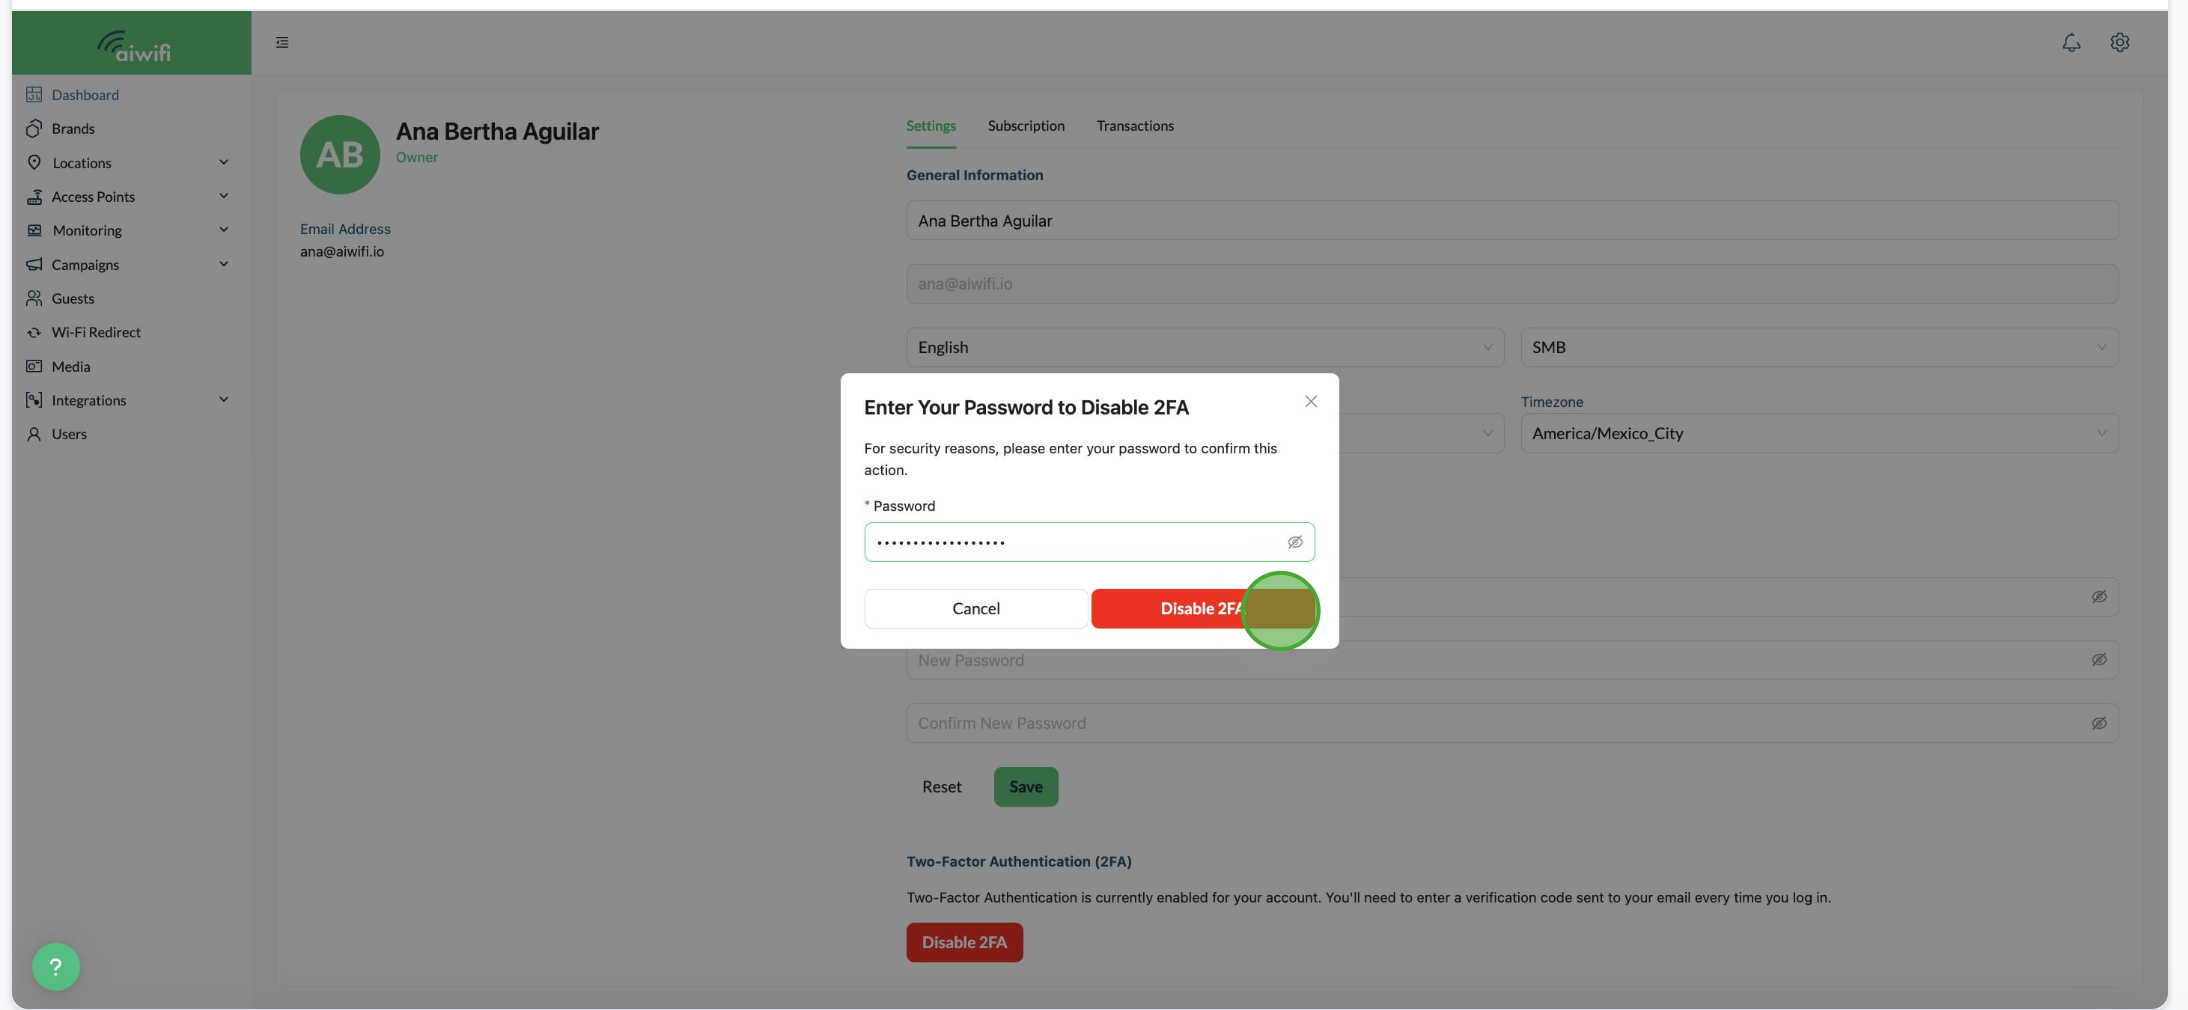
4- For security reasons, you’ll be asked to re-enter your password.
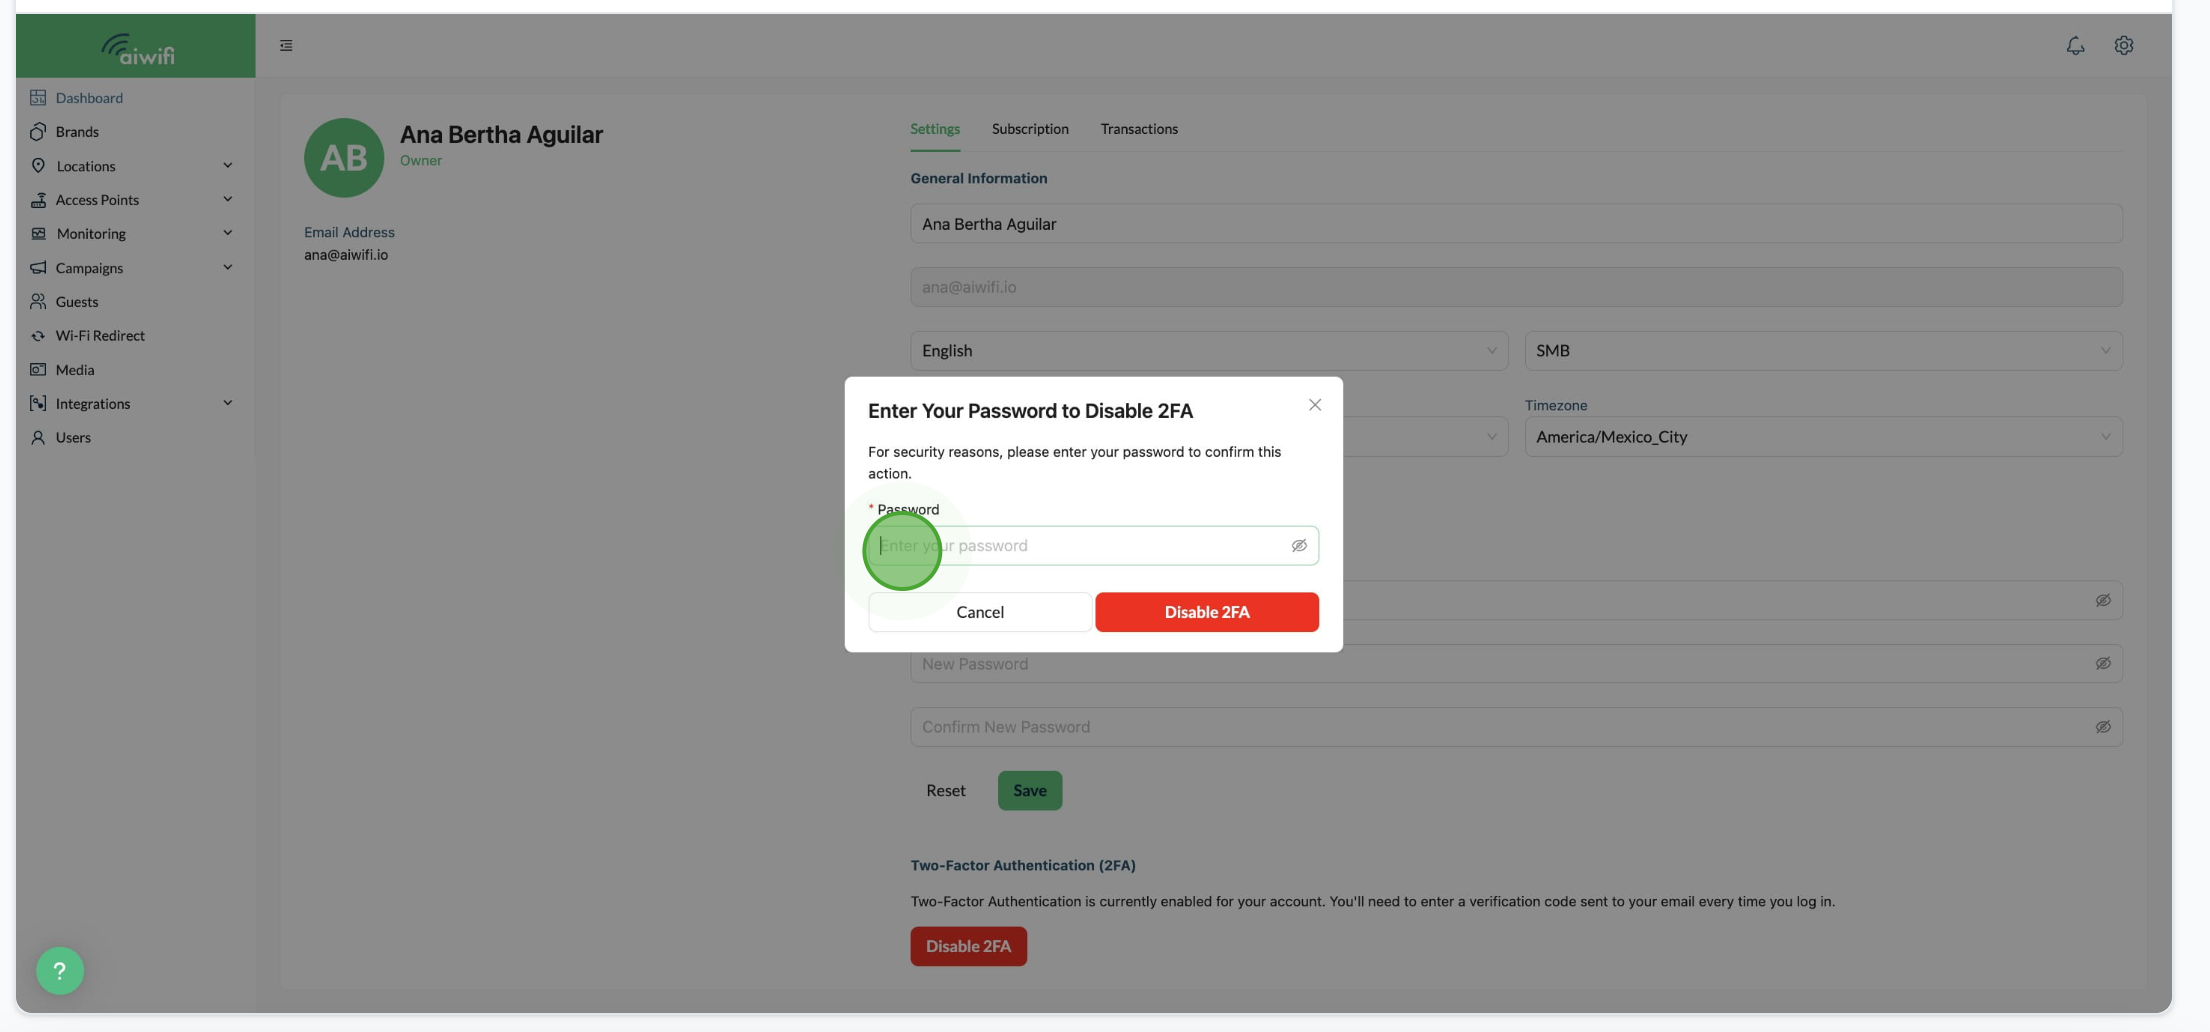
5- Click on Disable 2FA button. Once confirmed, 2FA will be disabled and login will return to password-only authentication.